We all want to do our part for the planet, and composting is a fantastic way to cut down on waste and create amazing soil for our gardens. But sometimes, even with the best intentions, we mess things up. We’ve all been there, staring at a questionable pile and wondering what went wrong. Don’t worry, though! We’re going to look at some common composting mistakes beginners often make and, more importantly, how we can fix them.
Key Takeaways
- Avoid adding things like meat, dairy, or oily foods to your compost pile, as these can attract pests and create bad smells. Stick to plant-based materials.
- Getting the right mix of ‘greens’ (like kitchen scraps) and ‘browns’ (like leaves and paper) is key. Too much of one can make your pile wet and smelly or slow down the whole process.
- Your compost needs to be about as damp as a wrung-out sponge. If it’s too dry, decomposition slows down, and if it’s too wet, it can get stinky.
- Compost piles need air! Turning your pile every week or two helps give the little decomposers the oxygen they need to work efficiently and prevents odors.
- Keep an eye out for unwelcome visitors like rodents or flies. Covering food scraps and using the right kind of bin can help keep pests away and prevent unpleasant smells.
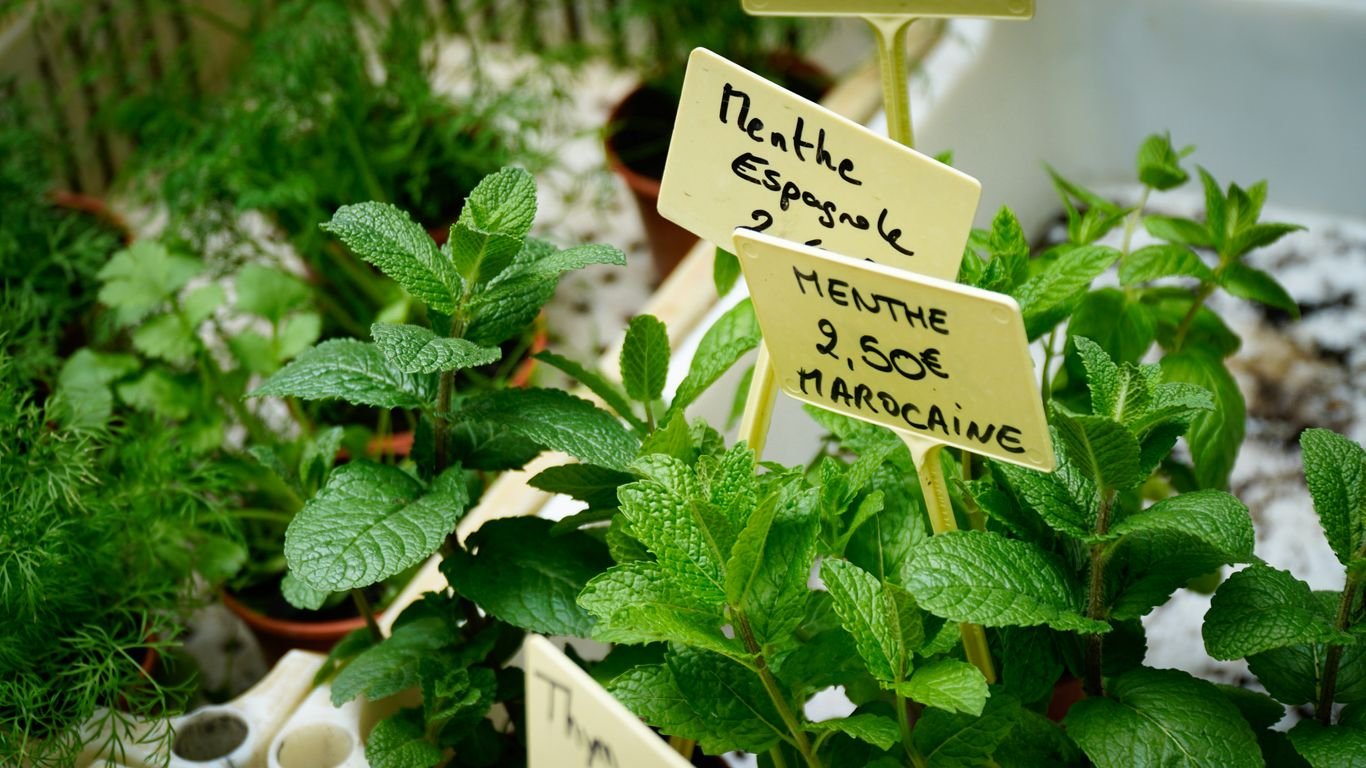
1. Adding the Wrong Materials
 1")
Okay, so we’ve all been there, right? You’re excited to start composting, you’ve got your bin, and you’re ready to toss in all your kitchen scraps. But hold on a second! Not everything belongs in the compost pile. This is probably the most common mistake we see beginners make. Tossing in things like meat, dairy products, or greasy foods might seem harmless, but they can really mess things up. These items can attract all sorts of unwanted guests, like rodents and flies, and they tend to create some pretty stinky odors, which is the opposite of what we want from our compost.
Think about it: we’re trying to create a healthy environment for decomposition, not a five-star buffet for pests. Also, keep an eye out for things that just won’t break down, like certain plastics or treated wood. These can introduce yucky stuff into your compost or just sit there forever. We want our compost to be a rich, natural amendment for our gardens, not a source of problems.
Here’s a quick rundown of what to generally avoid:
- Meat, fish, and bones
- Dairy products (cheese, yogurt, milk)
- Oily or greasy foods
- Diseased plants
- Pet waste
- Non-compostable materials (like plastic or treated wood)
Sticking to plant-based materials, like fruit and veggie scraps, coffee grounds, and yard waste, is the way to go. It keeps things balanced and pest-free. For a more detailed list of what you can and can’t compost, you might want to check out a composting glossary.
The goal is to create a balanced ecosystem where beneficial microbes can do their work. Introducing the wrong materials can disrupt this delicate balance, leading to smells and attracting pests, which can be really discouraging when you’re just starting out.
2. Improper Balance of Greens and Browns
We’ve all been there – staring at our compost bin, wondering if we’re doing it right. One of the trickiest parts for us beginners is getting the mix of "greens" and "browns" just right. Think of it like baking a cake; you need the right ingredients in the right amounts for it to turn out well. Too much of one thing, and you end up with a soggy mess or a pile that just won’t break down.
Greens are your nitrogen-rich materials. These are usually the wet, fresh stuff like fruit and veggie scraps from the kitchen, coffee grounds, and fresh grass clippings. Browns, on the other hand, are your carbon-rich materials. These are typically dry and bulky, like dead leaves, shredded cardboard or newspaper, and small twigs. The magic ratio we’re aiming for is roughly two to three parts browns for every one part greens.
Why does this matter so much? Well, the little microbes that do all the hard work of composting need both carbon for energy and nitrogen for protein. If you overload your bin with greens, you’ll likely end up with a slimy, smelly pile because there isn’t enough carbon to balance out the nitrogen. On the flip side, too many browns will slow down the decomposition process because the microbes won’t have enough nitrogen to work with. It’s all about finding that sweet spot.
Here’s a quick rundown to help you visualize:
- Greens (Nitrogen-rich):
- Fruit and vegetable scraps
- Coffee grounds and tea bags
- Fresh grass clippings
- Plant trimmings
- Browns (Carbon-rich):
- Dry leaves
- Shredded newspaper or cardboard (avoid glossy paper)
- Straw or hay
- Wood chips or sawdust
When in doubt, err on the side of adding more browns. It’s easier to add a bit more green material later if needed than to fix a stinky, wet pile that’s overloaded with nitrogen. We found that keeping a stash of dry leaves or shredded cardboard nearby is super helpful for quick adjustments.
Getting this balance right is key to healthy, efficient composting. It might take a little practice, but once you get the hang of it, you’ll be well on your way to creating that wonderful, nutrient-rich compost for your garden. For more tips on what goes where, check out our composting materials guide.
3. Not Maintaining Proper Moisture Levels
 2")
We all know compost needs water to break down, but getting the moisture level just right can be tricky. If our pile is too dry, things slow to a crawl. On the flip side, a soggy pile can turn into a stinky, slimy mess, and nobody wants that. The sweet spot? Think of a wrung-out sponge. It should feel damp, not dripping wet, and definitely not dusty and dry.
How do we keep it balanced?
- Check it regularly: Stick your hand in there. Does it feel like a damp sponge? Good. If water runs out when you squeeze, it’s too wet. If it crumbles apart, it’s too dry.
- Too wet? Add more dry brown materials like shredded cardboard, dry leaves, or sawdust. These will soak up excess moisture and help with airflow.
- Too dry? Give it a light sprinkle of water. You can use a watering can or even a spray bottle for a gentle misting. Adding more green materials can also help boost moisture.
- Cover up: For outdoor piles, a tarp can be a lifesaver, especially during heavy rain. It keeps the excess water out while still allowing some air circulation.
Keeping an eye on moisture is a constant adjustment. Weather changes, and so will your pile. Don’t get discouraged if it’s not perfect every day. Just make small adjustments, and it’ll find its balance again.
4. Not Turning the Pile Enough
We get it, turning the compost pile sounds like a chore. But honestly, it’s one of the most important steps for healthy, fast composting. Think of it like giving your compost a good breath of fresh air. Without enough oxygen, the decomposition process slows way down, and you can end up with a stinky mess instead of lovely, rich compost. This is because the helpful microbes that break everything down need oxygen to do their job. When the pile gets too compacted, those good guys can’t get enough air, and less desirable ones take over, leading to those unpleasant smells.
We need to turn our compost regularly to keep it aerobic. This means introducing oxygen, which helps those beneficial bacteria thrive and speeds up the breakdown of your materials. It also helps distribute moisture and heat evenly throughout the pile, so everything decomposes at a similar rate. If you’re not turning it, you might notice some parts are wet and slimy while others are bone dry, and decomposition is happening unevenly.
Here’s a simple plan:
- Aim to turn your pile every one to two weeks. This frequency is usually enough to keep things moving along nicely.
- Use a pitchfork or a compost aerator tool. These tools make it much easier to mix everything up. Try to get to the center of the pile, bringing the outer materials inward.
- Mix it well. Don’t just poke it around; really try to turn and fluff the materials.
If your pile is getting really big, turning it can feel like a workout. For those situations, a compost tumbler can make the job much easier. It’s a great way to get that aeration without all the heavy lifting. Even if you have a simple compost bin on the soil, regular turning makes a huge difference. It might seem like extra work, but trust us, your compost will thank you for it, and you’ll get finished compost much faster.
5. Ignoring Pests and Odors
 3")
We’ve all been there – you’re excited about your compost pile, and then suddenly, you notice a weird smell or see a few unwelcome visitors. It’s easy to get discouraged, but dealing with pests and odors is a normal part of composting, and usually, there’s a simple fix.
Often, these issues pop up because something is out of balance. A pile that smells like ammonia or rotten eggs usually means too many greens or not enough air. And if you’re seeing flies or rodents, it’s often because we’re adding things we shouldn’t, or not burying our food scraps properly. The key is to address these problems early before they get out of hand.
Here’s how we can tackle common pest and odor problems:
- Bury food scraps: Whenever we add kitchen scraps (our greens), we should always cover them with a layer of brown materials like dried leaves or shredded cardboard. This helps mask the smell and makes it harder for pests to find the food.
- Check the balance: Remember that 2-3 parts browns to 1 part greens rule? If your pile is too wet and smelly, it likely needs more browns. If it’s dry and not breaking down, it might need more greens and moisture.
- Aerate your pile: Stagnant air is a major cause of bad smells. Turning the pile regularly, as we discussed in the last point, is super important. If you have a bin, make sure it has good airflow.
- Avoid problematic items: Things like meat, dairy, and oily foods are magnets for pests and can create really unpleasant odors. It’s best to keep these out of your home compost pile.
If you do notice pests, don’t panic. Often, simply adjusting what you’re adding and how you’re managing the pile will solve the issue. Burying new scraps and adding more browns are usually the first steps.
Sometimes, a persistent smell might just mean the compost is working hard and going through an active phase. But if it smells truly awful, like something’s gone really wrong, it’s time to investigate. Usually, a quick check of our materials and a good turn of the pile will get things smelling earthy and pleasant again.
Wrapping It Up
So, we’ve gone over a few common slip-ups that can happen when we’re trying to compost. It’s easy to get discouraged when things don’t go perfectly at first, but honestly, most of these issues are pretty simple to fix. By paying attention to what we’re tossing in, keeping things moist but not soggy, and giving our piles a good turn now and then, we’re well on our way to making some really great compost. Don’t sweat the small stuff; composting is a learning process, and we’re all figuring it out together. Stick with it, and you’ll be amazed at the rich, dark soil you can create right in your own backyard.
Frequently Asked Questions
What are the most common things we should NOT put in our compost?
We should steer clear of adding things like meat, dairy products, and oily foods to our compost. These can attract unwanted critters and create yucky smells. Also, avoid non-compostable items like certain plastics or treated wood, as they won’t break down and can harm our compost.
What’s the deal with ‘greens’ and ‘browns’ in composting?
Think of ‘greens’ as the wet, nitrogen-rich stuff, like fruit and veggie scraps and grass clippings. ‘Browns’ are the dry, carbon-rich materials, such as fallen leaves, shredded cardboard, and paper. We need a good mix of both for our compost pile to work well. Too much green makes it soggy and smelly, while too much brown slows everything down.
How do we know if our compost has the right amount of moisture?
Our compost should feel like a damp, wrung-out sponge. If we grab a handful, it should feel moist but not drip water when we squeeze it. If it’s too dry, we can add a little water or some green materials. If it’s too wet, we should add more brown materials and give it a good mix.
Why is turning our compost pile so important?
Turning our compost pile is like giving it a breath of fresh air! It helps get oxygen to the tiny organisms that are doing the hard work of breaking everything down. This also helps spread moisture and heat evenly, making the whole composting process go faster and preventing stinky smells.
What should we do if we notice pests or bad smells in our compost?
If we see pests or smell something funky, it’s usually a sign that something’s a bit off. Pests often show up when we add meat or dairy, or if food scraps are left uncovered. Smells usually mean too much moisture or not enough air. We can fix this by making sure we’re only adding the right materials, burying food scraps, and turning the pile regularly.
How long does it usually take to get finished compost?
Patience is key! It can take anywhere from a few months to a whole year to get compost that’s ready to use. The exact time depends on what we put in, how often we turn it, and the weather. We’ll know it’s ready when it looks dark, crumbly, and smells like fresh earth.