Zone 4 Winter Gardening Strategies: Season Extension and Cold Frames
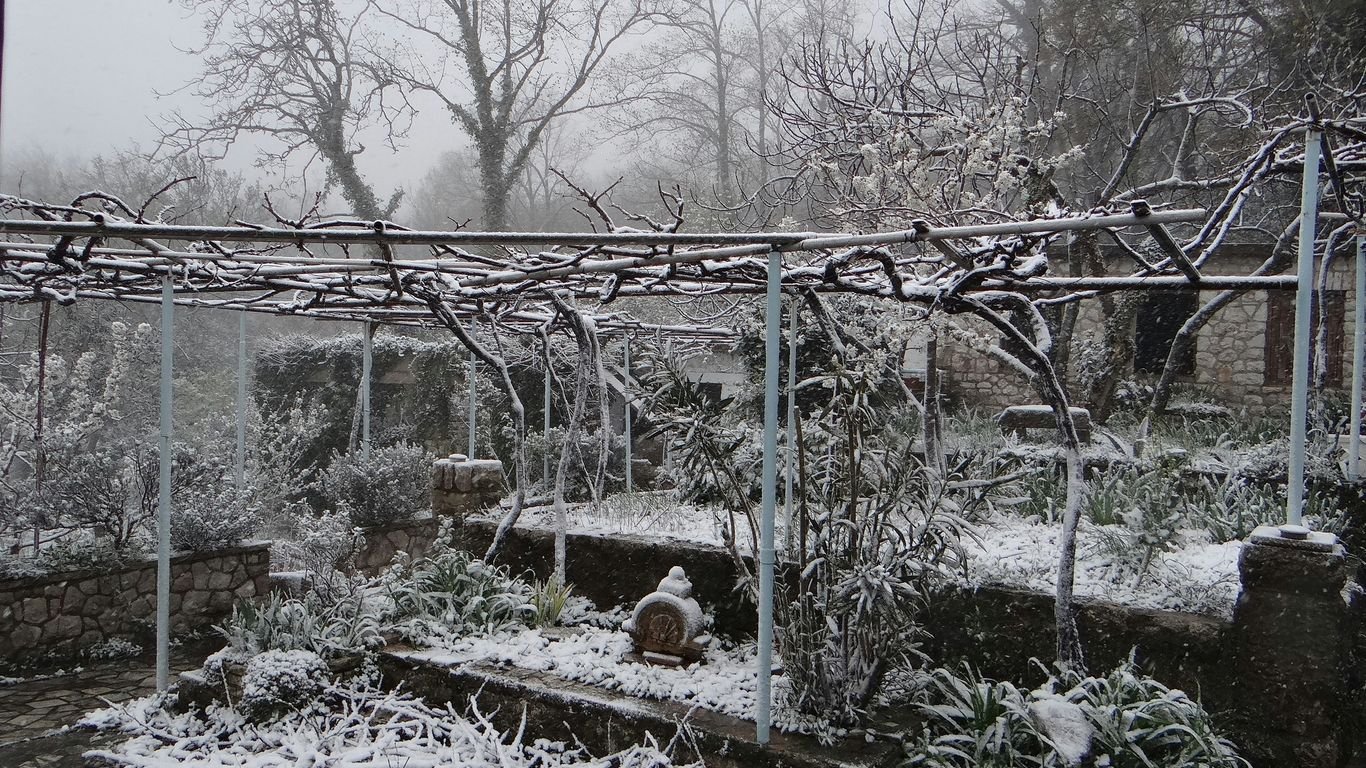
Winter gardening in Zone 4 might sound tough, but we’ve found some pretty neat ways to keep our plants going even when the temperatures drop. We’re talking about extending the harvest season and even starting seeds for the next year, all thanks to some clever tools and techniques. It’s all about working with nature, not against it, to get the most out of our gardens.
Key Takeaways
- Cold frames are simple boxes with clear lids that trap solar heat, creating a warmer microclimate for plants, even in Zone 4.
- Hoop houses, from mini tunnels to larger structures, offer more space and protection, allowing for a wider range of crops to be grown through colder months.
- Tools like floating row covers, cloches, and quick hoops provide essential frost protection and can be used alone or in combination with other structures.
- Compost-heated beds and strategic planting of cold-hardy vegetables allow us to harvest fresh produce well into winter.
- Proper site selection and construction of cold frames, considering sunlight, slope, and insulation, are vital for their effectiveness in Zone 4.
Understanding Cold Frames for Zone 4 Winter Gardening
So, we’re talking about Zone 4 winter gardening, and one of the most useful tools we have is the cold frame. You might have seen them around, or maybe you’ve heard the term but aren’t quite sure what they are. Think of a cold frame as a simple, unheated structure, usually a box with a transparent lid. Its main job is to create a warmer microclimate for plants, protecting them from harsh winter weather like ice, snow, and biting winds. Even on a really cold day, if the sun is out, the inside of a cold frame can be surprisingly warmer than the outside air. This little bit of extra warmth is enough to keep certain plants alive and even growing, or to get a head start in spring.
What Exactly Is a Cold Frame?
A cold frame is essentially a miniature greenhouse, but without any heating system. It’s typically a bottomless box, often made of wood or other sturdy materials, with a clear, sloped lid. This lid, also called a sash, can be opened, closed, or propped up to control temperature and ventilation. We can set them directly on the ground, allowing plants to grow right in the soil, or we can place pots inside. Historically, they’ve also been known as Dutch lights. Their primary function is to shelter plants from the elements and capture solar heat, making them fantastic for extending our growing season.
Key Benefits of Using Cold Frames
Why bother with a cold frame? Well, for starters, they let us get a jump on the growing season in spring. We can start seeds earlier than we normally would, giving us a head start on harvests. Then, in the fall, they allow us to keep harvesting crops much later into the season, sometimes right through winter. It’s not just about extending the harvest, though. We can also use them to start seedlings that will later be transplanted into the main garden. Plus, they’re great for overwintering tender perennials or giving bulbs the cold period they need before forcing them indoors. The ability to create a protected environment for plants is their biggest advantage.
Choosing the Right Materials for Your Cold Frame
When we think about building or buying a cold frame, the materials matter. The frame itself, the box part, can be made from wood, brick, concrete blocks, or even repurposed materials. Wood is popular because it’s easy to work with, but we need to make sure it’s rot-resistant or treated to last. For the lid, or sash, we need something transparent. Old window sashes are a classic choice, but we can also use polycarbonate panels or even sturdy greenhouse plastic. The key is to choose materials that are durable and will let in plenty of sunlight. We also need to think about how we’ll secure the lid and how we’ll ventilate the frame on warmer days. Finding the ideal spot for your cold frame is also important; a south-facing location that gets at least six to eight hours of sunlight daily is best, especially in winter.
- Frame Materials: Wood, cinder blocks, recycled plastic lumber.
- Lid Materials: Glass (old windows), polycarbonate panels, heavy-duty greenhouse plastic.
- Hardware: Hinges, latches, props for ventilation.
Extending Your Growing Season with Hoop Houses
When we talk about really pushing the boundaries of our growing season in Zone 4, hoop houses are a game-changer. They’re like a step up from cold frames, offering more space and protection. Think of them as mini-greenhouses that can significantly boost our ability to grow food earlier in the spring and later into the fall, and sometimes, even through the winter.
Mini Hoop Houses vs. High Tunnels
It’s easy to get these two terms mixed up, but there’s a difference in scale and purpose. Mini hoop houses are generally smaller, often just a few feet high, and are great for covering garden beds. They’re fantastic for giving those early spring crops a head start or protecting fall harvests from light frosts. We can build them ourselves pretty easily using PVC pipes or metal hoops and some plastic sheeting.
High tunnels, on the other hand, are much larger, walk-in structures. They can be quite substantial, offering a lot more growing space and protection. While they require a bigger investment and more planning, they open up possibilities for more serious season extension, allowing us to grow a wider variety of crops for longer periods. Some folks even use them to grow crops year-round.
Building Simple Hoop Structures
Building a mini hoop house is a pretty straightforward project. We usually start by bending some flexible material, like PVC pipes or electrical conduit, into arches. These hoops are then secured into the ground on either side of our garden bed. We can space them a few feet apart, depending on the length of our bed and the strength of our covering material. The key is to make sure they’re sturdy enough to support the covering and withstand some wind.
Once the hoops are in place, we stretch a covering over them. For season extension, a heavy-duty greenhouse plastic is a common choice. We need to make sure it’s pulled taut and secured well, usually by burying the edges in the soil or using special clips. This creates a protected environment that traps heat and keeps out the worst of the weather.
Maximizing Protection with Layered Covers
To really maximize the protection our hoop houses offer, we can get creative with layering. A common strategy is to use a plastic covering on the hoops and then, when extra warmth or frost protection is needed, add a layer of floating row cover inside the hoop house. This double-layer approach can significantly increase the temperature difference between the inside and outside, effectively giving us an extra zone of protection. It’s like giving our plants their own cozy blanket within a cozy shelter. This layered approach is what allows some gardeners to keep harvesting even when the temperatures outside are well below freezing.
We’ve found that using a combination of structures and coverings is the most effective way to extend our growing season. It’s not just about building a hoop house; it’s about understanding how to layer protection to create the ideal microclimate for our plants, no matter the season.
Essential Tools for Zone 4 Season Extension

So, we’ve talked about cold frames and hoop houses, but what else can we use to keep our gardens going strong when the temperatures drop? There are a few other handy items that can make a big difference in extending our growing season here in Zone 4. It’s all about layering protection and using the right gear.
The Role of Floating Row Covers
Floating row covers are like a lightweight blanket for your plants. They’re made of a fabric material that lets in sunlight and water but provides a surprising amount of protection from frost and wind. We can use them in a few different ways. For early spring planting, they can help warm the soil a bit and protect delicate seedlings from sudden cold snaps. Later in the season, they’re fantastic for protecting crops that are still producing into the fall. The thickness of the row cover matters, with heavier ones offering more frost protection. You can even layer them for extra warmth!
- Lightweight: Good for insect protection and a few degrees of frost.
- Medium-weight: Offers more frost protection, usually around 4-6 degrees Fahrenheit.
- Heavyweight: Can protect down to about 25°F, giving us a significant extension.
These covers are super versatile. We can drape them directly over plants, or use them with low hoops to create mini tunnels. They’re also great for covering up crops that are already in the ground, giving them a little boost against the cold. It’s a simple way to add a few extra weeks to our harvest time, especially in the fall. You can find a good selection of these covers to help with your season extension efforts.
Understanding Cloches and Hot Caps
Cloches and hot caps are another set of tools that are really useful for individual plants or small groups. Think of them as little individual greenhouses. A cloche is typically a bell-shaped cover, often made of glass or clear plastic, that you place over a plant. Hot caps are usually made of waxed paper or plastic and are often secured to the ground around the base of the plant. Both work by trapping heat from the sun during the day, creating a warmer microclimate around the plant. This can be a lifesaver for tender plants that might not survive a light frost otherwise. We often use them for things like starting tomatoes or peppers early in the spring, or for protecting late-season crops like basil or peppers from an early chill.
Using cloches and hot caps is a great way to give specific plants a little extra TLC when the weather turns iffy. They’re easy to put on and take off, making them perfect for those unpredictable shoulder seasons.
Utilizing Quick Hoops for Frost Protection
Quick hoops are basically flexible wire or plastic hoops that you can easily bend and stick into the ground to create a frame over your garden beds. They’re a step up from just draping row covers directly on plants, as they create a bit more space and airflow. We can then drape floating row covers or plastic sheeting over these hoops to create low tunnels. This setup is fantastic for protecting rows of vegetables, like lettuce or spinach, from frost. It’s a quick and relatively inexpensive way to build a protective structure that can significantly extend the harvest of cool-season crops. They’re especially helpful when we want to protect a larger area than a single cloche can cover, but don’t need a full hoop house. It’s all about finding the right tool for the job, and quick hoops are definitely a handy addition to our winter gardening toolkit.
Advanced Zone 4 Winter Gardening Techniques
Beyond the basics of cold frames and hoop houses, we can explore some really interesting ways to keep our gardens productive even when the temperatures drop. It’s about getting a bit more creative with how we manage heat and protection.
The Power of Compost-Heated Beds
This is a neat trick that uses the natural decomposition of organic matter to generate warmth. We can build beds where a layer of compost sits beneath the soil. As the compost breaks down, it releases heat, creating a warmer microclimate for our plants. This is especially useful for starting seeds early or for growing crops that need a little extra boost during the colder months. It’s a way to harness nature’s own heating system right in our garden.
- Layering is key: Start with a base of coarse organic material, then add your compost, and top with soil.
- Monitor the heat: The decomposition process can generate significant heat, so keep an eye on soil temperatures.
- Replenish as needed: Over time, the compost will break down, and you’ll need to add more to maintain the heat.
Using compost-heated beds can significantly extend the growing season, allowing us to cultivate crops that might otherwise be impossible in Zone 4 winters. It’s a sustainable method that feeds the soil while warming our plants.
Overwintering Perennials and Bulbs
We can also use some of these techniques to protect our perennial plants and bulbs so they come back strong in the spring. While many perennials are hardy enough on their own, adding a layer of mulch or even moving potted plants into a cold frame can offer extra insurance against harsh freezes. For bulbs that might be borderline hardy, a protected spot in a cold frame or a well-insulated raised bed can make all the difference. It’s about giving them a fighting chance to survive the deep cold and emerge healthy when the weather warms up. We’ve found that protecting sensitive varieties can really pay off come springtime, giving us a head start on the growing season. This is a great way to preserve valuable plants for future years.
Growing Crops in Unheated Cool Houses
An unheated ‘cool house,’ often a larger structure than a cold frame but not necessarily a full greenhouse, can be a game-changer. These structures, sometimes called hoop houses or high tunnels, provide protection from wind and heavy snow while still allowing for significant temperature fluctuations. We can grow cold-hardy crops in these spaces, relying on the structure itself to buffer the worst of the winter weather. Think of it as a protected environment where plants can survive and even grow slowly through the winter. It’s not about tropical warmth, but about creating a space that’s just a few degrees warmer than the outside, which is often enough for certain vegetables to thrive. We’ve seen great success growing things like spinach, kale, and carrots in these types of structures, extending our harvest well into the colder months.
Strategic Planting for Winter Harvests
Getting a winter harvest in Zone 4 is totally doable, but it requires some smart planning. It’s not just about throwing seeds in the ground and hoping for the best. We need to think about when we plant and what we plant. The goal is to have crops ready to go before the really harsh cold sets in, or to choose varieties that can actually thrive in cooler temperatures. It’s a bit of a dance with the changing daylight and the dropping temperatures.
When to Start Seeds for Winter Harvests
Timing is everything, folks. For winter harvests, we’re not looking for rapid growth like we do in spring. Instead, we want our plants to be mature or nearly mature by the time winter truly arrives. This means we need to start our seeds much earlier than you might think, often in late summer or early fall. Think about planting spinach or kale in August for a fall and early winter harvest. If you’re aiming for crops that will overwinter and start growing again in spring, you’ll plant those a bit later, letting them establish a good root system before the ground freezes solid. It’s about getting them established before the heavy lifting of winter begins.
Choosing Cold-Hardy Vegetables
Not all vegetables are created equal when it comes to cold. For Zone 4 winter gardening, we need to stick to the tough stuff. These are the plants that can handle frost and even freezing temperatures, sometimes even improving in flavor after a light frost.
Here are some of our go-to cold-hardy options:
- Kale: This is a superstar. It can withstand pretty significant freezes.
- Spinach: Another champion, especially certain varieties bred for cold.
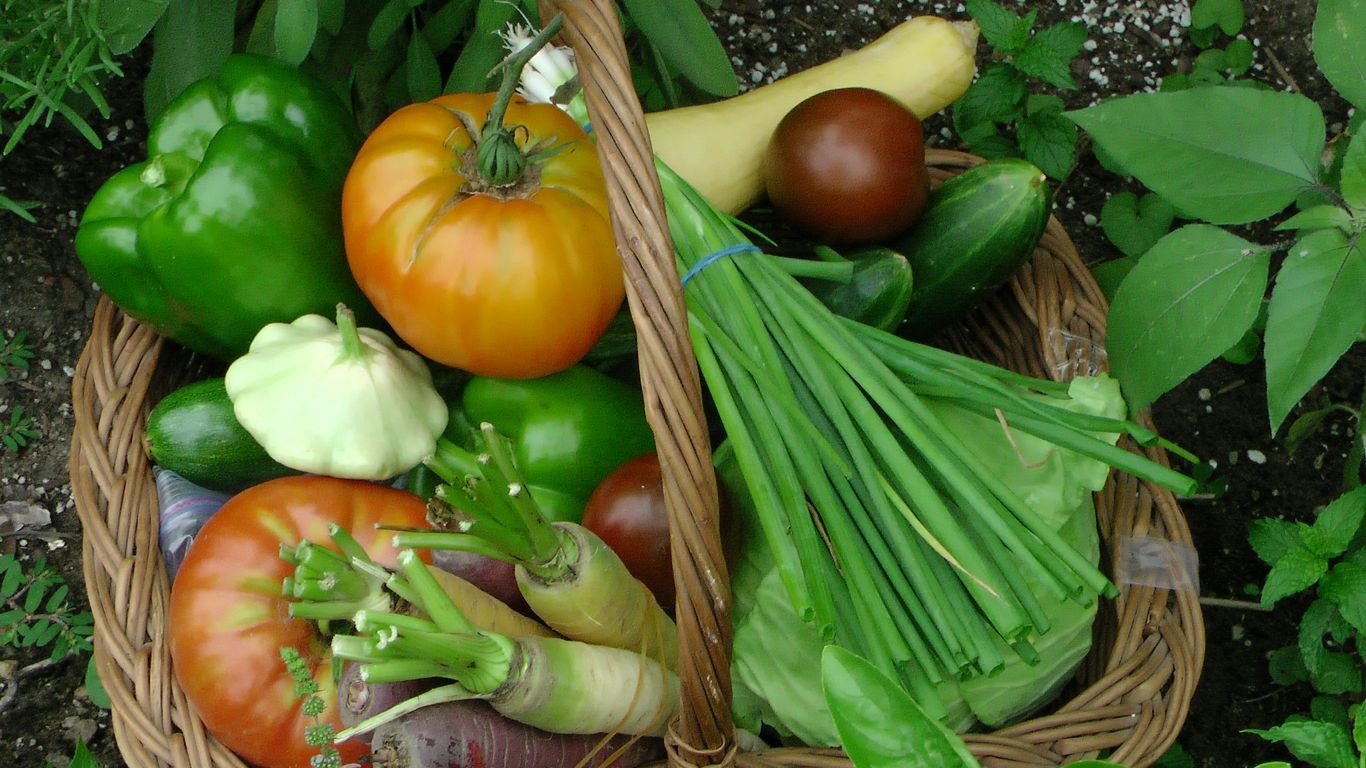
- Carrots: They sweeten up in the cold and can be harvested from the ground if it’s not frozen solid.
- Swiss Chard: Similar to kale, it’s quite resilient.
- Mache (Corn Salad): This leafy green is incredibly cold-tolerant and perfect for winter salads.
- Leeks: With some protection, leeks can overwinter nicely.
We’ve found that focusing on these types of vegetables significantly increases our chances of success. It’s better to have a smaller harvest of reliable crops than a big dream of something that just won’t survive the cold.
Harvesting Roots and Greens Through Winter
Harvesting in winter is a different experience. The key is to have your crops ready before the ground freezes solid. If you’ve planted wisely, you can often dig up root vegetables like carrots even when there’s a light frost. A layer of mulch can help keep the soil workable for longer. For leafy greens like kale and spinach, we often harvest the outer leaves, allowing the plant to continue producing from the center. This way, we can keep picking throughout the season. Sometimes, we’ll even use a quick cover or a cold frame to protect a patch of greens, extending our harvest window even further. It’s amazing what a little protection can do to keep fresh food available when you least expect it.
Site Selection and Cold Frame Construction
Picking the spot for our cold frame and getting the build right makes all the difference when we’re hoping to keep crops alive through tough zone 4 winters. Let’s walk through what’s worked for us—and what hasn’t—so you can get plants growing long after most folks have given up for the season.
Finding the Ideal Spot for Your Cold Frame
Where we put our cold frame really matters if we want it to act like a mini greenhouse through the winter. If you aim for these basics, you’ll see the best results:
- Look for the sunniest spot in your yard, especially one with good southern exposure. The winter sun is weak, but it’s still our main heat source.
- Avoid placing the frame in natural dips or where cold air might pool overnight.
- If you can, set it on a slight south-facing slope—these usually warm up first in spring and shed snow better.
- Shelter it from wild winter winds with a hedge or fence to keep it warmer inside.
- Steer clear of areas with poor drainage—you don’t want your veggies sitting in a puddle when snow melts!
We’ve noticed the snow always thaws first around our cold frames when we site them facing the morning sun, giving us a solid jump on the season before the rest of the garden wakes up.
Digging In: Ground vs. Raised Beds
Should our cold frame sit right on the ground, or should we build it above soil level? Here’s a quick breakdown of each style:
| Setup | Pros | Cons |
|---|---|---|
| In-Ground | Better insulation from surrounding soil | Requires more digging, trickier drainage |
| Raised Bed | Warms up faster in spring, good for wet yards | Cools off quicker in cold snaps |
| On Existing Bed | Easiest to move around the garden | May lose heat at exposed edges |
If you want more tips on how folks north of us handle winter gardening, check out this advice on protecting plants from freezing temperatures.
The Importance of Frame Slope and Insulation
The frame’s shape and how much insulation we add can make a real difference in how much cold our crops can take:
- Slope the lid at least a few inches (higher at the back) to catch the low winter sun and help rain or snow slide off.
- Use thicker wood for the frame—insulation counts here. Two-by wood (like 2×8 in front, 2×12 at the back) works really well.
- Try lining the sides or placing straw bales around the frame for extra warmth.
- An angled, clear lid—old glass windows or polycarbonate sheets—lets in light but helps keep the inside above freezing, even when it’s frigid out.
- Double-check that the lid opens easily for venting. Even on freezing days, a burst of sunshine can heat things up fast!
These little construction details mean our cold frames aren’t just for show—they actually help us harvest food for months longer than we could otherwise.
Keep Growing, Even When It’s Cold
So, we’ve talked about a bunch of ways to keep our gardens going longer, even when the weather turns chilly. Whether it’s using simple cold frames, hoop houses, or even just good old row covers, there are plenty of options for us to extend our growing seasons. It’s pretty cool how we can keep harvesting fresh veggies and starting seeds earlier, just by using a little bit of protection. Don’t let the cold stop you from enjoying your garden year-round!
Frequently Asked Questions
What exactly is a cold frame, and how does it help us garden in winter?
Think of a cold frame as a simple, bottomless box with a clear, angled lid. We use it to create a mini-greenhouse effect right in our garden. It traps the sun’s heat, protecting plants from harsh winds, frost, and snow. This allows us to start seeds earlier in the spring and keep harvesting crops later into the fall and even through the winter. It’s like giving our plants a cozy little shelter against the cold.
Besides keeping plants warm, what are the main advantages of using cold frames?
Cold frames are super handy! They help us get a head start on spring planting, meaning we can sow seeds weeks before the last frost. They also let us extend our harvest season well into winter, giving us fresh veggies when others can’t. Plus, we can use them to harden off young plants before moving them into the main garden, making them tougher and more ready to face the outdoors. Some folks even use them to protect tender perennials or force bulbs.
What materials should we consider when building our own cold frame?
We can build cold frames from lots of things! Sturdy wood, like untreated lumber, works great for the box. For the lid, old windows or storm doors are fantastic because they let in sunlight. We can also use clear plastic sheets, like plexiglass, if windows aren’t available. Some people even use straw bales to build the entire frame, which is a quick and insulating option. The key is to make it sturdy and let in as much light as possible.
Are there other ways to extend our growing season besides cold frames?
Absolutely! We can use floating row covers, which are like lightweight blankets made of fabric that we drape over our plants. These help keep out frost and pests. Another option is mini hoop houses, which are simple arched frames covered with plastic. These create a bit more space and protection than row covers. For even more protection, we can layer these covers, putting a row cover inside a hoop house, for example.
When is the best time to start seeds if we want to harvest in winter using season extension methods?
This is a bit tricky because it depends on what we’re growing. Generally, we need to start seeds much earlier than we might think, often six to eight weeks before we want the plants to be mature. The main challenge in winter isn’t just the cold, but the shorter daylight hours. We need to get our plants big enough before the days get too short for them to grow much. So, we plant and protect them, essentially putting them in a sort of cold storage until harvest time.
What kinds of vegetables are best suited for growing and harvesting through the winter in Zone 4?
We should focus on vegetables that naturally tolerate cold weather. Think hardy greens like kale, spinach, and mache (also known as corn salad). Root vegetables such as carrots, parsnips, and beets can also be left in the ground and harvested as needed, especially if they have some protection. Brussels sprouts are another great option. The key is to choose crops that don’t mind a bit of chill and can survive, or even improve in flavor, with frost.


