What to Can in September: Preserving Late-Summer Harvests

September is a fantastic time to get busy in the kitchen, isn’t it? The markets are still overflowing with late-summer goodness, and we’re thinking about how to keep those flavors around for the colder months. We love the idea of preserving our harvest, and there are so many ways to do it, not just with canning. Whether you’re a seasoned pro or just starting out, we’ve got some ideas to help you capture the best of what’s left of summer.
Key Takeaways
- September is prime time for preserving late-summer produce like tomatoes, apples, pears, and cucumbers.
- Beyond traditional canning, freezing and drying are great ways to save fruits, vegetables, and herbs.
- Apples and pears are perfect for sweet preserves, while tomatoes can become sauces and salsas.
- Don’t forget about herbs; drying them is an easy way to keep their flavor for winter cooking.
- When canning, start simple with water bath methods for high-acid foods and gather the right equipment.
What To Can In September: Embracing The Fall Bounty

September is a fantastic month for us home preservers. The late-summer harvest is still going strong, and we can capture all that goodness before the chill really sets in. It’s the perfect time to get busy in the kitchen and fill our pantries with delicious, homemade treats that will remind us of sunny days all winter long.
Tomatoes are probably the first thing that comes to mind when we think about September canning. Whether you grew them yourself or found a great deal at the farmer’s market, now is the time to process them. We love making big batches of tomato sauce to freeze for quick weeknight dinners, or canning up some chunky salsa for those taco nights. Don’t forget about simple crushed tomatoes, which are incredibly versatile for soups and stews. Preserving tomatoes is a cornerstone of fall canning.
Apples And Pears: Sweet Preserves For Winter
As the days get shorter, apples and pears are at their peak. These fruits are perfect for making sweet jams, jellies, and butters. Imagine spreading warm apple butter on toast on a cold morning – pure bliss! We also like to can spiced pears as a lovely dessert or side dish. It’s a wonderful way to capture that crisp, autumnal flavor. You can find some great recipes for pear jam that are perfect for this time of year.
Cucumbers: The Classic Pickle
No fall harvest preservation list would be complete without cucumbers. While we might have made refrigerator pickles earlier in the summer, September is the time for serious canning. We’re talking about classic dill pickles, bread and butter pickles, and even spicy pickled beans. These crunchy delights are perfect for snacking or adding a zesty kick to sandwiches and salads. Getting your pickle recipes ready is a must.
Beyond Tomatoes: Other September Canning Stars

While tomatoes often steal the show in September canning, we can’t forget about the other fantastic late-summer and early-fall produce that’s just begging to be preserved. We’re talking about those sweet stone fruits and berries that are still hanging around, plus some surprisingly versatile veggies and, of course, those beautiful blueberries.
Peaches And Berries: Capturing Summer’s Sweetness
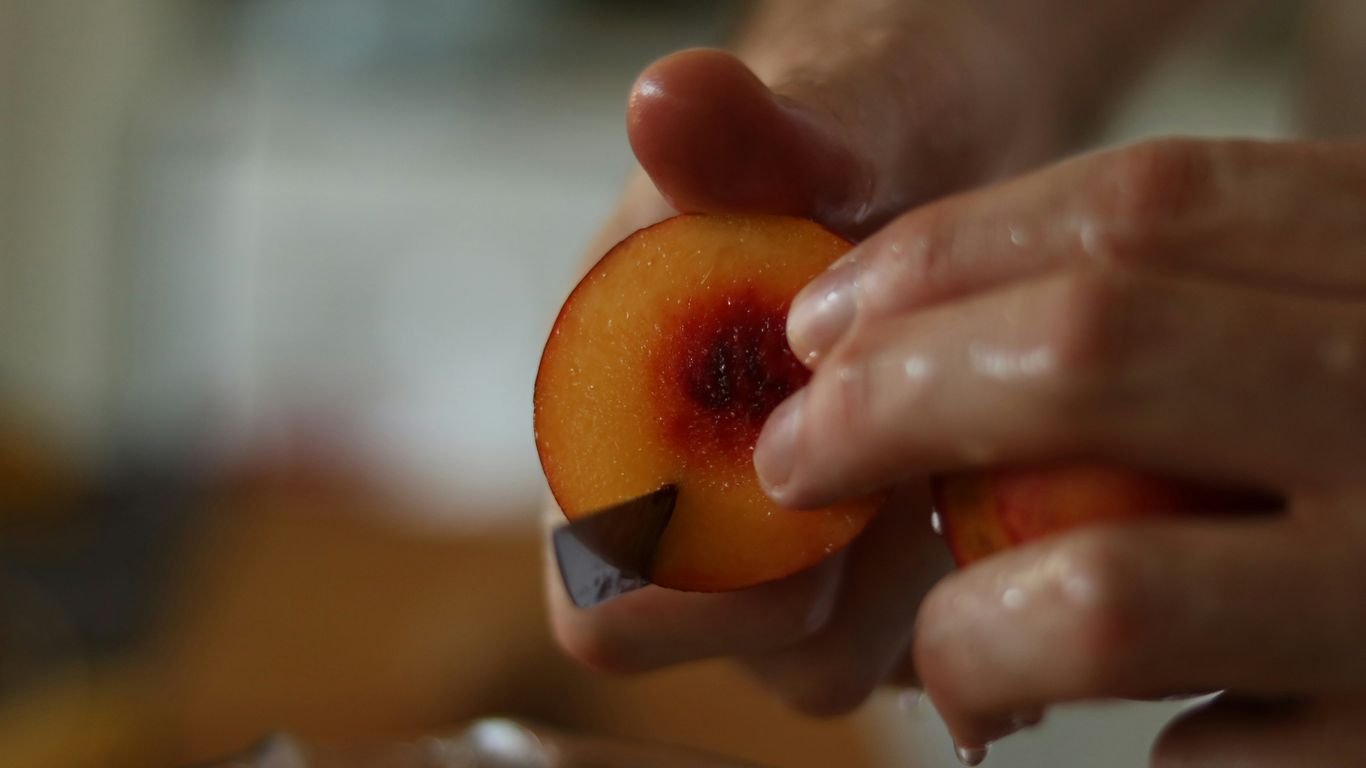
Even though summer is winding down, we can still get our hands on some amazing peaches and berries. These fruits are perfect for canning into jams, jellies, or even fruit butters. Imagine spreading a dollop of homemade peach jam on your toast on a chilly winter morning – it’s like a little taste of sunshine! We find that using fruit that’s perfectly ripe, but not mushy, gives us the best texture and flavor. A simple combination of fruit, sugar, and a bit of lemon juice is often all you need to create something truly special.
- Tip: If you’re short on time, consider making freezer jam. It skips the hot water bath and is ready in a flash, though it needs to be stored in the freezer.
Zucchini: A Versatile Canning Choice
Don’t let that zucchini overload get you down! While we might be tired of eating zucchini bread, this humble squash is surprisingly adaptable for canning. One of our favorite ways to preserve it is by making a "pineapple zucchini" relish. It sounds a bit unusual, but the zucchini takes on a lovely texture and absorbs the flavors of the other ingredients, making it a fantastic side dish for chicken or rice. It’s a great way to use up a surplus without just making more bread.
Blueberries: Jamming For The Future
Blueberries are another late-season gem that we love to can. Whether you’re making a classic blueberry jam or a more adventurous spiced blueberry concoction, canning these little powerhouses means you’ll have a sweet treat ready for pancakes, scones, or even just straight from the spoon all winter long. We’ve found that a simple blueberry jam recipe, often just requiring blueberries, sugar, and lemon juice, is incredibly satisfying to make and even more satisfying to eat.
Preserving these late-season fruits and vegetables isn’t just about saving food; it’s about capturing the essence of summer and having those bright flavors ready to enjoy when the weather turns cold. It’s a little bit of magic we can create right in our own kitchens.
Don’t Forget The Herbs: Drying For Flavor

We often think about canning fruits and vegetables when September rolls around, but we shouldn’t overlook our herb gardens. Drying herbs is a fantastic way to capture their potent flavors and aromas for use all year long. It’s a simple process that doesn’t require fancy equipment, and the results are incredibly rewarding.
Drying Fresh Herbs For Seasoning
There are a few ways we can dry our herbs. Air drying is probably the most straightforward method. We just need to gather bunches of herbs, tie them together, and hang them upside down in a warm, dry, and well-ventilated spot. Think of a pantry, a shed, or even a spare room. It usually takes a week or two for them to become completely dry and crumbly.
Another option is using a food dehydrator. This is quicker and gives us more control over the drying process. We just spread the herb leaves in a single layer on the dehydrator trays and set it to a low temperature, usually around 95-115°F (35-46°C). They should be ready in a few hours.
If you’re in a hurry, the oven can also work. We can lay the herbs on a baking sheet and put them in the oven on the lowest possible setting, often with the door slightly ajar to let moisture escape. We need to keep a close eye on them to prevent burning.
No matter the method, the goal is to dry them until they are brittle and easily crumble.
Creating Your Own Herb Blends
Once our herbs are dried, the real fun begins: making our own custom blends! This is where we can get creative and tailor seasonings to our specific tastes and cooking styles. We can start by drying common herbs like basil, oregano, thyme, rosemary, sage, and parsley separately. Then, we can mix and match them to create unique combinations.
Here are a few ideas to get us started:
- Italian Blend: Combine dried basil, oregano, rosemary, and thyme. Great for pasta sauces, pizzas, and roasted vegetables.
- Poultry Seasoning: Mix dried sage, thyme, marjoram, and a pinch of black pepper. Perfect for chicken, turkey, or stuffing.
- Herbes de Provence: A classic blend of thyme, rosemary, savory, marjoram, and lavender (optional). Wonderful for grilled meats and vegetables.
- Dill Weed Blend: Simply dried dill weed, fantastic for fish, dips, and potato salads.
We can store these dried herbs and blends in airtight containers in a cool, dark place. Properly dried and stored herbs can retain their flavor for up to a year. It’s amazing how a little bit of effort in September can bring so much flavor to our meals throughout the winter.
Freezing Favorites: Quick Preservation Methods
When we think about putting up our harvest, canning often comes to mind first. But let’s be honest, sometimes we just need a quicker way to save those fresh flavors for later. Freezing is our go-to for exactly that. It’s a fantastic way to capture the taste of summer produce and have it ready for meals all year long. We love stocking up on seasonal fruits when they’re at their best and freezing them for smoothies, or prepping veggies for quick weeknight dinners. It really makes throwing together a winter soup or stew so much easier.
Freezing Berries For Smoothies
Berries are a perfect candidate for the freezer. They hold up really well and are incredibly versatile. We usually wash them gently, pat them dry, and then spread them in a single layer on a baking sheet to freeze individually. Once they’re solid, we transfer them to freezer bags or containers. This prevents them from clumping together, so you can grab just the amount you need. This simple step makes a huge difference when you’re reaching for them later. They’re perfect for adding to your morning smoothie, baking into muffins, or even making a quick sauce.
Preparing Vegetables For Freezing
Most vegetables benefit from a quick blanch before freezing. This means briefly boiling them and then plunging them into ice water. It stops the enzymes that can cause them to lose flavor and texture over time. After blanching, we drain them well and pack them into freezer bags or containers. We try to remove as much air as possible to prevent freezer burn. Some favorites for freezing include broccoli, peas, corn, and green beans. You can even create pre-portioned stir-fry or soup mixes this way!
Herbs In The Freezer
Don’t forget about those fragrant herbs! Freezing is a great way to preserve their vibrant flavor. We often chop herbs like parsley, dill, or chives and mix them with a little bit of water or olive oil, then freeze them in ice cube trays. Once frozen, these herb cubes can be popped out and stored in a freezer bag. They’re perfect for adding directly to soups, stews, or sauces. Another method is to make herb compound butter by mixing finely chopped herbs with softened butter, then rolling it into a log and freezing it. This is wonderful for topping cooked meats or vegetables. Preserving herbs this way means you can still enjoy that fresh garden taste even in the dead of winter. You can find more tips on preserving your harvest at Square Foot Garden.
Getting Started With Canning: Tips For Success
So, you’re ready to jump into canning? We get it. It might seem a little intimidating at first, maybe even a bit scary if you’ve heard stories. But honestly, it’s a skill like any other, and we can learn it step by step. Don’t feel like you have to can hundreds of pounds of food your first year. Start small, maybe with a few jars of salsa or some pickles. Give yourself some grace; nobody expects perfection right out of the gate.
There are two main ways we can preserve food: water bath canning and pressure canning. For most of the late-summer and early-fall produce we’ll be working with – think tomatoes, apples, pears, and cucumbers – water bath canning is the way to go. It’s generally less complicated and requires less specialized equipment.
Water Bath Canning Basics
Water bath canning is perfect for high-acid foods. This includes most fruits, jams, jellies, pickles, and tomatoes (though sometimes tomatoes need a little added acid, like lemon juice or citric acid, depending on the recipe).
Here’s what you’ll generally need:
- A large pot, deep enough to cover the jars by at least an inch or two of water. A big stockpot works great.
- A canning rack or a clean kitchen towel to line the bottom of the pot. This keeps the jars from sitting directly on the pot’s bottom and prevents them from breaking.
- Canning jars, lids, and bands. Make sure they’re clean and free of any nicks or cracks.
- A jar lifter. This is a handy tool that grips the jars so you can safely move them in and out of the hot water.
- A funnel and a bubble popper or non-metallic spatula. The funnel helps get food into the jars without making a mess, and the bubble popper helps release any trapped air.
The actual process involves filling your sterilized jars, securing the lids, and then submerging them in boiling water for a specific amount of time. The processing time depends on the recipe, the size of the jar, and your altitude. Always follow a tested recipe from a reliable source.
Always use tested recipes from reputable sources like the National Center for Home Food Preservation or the Ball canning guides. These recipes have been developed and tested for safety and quality, taking into account factors like acidity, processing time, and altitude adjustments.
Pressure Canning For Low-Acid Foods
Now, if you’re looking to can things like meats, poultry, seafood, or most vegetables (like green beans or corn), you’ll need a pressure canner. These canners reach temperatures higher than boiling water, which is necessary to kill off any harmful bacteria, like the kind that causes botulism, in low-acid foods.
Pressure canners come in two main types: weighted-gauge and dial-gauge. They are more of an investment than a water bath canner, but they open up a whole new world of preservation possibilities.
Essential Canning Equipment
Beyond the pot and jars, having a few other bits and pieces can make your canning experience much smoother. We’ve already mentioned the jar lifter, funnel, and bubble popper. A good set of canning tools often includes these items. You might also want a ladle for filling jars and a clean cloth for wiping jar rims before sealing. Don’t forget a good cookbook or reliable online resource for tested recipes – that’s probably the most important piece of equipment you can have!
Creative Canning Ideas For September
September is a fantastic time to get creative in the kitchen, especially with all the late-summer produce still hanging around. We love finding new ways to preserve these flavors so we can enjoy them long after the weather turns cold. It’s not just about making the usual tomato sauce or apple butter; we’re talking about putting a fun spin on things!
Pineapple Zucchini Delight
This might sound a little unusual, but trust us, it’s a winner. Zucchini, when cooked down, takes on a surprisingly neutral flavor that pairs wonderfully with sweet and tangy additions. We like to combine shredded zucchini with crushed pineapple, sugar, and a bit of lemon juice. It cooks down into a chunky, sweet spread that’s amazing on toast, stirred into yogurt, or even as a topping for pork.
It’s a great way to use up that zucchini surplus and create something truly unique.
Spiced Pear Jam
While plain pear jam is lovely, adding spices takes it to a whole new level. Think cinnamon, nutmeg, cloves, and maybe even a hint of ginger. We find that using a mix of firm and slightly softer pears gives the best texture. This jam is perfect for a cozy breakfast or as a gift for friends and family. It really captures the essence of autumn in a jar.
Here’s a simple spice blend we like:
- 1 teaspoon ground cinnamon
- 1/2 teaspoon ground nutmeg
- 1/4 teaspoon ground cloves
- 1/8 teaspoon ground ginger
Dill Pickle Recipes
We all know and love classic dill pickles, but have you ever tried making them with a twist? Consider adding a few sprigs of fresh dill, some garlic cloves, and a pinch of red pepper flakes to your brine for a little extra kick. Another fun idea is to try making bread and butter pickles, which are sweeter with onions and a touch of mustard seed. These aren’t just for sandwiches; they’re also great chopped up and added to potato salads or tartar sauce.
Canning is a wonderful way to capture the season’s best, and September offers a bounty of possibilities. Don’t be afraid to experiment with different flavor combinations and ingredients. The joy of opening a jar of homemade goodness in the middle of winter is truly unmatched.
We find that having a few go-to creative recipes makes the canning process even more enjoyable. It’s a chance to play with flavors and create something special that reflects the harvest season.
Wrapping Up Our September Preserving
So, there you have it! We’ve talked about all sorts of ways to keep those late-summer goodies around for the colder months. Whether you’re a seasoned canner or just dipping your toes in, there’s a method out there for everyone. Don’t let those beautiful tomatoes, apples, and peppers go to waste. Give some of these ideas a try, and you’ll be enjoying a taste of summer all winter long. Happy preserving, everyone!
Frequently Asked Questions
What’s the best way to start canning if we’re new to it?
When we first started canning, it felt a bit overwhelming. Our best advice is to start small! Don’t try to can everything at once. Pick a few simple recipes, like tomato sauce or apple butter, and focus on those. Learning the basics with a few items makes the whole process much less scary and way more fun.
Can we preserve fruits and veggies other than canning?
Absolutely! While canning is great, we also love freezing. It’s super quick for things like berries for smoothies or blanching veggies for stir-fries. Drying herbs and some fruits is another fantastic option that doesn’t require a lot of special gear. We even pack some roasted tomatoes in oil and freeze them!
What kind of produce should we look for in September to preserve?
September is fantastic for late-summer and early-fall goodies! We always look for tons of tomatoes for sauces and salsas, apples and pears for sweet jams and butters, and cucumbers for pickles. Zucchini is usually abundant too, and surprisingly versatile for preserving.
Is water bath canning safe for everything?
For most fruits, tomatoes, pickles, and jams, water bath canning is perfect. However, for low-acid foods like meats or certain vegetables, we need to use a pressure canner. It gets hotter than boiling water, which is necessary to kill off any risky bacteria in those types of foods. Always follow a tested recipe for safety!
How do we keep our canned goods from going bad?
The key is proper sealing and storage. Make sure your jars seal correctly after processing – you’ll often hear a ‘pop’ as they cool. Store the sealed jars in a cool, dark, and dry place. We avoid places with big temperature swings, like near the stove or in direct sunlight, to help them last longer.
What are some fun things we can make with our September harvest?
We love getting creative! Imagine spiced pear jam, or a unique pineapple-zucchini preserve that’s great over rice. And who doesn’t love a good dill pickle? We’ve also made a delicious tomato herb sauce that’s a lifesaver on busy weeknights. The possibilities are really endless once you start preserving.


