We’ve been wanting to grow our own fresh greens right in our home, and after a bit of research, we decided a microgreen growing station was the way to go. It seemed like a simple project, and honestly, it really is! You don’t need a lot of space or fancy equipment to get started. We’ll walk you through setting up your own little green space, from picking the right spot to harvesting your first batch of tiny, nutritious plants. It’s a rewarding way to add some fresh flavor to our meals year-round.
Key Takeaways
- Setting up your microgreen growing station involves choosing a good spot, gathering your supplies, and preparing your trays.
- Light is super important for microgreens; you can use natural light from a window or artificial grow lights, aiming for 6-8 hours daily, but not too much darkness.
- Picking the right growing medium, like soil mixes or mats, is key for keeping your microgreens hydrated.
- Planting involves calculating the right amount of seeds for your tray and leveling the growing medium.
- Maintaining your microgreen growing station means keeping things moist, ensuring good air movement, and watching out for any problems.
Setting Up Your Microgreen Growing Station

Alright, let’s get this microgreen party started! Setting up your little indoor garden is pretty straightforward, and honestly, it’s kind of fun. We want to make sure we’re giving these tiny greens the best possible start, right?
Choosing the Right Location for Your Station
First things first, where are we going to put this thing? You don’t need a whole lot of space, but you do need a spot that gets decent light. A sunny windowsill is a classic choice, but if your windows don’t get enough sun, don’t sweat it. We can totally supplement with grow lights. Think about a spot that’s out of the way but still accessible, maybe on a kitchen counter or a shelf. Just make sure it’s a place where you can easily water them without making a huge mess. We’re aiming for at least six to eight hours of light per day, whether that’s from the sun or a good LED shop light.
Essential Supplies for Your Microgreen Growing Station
So, what do we actually need? It’s not a super long list, which is great for beginners. You’ll want a couple of trays – one with drainage holes and one without to catch the water. We’ll also need a growing medium, which we’ll talk more about later, but think of it as the soil for your microgreens. Of course, you can’t forget the seeds! And a spray bottle for watering is a must. If you’re using artificial lights, you’ll need those too. Here’s a quick rundown:
- Two shallow trays (one with drainage, one without)
- Your chosen growing medium
- Microgreen seeds
- A spray bottle
- Artificial grow lights (if needed)
- A small fan (optional, but good for airflow)
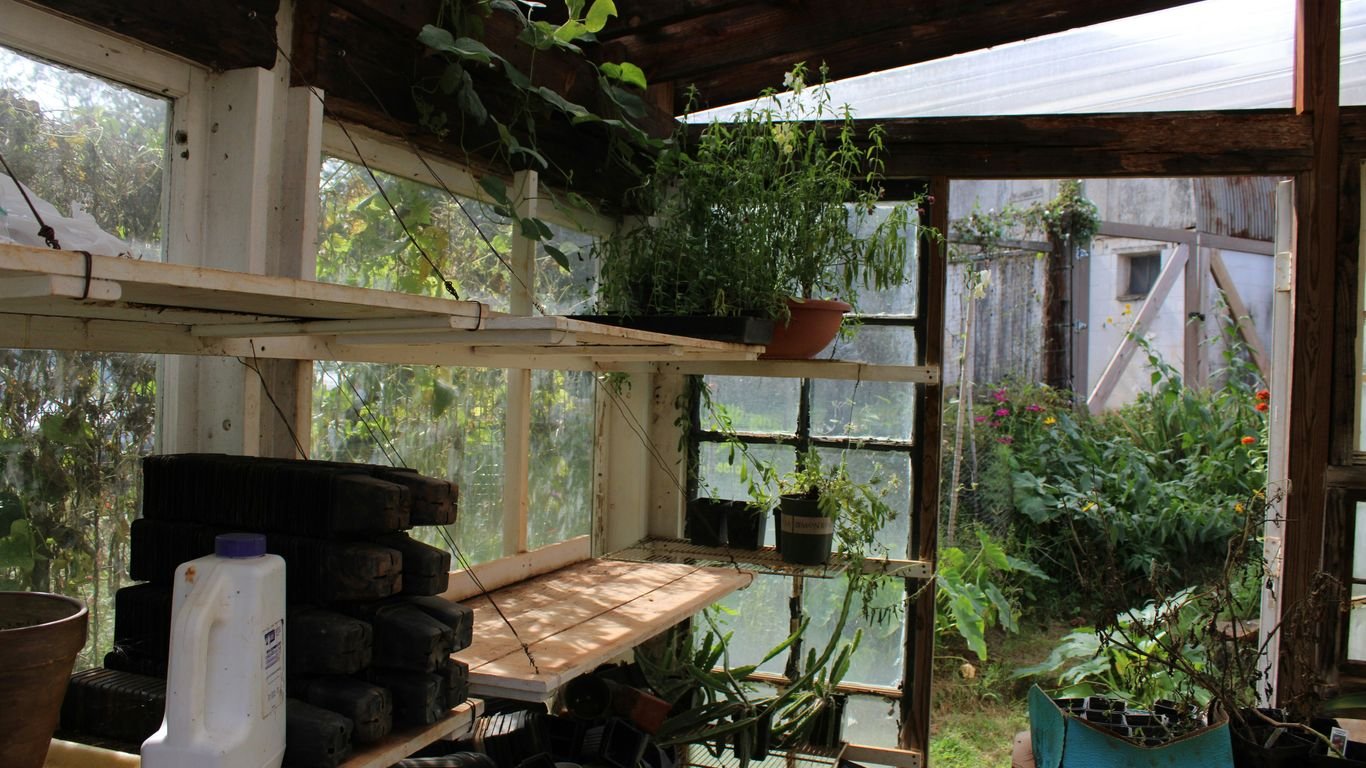
Preparing Your Trays and Growing Space
Before we get any seeds in the dirt, we need to get our space and trays clean. Give everything a good wash with hot, soapy water. If you’ve got trays that can go in the dishwasher, that’s even easier, just skip the heated dry cycle. A clean start helps prevent any yucky stuff from messing with our tiny plants. Once everything is clean and dry, we can get our trays ready. The tray with holes goes inside the one without, and then we’ll fill the top one with our growing medium. It’s all about creating a good home for those seeds to sprout.
A clean setup is key to healthy microgreens. We want to avoid any mold or pests from the get-go, so a little prep work goes a long way.
The Importance of Light for Your Microgreens
Light is something we can’t ignore if we’re serious about growing microgreens indoors. Let’s walk through what we’ve figured out about keeping those baby greens happy and healthy with the right lighting setup.
Natural Sunlight vs. Artificial Grow Lights
We all like to hope our sunny window will do the trick, but the truth is, not every spot in our house gets enough direct sunlight through the day. Ideally, microgreens want at least 6-8 hours of solid light, but most of us need artificial lights to boost growth, especially during winter or for darker rooms. Here’s a super simple rundown of both options:
| Light Source | Pros | Cons |
|---|---|---|
| Natural Sunlight | Free, full spectrum, easy setup | Hard to control, varies daily |
| Grow Lights | Adjustable, consistent results | Small upfront cost |
Grow lights (like LEDs) give us control—set them on a timer, place them as close as possible to the trays, and boom, happy greens all year.
Optimizing Light Cycles for Growth
We might not think about this at first, but microgreens don’t need light 24/7. In fact, they actually need a few hours of darkness every day to grow well. Too much continuous light and they get stressed or weak. Here’s what works for us:
- 12-16 hours of light per day is a sweet spot.
- 8-12 hours off (total darkness) lets the plants recover and develop.
- Timers will basically save you from remembering to turn the lights on and off. Highly recommend!
Positioning Lights for Maximum Benefit
Now, even with the right lights, where we put them makes a massive difference. Microgreens are funny: if light is too far, they get tall, leggy, and floppy instead of short and dense.
Some tips we’ve learned:
- The closer the light, the better (around 2-4 inches above the greens works for most setups).
- Raise the lights as the microgreens grow—don’t leave them static or you’ll get uneven growth.
- Make sure the whole tray gets even coverage; dark corners = patchy crops.
Finding the right lighting routine took us a few tries, but the payoff is so clear: our trays are fuller, colors are brighter, and harvests are much more satisfying. Once you dial in your light setup, you can stop worrying and watch your microgreens thrive.
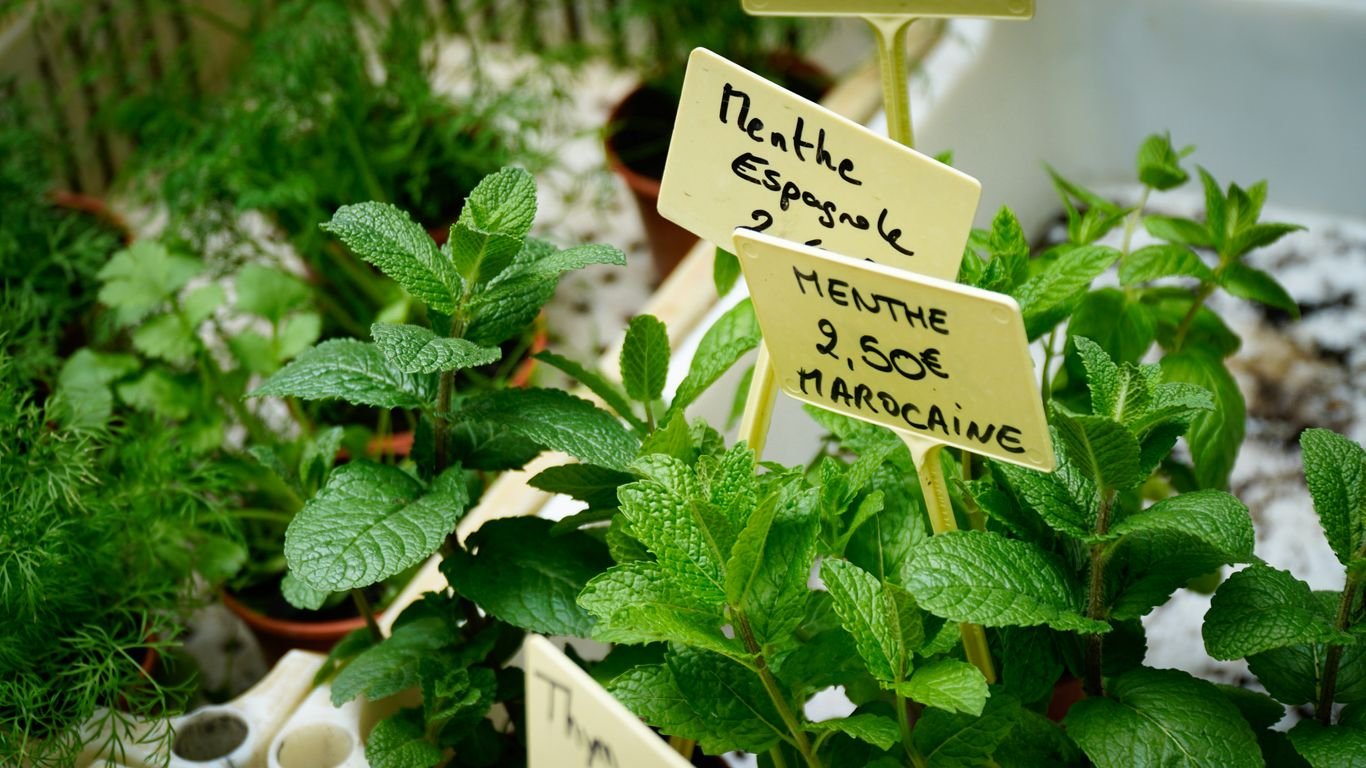
Selecting the Best Growing Medium
When we’re setting up our microgreen station, picking the right stuff for our plants to grow in is pretty important. It’s not just about dirt; it’s about giving those tiny roots a good home so they can get big and strong. We want something that holds moisture well but also lets extra water drain away. Plus, thinking about sustainability is a good idea too.
Popular Medium Options for Microgreens
There are a few common choices people use for growing microgreens. Each has its own pros and cons, and what works best can sometimes depend on what you’re growing.
- Coco Coir: This comes from coconut husks and is a popular choice. It’s known for holding water well and is generally considered a more sustainable option than peat moss. We like using it because it’s easy to work with and provides a good environment for roots.
- Peat Moss: You’ll find this in a lot of seed-starting mixes. It’s good at retaining moisture, but there’s some debate about how sustainable it is to harvest. If you go this route, look for mixes that don’t have a lot of extra stuff in them.
- Seed Starting Mix: Many people, including us, find that a good quality organic seed starting mix works great. These are usually lighter than regular potting soil, which makes it easier for delicate microgreen roots to push through. We often look for mixes that are peat-free or have coco coir as the base.
- Hydroponic Mats: Some folks skip soil altogether and use special mats made for hydroponic growing. These can be a bit cleaner and simpler for some setups, but they might require a different watering approach.
Why Soil Moisture Matters
Getting the moisture level just right is key. Too dry, and your seeds won’t germinate well, or the seedlings will wilt. Too wet, and you risk mold and other yucky stuff growing, which can kill your microgreens before they even get going. We aim for a consistency that feels like a wrung-out sponge. It should be moist to the touch, but no water should drip out when you gently squeeze it. This perfect balance helps the seeds stick, keeps them hydrated during germination, and supports healthy root development.
Sustainable and Safe Growing Medium Choices
We try to be mindful of where our growing medium comes from. Using renewable resources is a big plus. Coco coir is a great example of a byproduct that gets a second life. When we’re done with our microgreens, the used soil can be added to our compost bin. It breaks down and becomes wonderful food for our larger garden plants later on. It feels good to close the loop like that, turning something used into something that nourishes our future harvests.
Planting Your Microgreen Seeds

Getting seeds into the trays feels like the most exciting part of the process—this is where all the action finally starts! A few details here set us up for success, from picking the right amount of seeds to finishing with a nice, smooth growing surface. Let’s talk through each step.
Calculating the Right Amount of Seeds
No one wants trays that are either patchy or overcrowded, so we need to figure out how many seeds to use. For a typical 12-inch tray, we generally use 10 to 15 grams of seeds. A small kitchen scale comes in handy, but if you don’t have one, measuring spoons work fine too. Sizing depends on seed type, but here’s a go-to reference:
| Tray Size | Small Seeds (grams) | Large Seeds (grams) |
|---|---|---|
| 10" x 10" | 7–9 | 12–15 |
| 12" x 12" | 10–13 | 15–20 |
We always try to spread seeds evenly, sprinkling by hand, so that every inch gets covered without piling up seeds in one spot. For more specifics, the growing microgreens seed guide has helped us a ton when starting out.
Pre-Soaking Seeds When Necessary
Some of the larger seeds—think peas, sunflowers—or those with a thicker shell, should be soaked first. Soaking helps wake up those seeds and can give us faster, more even sprouting. Here’s how we do it:
- Place seeds in a bowl of clean, cool water.
- Let them sit for about 4–8 hours (peas and sunflower seeds adore a long soak).
- Rinse thoroughly until the water runs clear.
- Drain well, then they’re ready to sow right away.
Don’t stress if some seeds don’t need soaking. For most tiny seeds like broccoli or mustard, just skip this step.
Leveling the Soil for Even Planting
Before adding seeds, we always pat down the growing medium gently. The idea is to keep the surface flat and even—it’s so much easier to get uniform germination when the surface is smooth. We try to avoid compacting the soil, but smoothing it out helps seeds stick and not roll around.
- Gently press the surface after adding your medium.
- Remove any big lumps or debris.
- Use your fingers or a ruler edge to sweep the top flat.
A tidy, level surface really helps seeds stay where placed, which means healthier, more uniform microgreens throughout the whole tray.
That’s it! Once seeds are sprinkled in, give them a light mist with water and cover them (sometimes with another tray) to keep light and drafts off for those first couple days of sprouting. Now we’re on our way to strong, healthy microgreen growth.
Maintaining Your Microgreen Growing Station
So, you’ve got your microgreens planted and they’re starting to sprout – that’s awesome! Now comes the part where we keep them happy and healthy until harvest. It’s not super complicated, but paying attention to a few key things will make a big difference.
Keeping Your Trays Consistently Moist
This is probably the most important thing we do. Microgreens need consistent moisture, but they definitely don’t like sitting in a puddle. Think of it like a wrung-out sponge – damp, but not dripping. We usually check our trays twice a day, especially when they’re young and just starting out. If the soil surface looks dry, it’s time for a drink. We prefer watering from the bottom whenever possible. This means filling a reservoir tray with water and letting the growing tray soak it up through the drainage holes. It helps keep the leaves dry, which is a big help in preventing any yucky stuff from growing.
- Check moisture levels daily, or even twice daily.
- Water from the bottom to keep leaves dry.
- Avoid letting trays dry out completely.
- Don’t let trays sit in standing water for too long.
Ensuring Proper Airflow to Prevent Rot
Good airflow is your best friend when it comes to preventing mold and other fungal issues. Stagnant, humid air is a recipe for disaster. We make sure our grow area has some gentle air movement. Sometimes, just opening a window for a bit does the trick. If you have a small fan, you can set it on a low setting to circulate the air around the trays. This helps to dry out any surface moisture that might be lingering and keeps things fresh. We’ve found that good air circulation really helps keep our microgreens healthy and reduces the chance of problems.
We learned early on that a little bit of air movement goes a long way. It’s not about blasting them with wind, just a gentle circulation to keep things from getting too damp and stuffy.
Monitoring for Pests and Diseases
While we’re growing indoors, we still need to keep an eye out for any unwelcome visitors or signs of trouble. Most of the time, our indoor setup keeps pests away, but it’s always good to be vigilant. We do a quick visual check of our trays every day. Look for anything unusual – spots on the leaves, wilting that doesn’t seem related to watering, or any fuzzy growth. If you spot something, it’s best to deal with it right away. Early detection is key. For minor issues, sometimes just removing the affected leaves or adjusting your watering can help. If you’re growing a lot, like some of the folks looking to make a profit with microgreens, keeping things clean and tidy is your first line of defense. A clean growing space means fewer places for pests and diseases to hide. We also make sure to clean our trays thoroughly between uses, which is a big help in preventing future problems. You can find some great tips on cleaning and caring for your trays here.
Harvesting and Enjoying Your Microgreens

So, you’ve nurtured your little greens from seed to this point – it’s time for the best part: eating them! Knowing when to harvest is key to getting the most flavor and nutrition. Generally, microgreens are ready when they’ve reached about 1 to 3 inches tall, and you can see their first set of true leaves starting to form. Some, like radishes and broccoli, are quick and might be ready around 7-10 days, while others, like peas or sunflowers, can take a bit longer, maybe 10-14 days.
Knowing When Your Microgreens Are Ready
It’s not just about height; look for vibrant color and a good leaf structure. For some varieties, like sunflowers, you’ll want to harvest before the first true leaves get too spiky, as they can become bitter. For others, like pea shoots, harvesting just above the bottom set of leaves can even encourage a second growth.
Here’s a quick guide for some common types:
- Radish, Broccoli, Kale, Mustard: Ready when they are 1.5-2 inches tall, with their first true leaves appearing.
- Peas: Harvest when they are 3-4 inches tall, cutting about an inch above the soil line.
- Sunflowers: Harvest when they are 3-4 inches tall, ideally before the true leaves fully develop.
The Best Tools for Harvesting
When it comes to cutting your greens, a clean, sharp tool is your best friend. We usually reach for a pair of kitchen shears or a small, sharp knife. A gentle sawing motion works wonders to cut the stems cleanly without disturbing the roots too much. This is important if you’re hoping for a second harvest from the same tray. If you’re harvesting for sale, chefs often prefer a shorter stem-to-leaf ratio, so keep that in mind.
Storing Your Freshly Harvested Greens
Once you’ve harvested, you’ve got a few options. You can use them right away, which is always the freshest way to go. If you need to store them, it’s best to do so unwashed. Place a dry paper towel in the bottom of an airtight container to soak up any extra moisture, and then store them in the refrigerator. Properly stored, they can last for about 7-14 days. Basil is a bit of a special case; it tends to do better stored at room temperature, as it can wilt in the cold. Remember, washing them right before you eat them will help them last longer. After you’re done with the soil and roots, they make great compost for your garden!
Harvesting your own microgreens means you’re getting them at peak freshness, often far better than what you’d find at the store. It’s a simple way to add a nutritional punch to almost any meal, from salads to sandwiches, or even just as a healthy snack. We love using them to brighten up year-round salads!
Wrapping It Up
So there you have it! Building your own indoor microgreen station might seem like a lot at first, but we’ve walked through it step-by-step. We learned what you need, how to set it up, and even a few tips to keep things growing well. Now you’re all set to enjoy fresh, healthy greens right from your home, no matter the season. It’s pretty cool to think about having such nutritious food just a few steps away. Give it a try, and happy growing!
Frequently Asked Questions
What exactly are microgreens?
We think of microgreens as super young vegetable and herb plants. They’re harvested when they’re just a few inches tall, packing a lot of flavor and nutrients into a tiny package. They’re like the baby version of your favorite greens, but way more powerful!
Do we really need grow lights, or can a sunny window do the trick?
A sunny window can work, especially if it gets at least six hours of direct sunlight daily. However, for the best and most consistent results, we recommend using grow lights. These lights give us more control over the light cycle, allowing us to give our microgreens up to 18 hours of light, which helps them grow faster. Plus, we can position them nice and close to the plants.
What’s the best stuff to grow microgreens in?
We have a few favorite options! Many growers use soil-based potting mixes, coconut coir, or special mats made from natural fibers like hemp. The main thing is that the growing material holds moisture well but also allows for good drainage. We like to keep things clean, safe, and good for the environment.
How much seed should we be putting in each tray?
This is a great question! The amount of seed we use depends on the type of microgreen and the size of our tray. We usually follow the instructions that come with the seeds, but generally, we want to spread them evenly so they have enough space to grow without getting too crowded.
How do we keep our microgreens from getting moldy or sick?
Keeping things clean is key! We make sure our trays and tools are washed well. Good airflow is also super important, so we sometimes use a small fan to keep the air moving around the plants. This helps prevent moisture from building up and causing problems like rot or mold.
When do we know it’s time to harvest our microgreens?
We know our microgreens are ready when they’ve developed their first set of true leaves, which usually happens about one to three weeks after planting. They’ll be around 2-4 inches tall and look nice and lush. We use clean scissors to snip them right above the soil line.