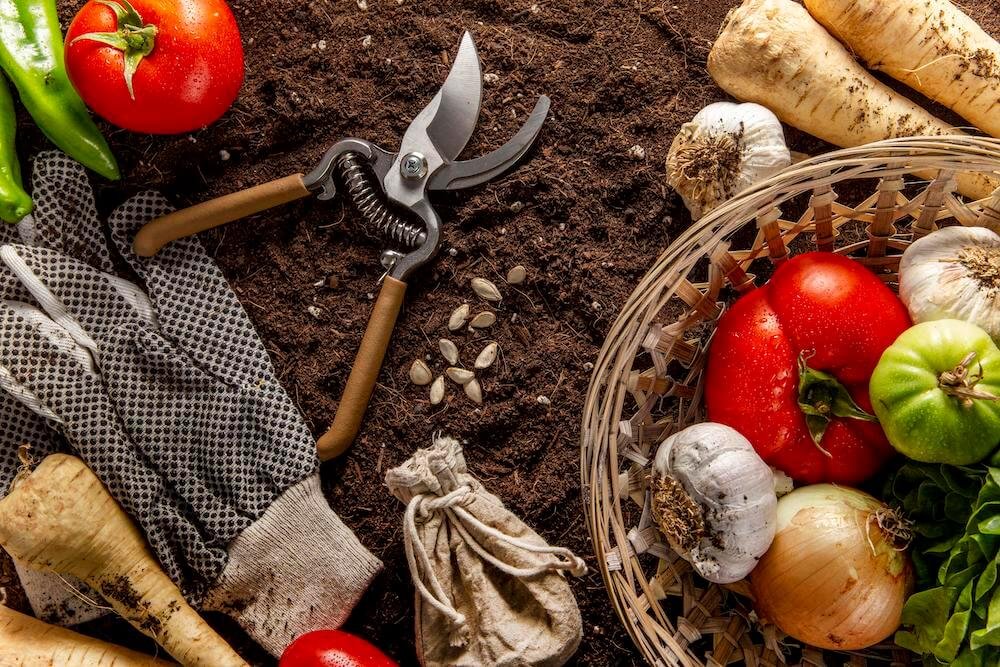
We’re going to talk about water glassing eggs today. It’s a pretty cool way to keep eggs fresh for a long time without needing to put them in the fridge. We’ve tried it ourselves, and it really works! This guide will walk you through everything you need to know to start water glassing eggs at home.
Key Takeaways
- Water glassing eggs is a simple, old-school way to keep eggs fresh for months, even up to a year, without refrigeration.
- You’ll need fresh, unwashed eggs, a clean container, and pickling lime (calcium hydroxide) to make the preserving solution.
- The process involves mixing the pickling lime with water to create a solution, then carefully placing your eggs in it, making sure they are fully covered.
- Store your water glassed eggs in a cool, dark place, like a pantry or basement, to keep them good for as long as possible.
- Even if the solution gets a bit cloudy or an egg floats, there are easy fixes, and we’ll show you how to tell if your eggs are still good to eat.
Why Water Glassing Eggs Is a Game Changer
Understanding the Magic Behind Water Glassing
Okay, so why should we even bother with water glassing? Well, think about it: fresh eggs, available months after your hens have slowed down for the winter. That’s the core appeal. Water glassing is a simple, effective way to preserve eggs without refrigeration. It relies on creating an alkaline environment that prevents bacteria from spoiling the eggs. It’s like a time capsule for your eggs, keeping them usable for baking and cooking long after they’d normally go bad. We’re not talking about some weird, complicated process either. It’s surprisingly straightforward, and the results are pretty amazing.
The Historical Roots of Egg Preservation
Egg preservation isn’t some newfangled trend; people have been doing it for centuries! Before refrigeration, folks needed ways to keep food from spoiling, and eggs were no exception. Water glassing, using lime, was a common method. Our grandparents or great-grandparents might have relied on this technique. It’s a testament to its effectiveness and simplicity. It’s kind of cool to connect with that history, using a method that’s been around for so long. It makes us feel more connected to the past, and it’s a reminder that sometimes the old ways are the best ways. It’s a great way to achieve homestead produce preservation.

Comparing Water Glassing to Other Methods
So, how does water glassing stack up against other egg preservation techniques? Let’s consider a few options:
- Refrigeration: Good for short-term storage (a few weeks), but not long-term.
- Freezing: Works well if you crack the eggs first, but changes the texture.
- Dehydrating: Creates powdered eggs, which are great for some things, but not ideal for others.
- Isinglass: Similar to water glassing, but uses a gelatinous substance derived from fish.
Water glassing offers a balance of simplicity, cost-effectiveness, and preservation quality. It keeps the eggs in their natural form, ready to be used as if they were fresh from the hen house. Plus, it doesn’t require any fancy equipment or special ingredients (besides the pickling lime, of course!).
Water glassing is a low-tech, reliable method that allows us to extend the shelf life of our eggs without sacrificing their quality. It’s a practical solution for anyone who wants to make the most of their egg harvest and reduce food waste.
Gathering Your Water Glassing Essentials
Alright, so you’re ready to dive into water glassing eggs? Awesome! Before we get our hands dirty, let’s make sure we have everything we need. Trust us, having all your ducks (or eggs!) in a row will make the whole process way smoother.
Selecting the Perfect Eggs for Water Glassing
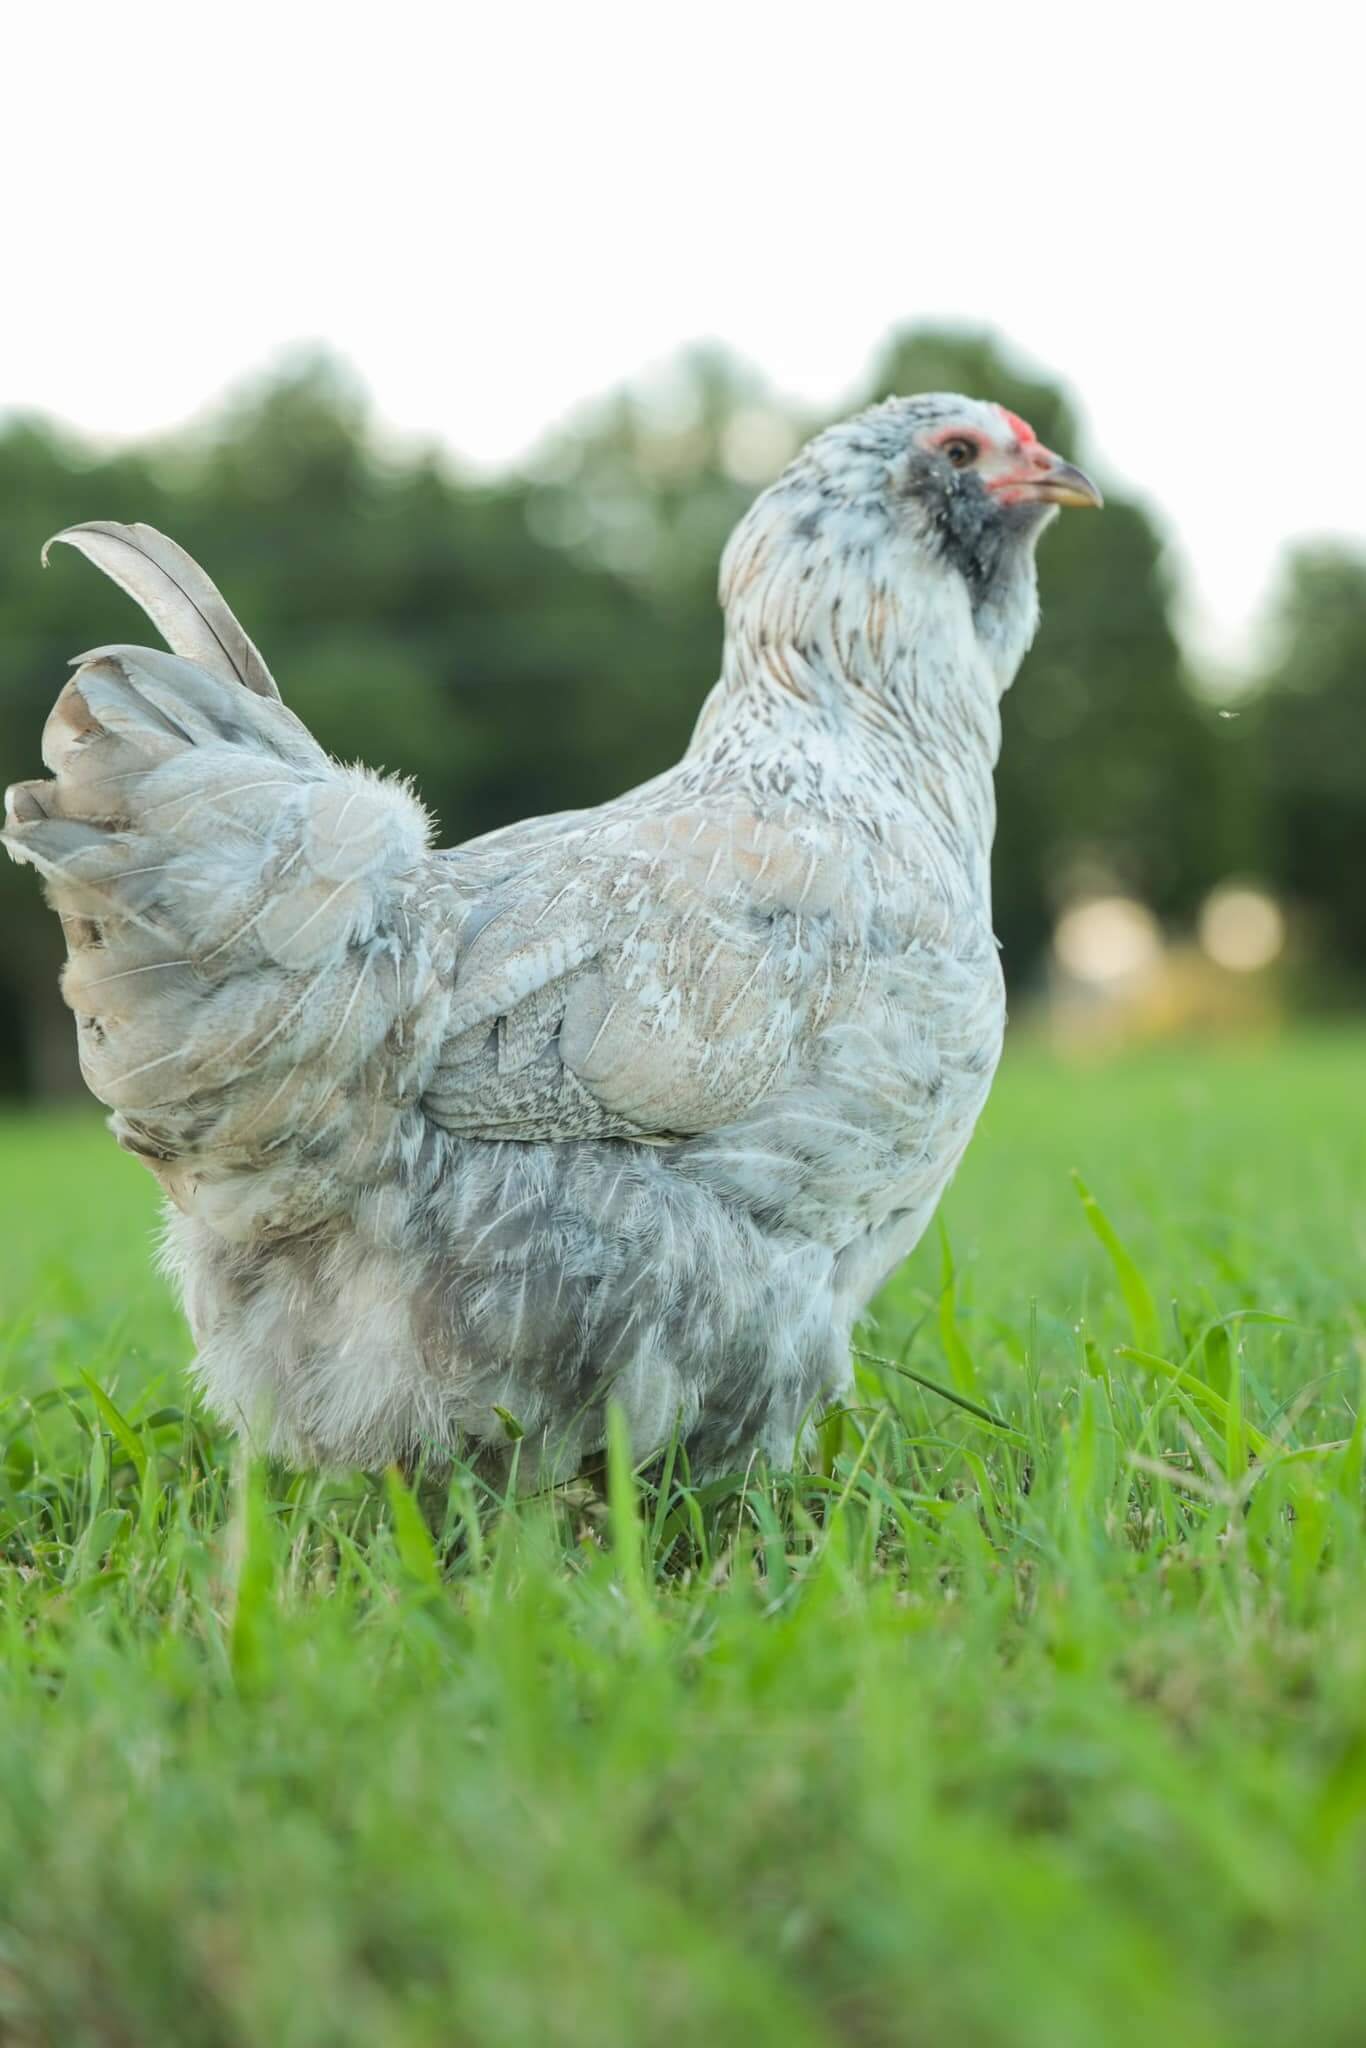
Not just any egg will do for water glassing. We’re looking for fresh, unwashed eggs. The bloom, that natural protective coating on the shell, is key to preventing bacteria from sneaking in. Store-bought eggs are usually washed, which removes this bloom, making them unsuitable. Ideally, you’ll want eggs from your own chickens or a local farmer who doesn’t wash them. Also, check for cracks! Any cracked eggs are a no-go; they’ll spoil and potentially ruin the whole batch.
Choosing the Right Container for Success
Your container is where the magic happens, so choose wisely. We prefer using glass or food-grade plastic jars or buckets. Avoid metal containers, as they can react with the lime. The size will depend on how many eggs you plan to preserve. Make sure it’s clean and has a tight-fitting lid to prevent evaporation and contamination. A wide-mouth container makes it easier to pack and retrieve the eggs. Think about how much water glassing you want to do!
The Importance of Pickling Lime (Calcium Hydroxide)
Pickling lime, also known as calcium hydroxide, is the star of the show. This isn’t the same as garden lime, so don’t get them mixed up! You can usually find pickling lime at hardware stores, feed stores, or online. It creates a highly alkaline environment that prevents bacterial growth and preserves the eggs. Make sure to use food-grade pickling lime to ensure it’s safe for consumption. We usually buy a big bag because we do a lot of preserving, but here’s a rough guide:
- 1 gallon of water: 1 ounce of pickling lime
- 2 gallons of water: 2 ounces of pickling lime
- 5 gallons of water: 5 ounces of pickling lime
Pickling lime can be irritating to the skin and eyes, so always wear gloves and eye protection when handling it. It’s also a good idea to work in a well-ventilated area to avoid inhaling the dust. Safety first, always!

Step-by-Step Guide to Water Glassing Eggs
Preparing Your Water Glassing Solution
Alright, let’s get down to the nitty-gritty of mixing our water glassing solution. This is where the magic happens! We’re going to use pickling lime (calcium hydroxide) and water. The ratio is super important, so pay attention. We usually go for about 1 ounce of pickling lime per quart of water.
Here’s what we do:
- Grab a clean, food-grade bucket or container. Don’t use anything that’s been used for chemicals.
- Pour in your water. Make sure it’s cool – not cold, not hot, just cool.
- Slowly add the pickling lime, stirring constantly. This is important because it can clump up if you dump it all in at once.
- Keep stirring until the pickling lime is completely dissolved. The solution should look milky. If you see any undissolved lime at the bottom, keep stirring!
We usually let the solution sit for a few hours after mixing, just to make sure everything is fully dissolved and settled. It’s better to be safe than sorry!
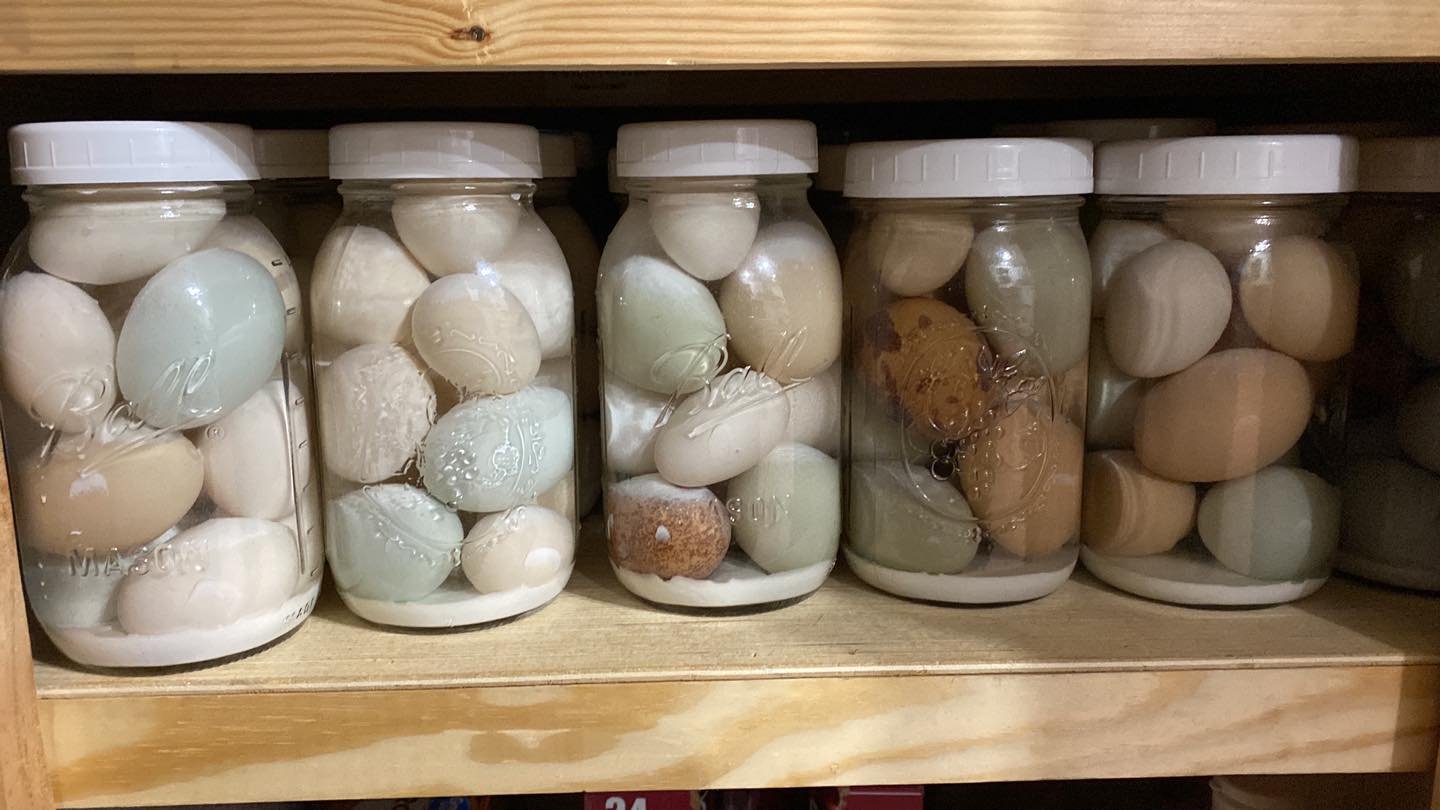
Carefully Placing Eggs in the Jar
Now for the fun part: adding the eggs! This step requires a little patience. Remember, we want to use fresh, unwashed eggs. The bloom (that natural protective coating) is key to this whole process. We’re aiming for eggs that are at most a day or two old. Older eggs might not preserve as well. If you’re raising Easter Egger chickens, you’ll have a colorful assortment to choose from!
Here’s our method:
- Make sure your jar is clean and dry. We like to sterilize ours just to be extra careful.
- Gently place each egg into the jar. We try to stand them upright, pointy end down, but it’s not a huge deal if they’re slightly tilted.
- Don’t overcrowd the jar! Leave some space at the top for the water glassing solution. We usually fill the jar about three-quarters full with eggs.
- Once the jar is filled with eggs, slowly pour the water glassing solution over them. Make sure all the eggs are completely submerged.
Ensuring Proper Egg Submersion
This is crucial. If any part of an egg is exposed to air, it can spoil. We want to create an anaerobic (oxygen-free) environment to keep those eggs fresh. So, how do we make sure everything stays submerged?
Here’s what we do:
- Check the water level: After a few hours, the eggs might settle a bit, and the water level could drop. Top it off with more water glassing solution if needed. We keep a little extra solution on hand just for this purpose. It’s also important to note that you can use Isinglass for preserving eggs as well.
- Weight them down: If you notice any eggs floating, you can use a small, clean plate or a glass weight to keep them submerged. Just make sure whatever you use is food-safe and won’t react with the solution.
- Seal the jar: Once you’re confident that all the eggs are submerged, seal the jar tightly. We use a lid with a rubber gasket to create an airtight seal. If your lid doesn’t have a gasket, you can use some plastic wrap under the lid to help seal it.
We always double-check the jars the next day to make sure everything is still submerged and the seal is tight. It’s a small step, but it can save you a lot of headaches down the road. We’ve had a few batches go bad because we didn’t pay close enough attention to this step!
Storing Your Water Glassed Eggs for Longevity
Once you’ve gone through the process of water glassing, proper storage is key to ensuring your eggs last. We’ve found that paying attention to a few details can make all the difference.
Finding the Ideal Storage Location
Where you store your water glassed eggs is super important. We aim for a cool, dark, and stable environment. A basement or root cellar often works well. The goal is to avoid temperature fluctuations, which can negatively impact the preservation process. We’ve even heard of people using old refrigerators (unplugged, of course!) as storage containers because they offer good insulation and darkness. Just make sure it’s clean!
Maintaining Optimal Temperature and Conditions
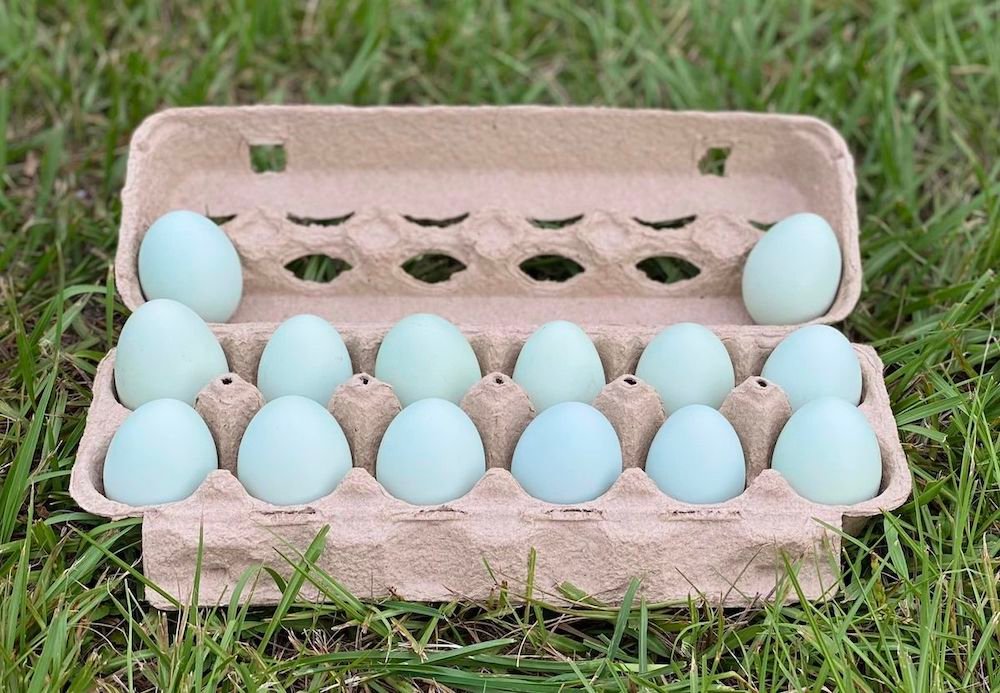
Temperature is a big deal. Ideally, you want to keep your water glassed eggs at a consistent temperature, preferably between 50-60°F (10-15°C). Avoid freezing, as this will crack the eggs and ruin the preservation. Also, keep the container away from direct sunlight, as light can also degrade the quality of the eggs over time. We check on our jars periodically to make sure the solution is still clear and there are no signs of spoilage. If you’re looking for chicken breeds that lay blue eggs, remember their eggs can be preserved the same way!
Tips for Long-Term Egg Preservation
To really maximize the shelf life of your water glassed eggs, consider these tips:
- Use fresh eggs: The fresher the eggs when you start, the longer they’ll last.
- Check the solution: Make sure the pickling lime solution remains clear. If it gets cloudy, it might indicate bacterial growth.
- Avoid contamination: Always use clean utensils when handling the eggs and solution.
We’ve found that labeling the jars with the date of preservation helps us keep track of how long the eggs have been stored. It’s a simple step, but it can prevent any confusion down the road. Also, don’t be afraid to experiment with different storage locations to see what works best for your specific environment.
Here’s a simple table to illustrate expected storage times based on conditions:
| Condition | Expected Storage Time |
|---|---|
| Ideal (50-60°F, dark) | 12+ months |
| Suboptimal (65-70°F) | 6-12 months |
| Poor (above 70°F) | Less than 6 months |

Troubleshooting Common Water Glassing Issues
Addressing Cloudiness in Your Solution
If you notice your water glassing solution becoming cloudy, don’t panic! It’s a pretty common issue. Usually, cloudiness is caused by minerals in your water or a reaction between the pickling lime and impurities from the eggshells.
- Make sure you’re using clean, filtered water to prepare your solution. Tap water can sometimes have too many minerals.
- Inspect your eggs carefully before submerging them. Any dirt or debris on the shells can contribute to cloudiness.
- Consider changing the solution if the cloudiness becomes excessive. A fresh batch can help maintain the eggs’ quality.
A slightly cloudy solution is generally okay, but if it becomes very murky or develops an unusual odor, it’s best to err on the side of caution and replace it.
What to Do About Floating Eggs
Floating eggs are a sign that something isn’t quite right. Ideally, all your eggs should be fully submerged in the water glassing solution. Here’s what might be happening and how to fix it:
- Air Pockets: Sometimes, air gets trapped inside the egg, causing it to float. Gently tap the egg to release any trapped air before placing it in the solution.
- Cracked Shells: A cracked egg will definitely float and should be discarded immediately to prevent contamination. Always check for cracks before water glassing.
- Insufficient Solution: Make sure you have enough solution to completely cover all the eggs. Add more if needed.
Recognizing and Preventing Spoilage
Spoilage is the biggest fear when preserving eggs, but with careful attention, it’s totally avoidable. Here’s what to watch out for:
- Foul Odor: This is the most obvious sign of spoilage. If you detect a rotten or sulfurous smell, discard the entire batch. It’s not worth the risk.
- Discoloration: Any unusual discoloration of the eggshells or the solution itself can indicate bacterial growth. Keep an eye on the seasonal egg abundance and make sure to use fresh eggs.
- Slimy Texture: If the eggshells feel slimy to the touch, it’s a sign of spoilage. Don’t even think about cracking them open!
To prevent spoilage, remember these key points:
- Use only fresh, unwashed eggs with intact blooms.
- Maintain a clean and sanitary environment during the water glassing process.
- Store your water glassed eggs in a cool, dark place with a consistent temperature.
Enjoying Your Water Glassed Eggs
How to Use Your Preserved Eggs
Alright, so you’ve got a jar full of water glassed eggs. Now what? The first thing we always do is give them a really good rinse. Seriously, rinse them well! You want to get rid of any of the lime water residue. We usually rinse them under cold running water for a minute or so, just to be safe. After that, they’re pretty much ready to go. One thing to note: water glassed eggs tend to be a bit thinner than fresh-from-the-chicken eggs, so keep that in mind when you’re cooking with them. You might also notice that the whites are a little more watery. Don’t worry, that’s totally normal!
Cooking with Water Glassed Eggs
Cooking with water glassed eggs is surprisingly straightforward. You can use them in pretty much any recipe that calls for eggs. Scrambled eggs? Yep. Omelets? Absolutely. Baking a cake? Go for it! However, there are a couple of things we’ve learned along the way. First, always crack the egg into a separate bowl before adding it to your recipe. This is just a good practice in general, but it’s especially important with water glassed eggs. You want to make sure the egg looks and smells okay before you commit it to your dish. Second, because the whites can be a bit thinner, they might spread out more in the pan when you’re frying them. This isn’t a big deal, but it’s something to be aware of. We’ve found that using a slightly smaller pan can help keep things contained. Poaching eggs can be a bit tricky, so we usually stick to other methods. But hey, if you’re feeling adventurous, give it a shot!
Creative Recipes Featuring Water Glassed Eggs
Okay, let’s get to the fun part: recipes! While you can use water glassed eggs in all your usual egg dishes, why not try something a little different? Here are a few ideas that we’ve been experimenting with:
- Dutch Baby Pancake: This is a great way to use up a bunch of eggs at once, and the slightly thinner whites actually help create a lighter, airier pancake.
- Pasta Carbonara: The richness of the egg yolks is perfect for this classic Italian dish. Just be sure to cook the pasta al dente! You can find many carbonara recipes online.
- Homemade Mayonnaise: If you’re feeling ambitious, try making your own mayonnaise with water glassed eggs. The flavor is incredible, and it’s surprisingly easy to do.
We also love using water glassed eggs in frittatas and quiches. They add a lovely richness and depth of flavor that you just can’t get with store-bought eggs. Plus, it’s a great way to use up any leftover veggies you have in the fridge.
So, there you have it! Water glassed eggs are a fantastic way to preserve your harvest and enjoy fresh eggs year-round. With a little practice, you’ll be a water glassing pro in no time. Happy cooking!
Wrapping It Up: Our Water Glassing Journey
So, there you have it! We’ve gone through everything about water glassing eggs. It’s a pretty cool way to keep those fresh eggs good for a long time without needing a fridge. We talked about what you need, how to do it step-by-step, and even some things to watch out for. It might seem a bit tricky at first, but once you get the hang of it, it’s really not that bad. We hope this guide helps you keep your eggs fresh and ready whenever you need them. Happy water glassing!
Frequently Asked Questions
How does water glassing actually preserve eggs?
Water glassing works by putting fresh, unwashed eggs into a special liquid made from pickling lime (calcium hydroxide) and water. This liquid seals the tiny pores on the eggshell, stopping air and bad stuff from getting in. This keeps the eggs good for a long time without needing a fridge.
How long can we keep eggs preserved with water glassing?
We can keep water-glassed eggs good for up to a year, sometimes even longer, if we store them the right way. The key is to keep them in a cool, dark place, like a pantry or a basement, where the temperature stays steady.
Can we use water-glassed eggs for cooking and baking?
Yes, you can! Water-glassed eggs are great for almost any recipe you’d use fresh eggs for. This includes baking, scrambling, frying, or making omelets. The taste and texture stay pretty much the same.
What kind of eggs are best for water glassing?
The best eggs for water glassing are fresh, clean, and unwashed. This means they still have their natural protective coating, called the bloom, which helps the water glassing process work its magic. Eggs from your own chickens or a local farmer are often perfect.
What if the water glassing solution becomes cloudy?
If your water glassing solution looks cloudy, it might mean a few things. It could be that some dirt or stuff from the egg got into the water, or maybe the lime wasn’t fully mixed. Usually, a little cloudiness is okay, but if it gets really thick or smells bad, it’s best to throw it out to be safe.
What does it mean if an egg floats in the water glassing solution?
If an egg floats in the water glassing solution, it usually means it’s not fresh anymore. Fresh eggs sink because they’re full of liquid. If an egg floats, it has too much air inside, which means it’s probably gone bad and shouldn’t be used.