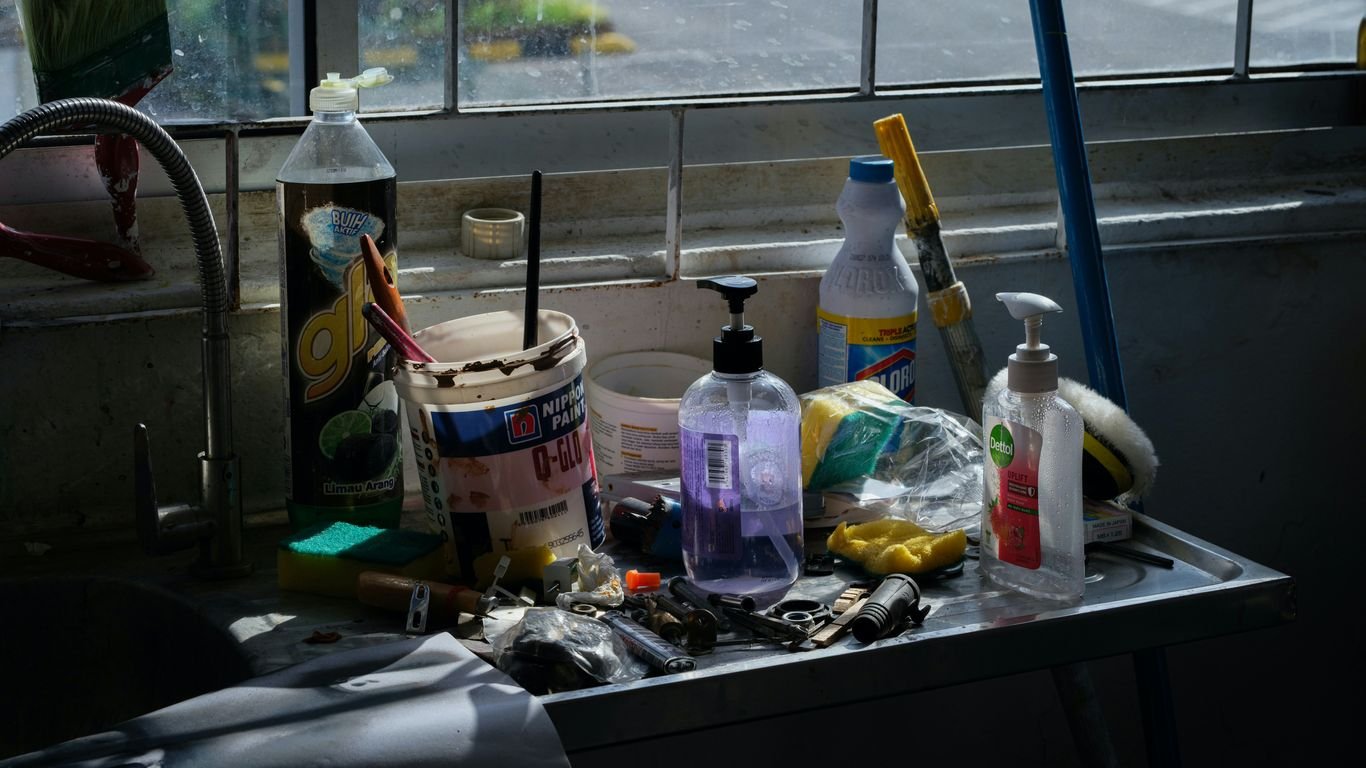
We’ve all been there, staring at a shelf full of cleaning products, wondering if there’s a simpler, more natural way to keep our homes clean. It turns out, there is! Making your own cleaning supplies isn’t as complicated as it sounds. We’ve found that using basic ingredients you likely already have can tackle most messes. This is our guide to making some of our favorite diy natural cleaners, helping you ditch the harsh chemicals and create a healthier space for everyone.
Key Takeaways
- Many effective diy natural cleaners can be made using common household ingredients like vinegar, baking soda, and essential oils.
- Switching to homemade cleaners can reduce exposure to harsh chemicals and potentially save money.
- Always test homemade cleaners on an inconspicuous area before applying to a larger surface to avoid damage.
- Properly label and store homemade cleaning solutions to ensure safety.
- Start with one or two simple recipes and gradually incorporate more diy natural cleaners into your routine.
1. All-Purpose Cleaner
We all need a go-to cleaner that can tackle most messes around the house without a fuss. This simple, homemade all-purpose cleaner is just the ticket. It’s incredibly easy to whip up and uses ingredients you probably already have in your pantry. Forget those harsh chemical smells; this cleaner leaves your home smelling fresh and clean.
Making your own cleaning products is a fantastic way to reduce waste and save money. Plus, you know exactly what’s going into them. For this all-purpose spray, we’re keeping it super straightforward. It’s perfect for wiping down countertops, cleaning up spills, and generally keeping surfaces tidy.
Here’s what you’ll need:
- 1/2 cup white vinegar
- 4 cups warm water
- A clean spray bottle
That’s it! Seriously. Just pour the white vinegar and warm water into your spray bottle. Give it a good shake to mix everything together, and you’re ready to go. This cleaner is effective on a variety of surfaces, but always test in an inconspicuous spot first, especially on delicate materials.
We find that using a glass spray bottle is a bit better for storing homemade cleaners long-term, but a sturdy plastic one will work just fine for immediate use. If you want to add a little scent, a few drops of your favorite essential oil can be a nice touch, though it’s not necessary for cleaning power. This is a great starting point for anyone looking to make their own natural home products.
Remember, while vinegar is a powerhouse for cleaning, it’s acidic. Avoid using it on natural stone surfaces like granite or marble, as it can etch the surface over time. For those materials, a simple solution of water and a few drops of dish soap is a safer bet.
2. Glass Cleaner
We all want streak-free windows and mirrors, right? It can be super frustrating when you think you’ve cleaned them, only to see hazy streaks when the light hits them just right. Luckily, making your own glass cleaner is incredibly simple and effective. Forget those expensive store-bought sprays; we can whip up a batch with stuff we probably already have.
The basic recipe is a 1:1 ratio of distilled white vinegar and water. That’s it! Seriously. Just pour equal parts into a clean spray bottle. For really tough grime or to help reduce streaking even further, some people add a tablespoon of cornstarch to about two cups of the liquid. You’ll want to give it a good shake before each use if you add the cornstarch, as it can settle.
Here’s a quick rundown of what you’ll need:
- Distilled white vinegar
- Water
- A clean spray bottle
- Optional: Cornstarch for extra streak-fighting power
Just spray it on your glass surfaces and wipe clean with a soft cloth, like microfiber. Moving in an "S" pattern can help prevent those annoying lines. It’s amazing how well this simple mix cuts through fingerprints and dust. If you’re looking to make a whole suite of natural cleaners, you can find great ideas for other handmade products.
A little tip: Always test any homemade cleaner in an inconspicuous spot first, especially if you’re unsure about the surface material. While this glass cleaner is generally safe, it’s good practice.
This DIY approach not only saves money but also cuts down on harsh chemicals in our homes. It’s a win-win!
3. Laundry Detergent

Doing laundry doesn’t have to mean using harsh chemicals. We can whip up our own effective laundry detergent right at home with just a few simple ingredients. It’s surprisingly easy and can save us a bit of money too.
Here’s a straightforward recipe to get us started:
- ½ cup Borax
- ½ cup washing soda
- ½ cup of your favorite liquid dish soap (like Dawn, it’s great for stains!)
- 4 cups hot water
- A clean, empty gallon jug for storage
First, combine the Borax, washing soda, and dish soap in a bowl. Gradually stir in the hot water until everything is dissolved. Pour this mixture into your gallon jug and then fill the rest of the jug with cold water. Give it a good shake before each use. We usually use about ¼ cup per load, but you might need a bit more for really dirty clothes. This recipe works well even in high-efficiency (HE) washing machines.
Making your own laundry detergent is a fantastic way to reduce the number of chemicals we bring into our homes. Plus, it’s a great way to reuse an old gallon jug, giving it a new purpose.
We’ve found that this homemade detergent tackles everyday dirt and grime effectively. For those stubborn stains, though, we sometimes reach for a pre-treatment. A simple solution of hydrogen peroxide can work wonders on many common stains, or a paste made from washing soda and diluted vinegar can be applied directly to the spot before washing. It’s all about having a few tricks up our sleeve for different laundry challenges. You can even find ways to make handmade Christmas gifts from your garden, showing how versatile natural ingredients can be.
4. Fabric Softener

We all love that soft, fresh feeling on our clothes after doing laundry, right? But those store-bought fabric softeners can be pricey and full of chemicals we might not want near our skin. Luckily, making our own is super simple and effective.
The secret ingredient? White vinegar! Don’t worry, the smell completely disappears during the rinse cycle, and it does wonders for softening fabrics and reducing static cling. It’s a natural way to keep our clothes feeling great.
Here’s a basic recipe we like to use:
- 5 ½ cups water
- 15 oz bottle of your favorite hair conditioner (this adds extra softness!)
- 2 ½ cups white vinegar
- 20 drops of essential oil for fragrance (optional, if your conditioner already smells nice)
Just mix all these ingredients together in a container. A funnel can be helpful here! We usually pour it into an old fabric softener bottle for easy dispensing. Give it a good shake before each use. For a standard load of laundry, about ¼ cup should do the trick. You might need a little more if your clothes are particularly dirty or bulky.
Using homemade fabric softener is a fantastic way to cut down on waste and save money. Plus, you get to control exactly what goes into it, avoiding any artificial fragrances or dyes that might irritate sensitive skin. It’s a win-win for your wallet and your well-being.
This DIY softener works best when added during the rinse cycle. You can even use some of this mixture to create reusable dryer sheets! Just soak some old t-shirt scraps in the softener, wring them out, and toss one or two into the dryer with your load. It’s a great way to repurpose old clothes and keep that fresh scent going, much like some of the cozy ideas for homesteading gifts you might find.
5. Dish Soap
We all need dish soap, right? It’s one of those things we use every single day. But have you ever stopped to think about what’s actually in those bottles we buy? Sometimes, it’s nice to make our own, especially when it comes to something we use so much. Making your own dish soap is surprisingly simple and can save you a bit of money too.
This recipe is pretty straightforward and uses ingredients you might already have. It’s a good way to cut down on the chemicals in your home and feel a little better about what you’re washing your dishes with. Plus, it actually works! We’ve found it cuts through grease pretty well, leaving our dishes clean and without that weird chemical smell.
Here’s what you’ll need:
- 1/2 cup warm distilled water
- 2 teaspoons kosher salt
- 1/2 cup white vinegar
- 1/2 cup Dr. Bronner’s Sal Suds (or a similar castile soap)
- 1 teaspoon lemon juice
- Lemon essential oil (optional, for scent and extra cleaning power)
First, dissolve the salt in the warm distilled water. In a separate bowl, mix the vinegar, Sal Suds, and lemon juice. Then, combine the two mixtures and stir until it starts to thicken up a bit. If you like, add about 10-15 drops of lemon essential oil. Pour it into a recycled dish soap bottle, and you’re good to go! It’s a simple swap that makes a difference. You can find more easy recipes like this one for natural cleaning around the house.
6. Grout Cleaner

Those dingy grout lines between your tiles can really bring down the look of a whole room, can’t they? We’ve found a super simple way to tackle them using just a couple of common household items. This baking soda paste is our go-to for making grout look almost new again.
Here’s what you’ll need:
- Baking soda
- Water
- An old toothbrush or a grout brush
To make the cleaner, we just mix baking soda with a little bit of water until we get a thick paste. It shouldn’t be too runny, or it won’t stick to the grout. We aim for something like toothpaste consistency.
Then, we apply this paste directly onto the grout lines. You can use a small spoon or even just your finger (wear gloves if you prefer!). Let it sit for about 15 minutes. This gives the baking soda time to work its magic and loosen up any grime.
After it’s had a chance to sit, we grab an old toothbrush or a dedicated grout brush and give the lines a good scrub. You’ll probably see the dirt lifting right away. Once you’ve scrubbed all the areas, just rinse everything off with warm water. It’s amazing how much brighter the grout looks afterwards!
Remember to test any cleaner in an inconspicuous spot first, especially if you’re unsure about your tile type. While this method is generally safe, it’s always better to be cautious.
7. Carpet Deodorizer
We all love our carpets, but let’s be honest, they can get a little… funky. Whether it’s from pets, spilled snacks, or just general foot traffic, those lingering odors can be a real drag. Instead of reaching for those chemical-laden sprays that just mask the smell, we can whip up a super simple and effective carpet deodorizer right in our own kitchens.
This is where baking soda really shines. It’s a natural odor absorber, which is exactly what we need. We’re going to combine it with a bit of cornstarch to help it spread more evenly and then add a few drops of our favorite essential oil for a pleasant, natural scent. Think lavender for calm, or maybe citrus for a fresh burst.
Here’s what you’ll need:
- 1 cup baking soda
- ½ cup cornstarch
- 5-10 drops of your favorite essential oil (like lavender, lemon, or peppermint)
To make it, just grab a bowl and mix the baking soda and cornstarch together really well. Then, add your essential oil and stir it all up until it’s nicely combined. We like to pour this mixture into an old mason jar with holes poked in the lid. This makes it easy to sprinkle over the carpet without making a huge mess.
Sprinkle this mixture generously over your carpets, let it sit for at least 30 minutes (or even longer if the odors are stubborn), and then vacuum it all up. You’ll be amazed at how much fresher your carpets smell afterward. It’s a simple fix that makes a big difference in the overall feel of our home.
8. Oven Cleaner
When it comes to baked-on grease and grime in our ovens, we often reach for the harshest chemicals. But we can actually get our ovens sparkling clean with a simple, natural paste. It’s surprisingly effective, and we don’t have to worry about breathing in fumes.
Here’s what we need:
- 1/2 cup baking soda
- 2-3 tablespoons of water (you might need a little more or less)
- White vinegar (for rinsing)
First, we mix the baking soda and water in a small bowl until we have a spreadable paste. It shouldn’t be too runny or too dry. Then, we apply this paste all over the interior surfaces of our oven, avoiding the heating elements. For really tough spots, we can add a bit more paste. Let it sit for at least a few hours, or even better, overnight. The baking soda works to break down the grease and burnt-on food.
After the paste has done its work, we take a damp cloth or a soft-bristled brush and start wiping away the dried paste and loosened gunk. This part takes a bit of elbow grease, but it’s much better than scrubbing with harsh chemicals. For any remaining residue, we can spray a little white vinegar onto the surface. It will react with any leftover baking soda, creating a bit of foam that’s easy to wipe away. Finally, we give the oven a good wipe-down with a clean, damp cloth to remove all traces of the cleaner. Our oven will be looking and smelling so much better, without any of the nasty chemical smells.
9. Wood Polish

We all love the look of beautiful wood furniture, but keeping it looking its best can sometimes feel like a chore. Forget those pricey commercial polishes that leave a sticky residue. We’ve found a super simple, natural way to bring back that lovely shine using just a couple of common kitchen ingredients.
This DIY wood polish is incredibly easy to whip up. You’ll only need two things: olive oil and distilled white vinegar. That’s it! The oil helps to nourish the wood, while the vinegar cuts through any grime and helps to restore the natural luster. It’s a gentle yet effective way to care for your wooden pieces.
Here’s how we make it:
- Combine a 1/2 cup of olive oil with a 1/2 cup of distilled white vinegar in a bowl or a spray bottle. If you’re using a spray bottle, give it a good shake before each use.
- Dip a soft microfiber cloth into the mixture. You don’t want to soak the cloth, just get it nicely damp.
- Wipe down your wood furniture, following the grain. You’ll see the dust disappear and a lovely sheen start to appear.
- Buff the surface with a clean, dry cloth to remove any excess and bring out the shine.
This mixture works wonders on all sorts of wood, from tables and chairs to cabinets and even wooden picture frames. Just remember to test it on a small, inconspicuous spot first, especially on older or more delicate pieces, to make sure it doesn’t alter the finish.
It’s amazing how a little bit of olive oil and vinegar can make such a difference. Plus, you avoid all those questionable chemicals found in store-bought versions. For more tips on keeping your home tidy with natural solutions, check out these essential homestead tools.
10. Air Freshener
Tired of those artificial scents that just mask odors? We can whip up our own air freshener that actually neutralizes smells and leaves our homes smelling genuinely fresh. It’s surprisingly simple and uses ingredients we likely already have.
One of our favorite methods involves a spray bottle. We combine:
- 1 ½ cups water
- ¼ cup baking soda
- 10 drops of your favorite essential oil (lavender or citrus are great choices)
Just add the baking soda and essential oil to a clean spray bottle, then fill it with water. Give it a gentle shake to mix everything together. Before you go spraying it everywhere, it’s a good idea to test it on a small, hidden spot of your upholstery, just to make sure it doesn’t leave any marks. Then, mist it into the air whenever your space needs a little pick-me-up. This is a fantastic way to freshen your home naturally.
Another easy option is to simply simmer some citrus slices with herbs like rosemary or mint on the stove. It fills the whole house with a lovely, subtle aroma. You can even store the mixture in an airtight container in the fridge overnight and simmer it again the next day.
We found that using vodka in a spray can also be effective. It contains ethyl alcohol, which is a common ingredient in commercial air fresheners. Any kind will do, so no need for the fancy stuff!
We can also make a spray using equal parts water and white vinegar. While the vinegar smell might be noticeable at first, it dissipates quickly, taking other odors with it. This simple spray is incredibly effective at neutralizing smells without adding any artificial fragrances.
Wrapping Up Our DIY Cleaning Journey
So there you have it! We’ve walked through a bunch of ways to make your own cleaning stuff right at home. It might seem like a lot at first, but honestly, it’s pretty simple once you get going. We started with just a few basic things like vinegar and baking soda, and now we’ve got solutions for almost everything. It feels good knowing we’re cutting down on chemicals and saving a bit of cash too. Give these a try, and you might be surprised at how well they work. Happy cleaning!
Frequently Asked Questions
What are the basic ingredients we can use to make our own cleaning products?
We can use simple things we probably already have around the house! Baking soda is great for scrubbing and getting rid of smells. White vinegar works well on soap scum and can dissolve mineral buildup. Hydrogen peroxide is a good alternative to bleach, and essential oils like tea tree or lemon can add a nice scent and help kill germs. Castile soap, made from vegetable oils, is also a handy ingredient for washing away dirt.
Is it safe to use homemade cleaners on all surfaces?
We should always be careful and test our homemade cleaners in a small, hidden spot first. For example, vinegar is acidic, so we should avoid using it on natural stone like granite or marble, or on cast iron and aluminum, as it can damage those surfaces. It’s always best to play it safe and check before we clean a whole area.
How do we store our homemade cleaning products?
It’s important to use clean containers for our homemade cleaners. We should never reuse bottles that once held harsh chemicals. Also, we must label each container clearly so we know exactly what’s inside and what it’s used for. This helps keep everyone in our home safe.
Can we make our own laundry detergent?
Yes, we absolutely can! Making our own laundry detergent can save us money and let us control the ingredients. We can often make it with things like grated bar soap, borax, and washing soda. It’s a simple process that results in a powerful cleaner for our clothes.
What’s a simple way to make our home smell nice without store-bought air fresheners?
We can easily make our home smell wonderful by simmering natural ingredients on the stove. Slicing up some citrus fruits like oranges or lemons, adding fresh herbs like basil or rosemary, and tossing in some cinnamon sticks or cloves into a pot of water and letting it simmer creates a lovely, natural aroma that fills the whole house.
Are these homemade cleaners as effective as store-bought ones?
For many everyday cleaning tasks, our homemade cleaners are just as effective, if not more so, than the ones we buy. They tackle grease, grime, and odors really well. Plus, we know exactly what’s in them, which gives us peace of mind. While some very tough, specific jobs might require a specialized commercial product, for most of our cleaning needs, DIY is a fantastic option.


