Making our own tallow soap recipe has been a game-changer for our family. It’s amazing how a few simple ingredients can turn into something so good for your skin. If you’ve ever thought about trying to make your own soap, especially a natural one, you’re in the right place. We’ll walk you through everything, making it easy to understand, even if you’ve never done anything like this before. Let’s get started on crafting your very own batch of lovely tallow soap!
Key Takeaways
- Always put safety first when working with lye; wear gloves and eye protection.
- Accurate measurements are super important for a good tallow soap recipe, so use a reliable scale.
- Getting the lye solution and melted tallow to the right temperature helps the soap come together smoothly.
- Don’t rush the tracing stage; it’s when your tallow soap mixture turns into a pudding-like consistency.
- Curing your tallow soap for several weeks makes it milder and last longer.
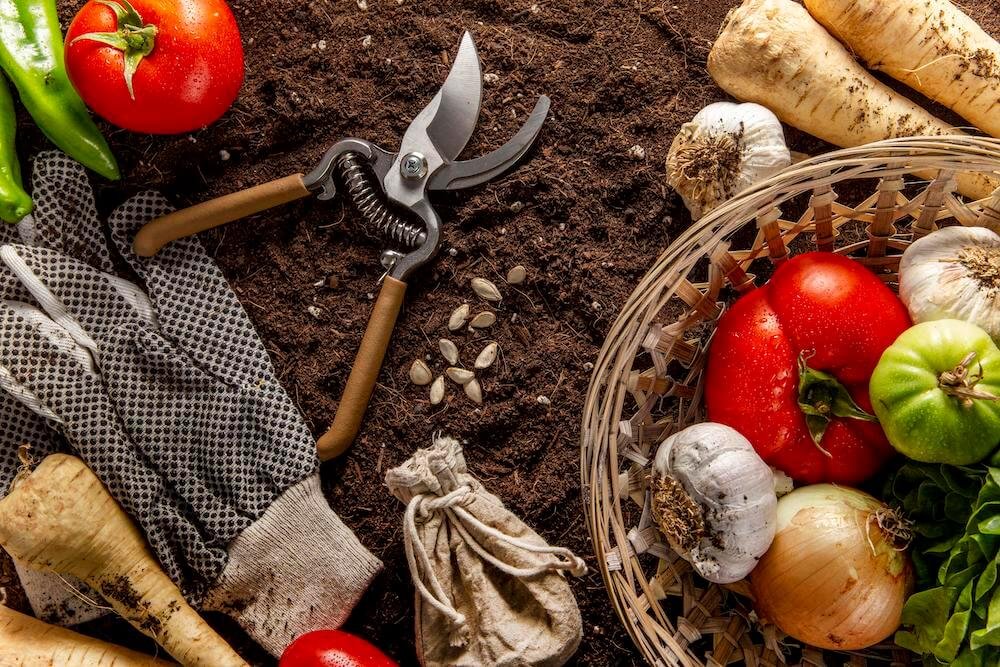
Gathering Your Tallow Soap Making Ingredients
To make tallow soap, we need a few key ingredients. Each one plays a vital role in the final product. Let’s explore what we’ll need to get started.
The Star of the Show: Tallow
Tallow is rendered animal fat, usually from beef. It’s the foundation of our soap, giving it that creamy, moisturizing quality. You can find different types:
- Rendered tallow (often available at local butchers or farmers markets)
- Refined tallow (more processed and readily available online)
- Beef suet (a specific type of tallow)
Each type has slightly different properties, so do a little research to see what works best for you. We usually go for the stuff from the butcher, feels more authentic, you know?
Lye: The Essential Catalyst
Lye, also known as sodium hydroxide (NaOH), is absolutely essential. It’s what causes the chemical reaction called saponification, which turns the fats into soap. You can’t make soap without it! Be super careful when handling lye; it’s corrosive and can cause burns. Always wear gloves and eye protection. You can find lye for soapmaking at most hardware stores or online.
Other Helpful Additions
While tallow and lye are the main ingredients, there are a few other things that can really enhance your soap:
- Water: Distilled water is best, as it’s free from minerals and impurities that can affect the soap’s quality.
- Essential Oils: These add fragrance and can also provide therapeutic benefits. Lavender, peppermint, and tea tree are popular choices.
- Additives: Things like clays, herbs, and exfoliants can add color, texture, and other beneficial properties to your soap. We love adding a bit of oatmeal for a gentle scrub.
It’s important to measure all your ingredients accurately, using a kitchen scale. Soapmaking is a science, and precise measurements are crucial for a successful batch. Don’t eyeball it!
Here’s a basic recipe to give you an idea of the quantities we’re talking about:
| Ingredient | Amount (by weight) |
|---|---|
| Tallow | 30 oz |
| Lye | 4.2 oz |
| Distilled Water | 11 oz |
| Essential Oils (optional) | 1.5 oz |
Essential Tools for Your Soapmaking Journey

Alright, so you’re ready to dive into making tallow soap! That’s awesome! But before we get our hands dirty, let’s talk about the tools you’ll need. Having the right equipment not only makes the process smoother but also a whole lot safer. Trust us, you don’t want to skimp on this part.
Safety First: Protecting Yourself
Seriously, this is non-negotiable. Lye is a caustic substance, and we need to treat it with respect. Safety gear is your best friend here. At a minimum, you’ll need:
- Gloves: Heavy-duty, chemical-resistant gloves are a must. Think rubber or nitrile. Make sure they cover your wrists!
- Eye Protection: Safety glasses or goggles. No exceptions. You only get one set of eyes, so protect them!
- Long Sleeves: Cover your arms. A long-sleeved shirt or even an apron will do the trick.
- Closed-Toe Shoes: No sandals! Protect your feet from any potential spills.
It might seem like overkill, but it’s better to be safe than sorry. Lye can cause serious burns, so take the necessary precautions. We always make sure we have good ventilation too, just in case.
Measuring Up: Scales and Containers
Accuracy is key in soapmaking. You can’t just eyeball it! Here’s what you’ll need for measuring:
- Digital Scale: A digital kitchen scale that can measure in grams or ounces is essential. Get one that’s accurate to at least 0.1 ounces. Don’t try to estimate; it can affect the final product and even be dangerous. You’ll be using this to measure your tallow, lye, and other ingredients.
- Heat-Resistant Containers: You’ll need containers to melt your tallow and mix your lye solution. Glass or stainless steel are good choices. Make sure they’re heat-resistant, especially for the lye solution, as it can get quite hot. A medium-size heat resistant glass bowl is perfect for mixing the lye water.
- Measuring Cups/Spoons: For smaller amounts of additives, like essential oils or colorants. Stainless steel or plastic will work fine.
Mixing It All Together: Immersion Blenders
Mixing is where the magic happens! You could stir by hand, but trust us, you don’t want to. An immersion blender will save you a ton of time and effort. Here’s what we recommend:
- Immersion Blender (Stick Blender): This is a game-changer. It helps you reach “trace” (that pudding-like consistency we’re looking for) quickly and evenly. Get one with a stainless steel shaft for easy cleaning. You can find a good immersion blender online.
- Spatulas: A couple of heat-resistant spatulas are handy for scraping down the sides of your containers and ensuring everything is fully incorporated. Silicone mixing spatulas are great.
- Spoons: Stainless steel or plastic spoons with long handles are useful for stirring and scooping. Avoid wooden spoons, as they can absorb lye.
Having these tools on hand will make your soapmaking experience much more enjoyable and successful. Now, let’s move on to prepping our ingredients!
Prepping for Success: Getting Started

Alright, so you’ve got your ingredients and tools ready. Now, let’s get down to the nitty-gritty of prepping everything before we actually start making soap. This stage is all about safety and precision, so pay close attention!
Melting Your Tallow
First things first, we need to melt that tallow. You can do this in a few ways. A slow cooker is a great option because it provides gentle, even heat. Alternatively, you can use a stainless steel pot on the stove over low heat. The key is to avoid scorching the tallow, as this can affect the final soap quality. Keep a close eye on it and stir occasionally until it’s completely melted and clear. We want to make sure there are no solid chunks remaining. This process can take some time, so be patient. It’s a good idea to have a reliable thermometer on hand to monitor the temperature.
Mixing the Lye Solution Safely
This is arguably the most important step in terms of safety. Lye, or sodium hydroxide, is highly caustic and can cause serious burns if not handled properly. Always wear your safety goggles and gloves when working with lye.
Here’s how we do it:
- Measure out the correct amount of lye into a container.
- Measure the water into a separate, heat-resistant container (like stainless steel or heavy-duty plastic).
- Slowly add the lye to the water, stirring constantly. Never add water to lye, as this can cause a dangerous reaction and splattering.
- The mixture will heat up rapidly. Continue stirring until the lye is completely dissolved and the solution is clear.
Remember, safety first! Always work in a well-ventilated area and keep children and pets away from the lye solution. If you get any lye on your skin, flush it immediately with plenty of water.
Temperature Check: Finding the Sweet Spot
Temperature is a critical factor in successful soapmaking. Both the melted tallow and the lye solution need to be within a certain temperature range before we combine them. Generally, we’re aiming for a temperature between 100-120°F (38-49°C) for both. Use your thermometer to monitor the temperature of both the tallow and the lye solution. If either is too hot, allow it to cool down gradually. If it’s too cool, you can gently warm it up. Getting the temperature right helps ensure proper saponification, which is the chemical reaction that turns the oils and lye into soap. This is where the magic happens, so let’s make sure we get it right! We find that using a digital thermometer helps a lot.
Bringing It All Together: The Saponification Process
Now comes the exciting part – actually making soap! This is where all our careful prep pays off, and we witness the magic of saponification. It’s a bit like a science experiment, but with a much cleaner (literally!) outcome.
Combining Lye and Tallow
Okay, deep breaths. This step requires focus. We need to carefully combine our lye solution with the melted tallow. Make sure both are within that 100-110°F (38-43°C) temperature range we talked about earlier. Temperature is important for proper saponification. Too hot, and things can get… explosive. Too cold, and the reaction might not happen correctly.
Slowly, and I mean slowly, pour the lye solution into the tallow. Stir constantly as you pour. We like to use a stick blender for this, but a sturdy spatula will also work. The key is to mix thoroughly and evenly. This is where the magic starts to happen, so pay attention!
Reaching Trace: The Pudding Stage
Keep blending! At first, it’ll look like a milky, oily mess. But trust us, it will change. As you blend, the mixture will start to thicken. This is what soapmakers call “trace.” Trace is when the mixture reaches a pudding-like consistency.
How do you know when you’ve reached trace? Here’s the trick: lift your blender (or spatula) and drizzle a bit of the mixture across the surface of what’s in the pot. If the drizzle sits on the surface for a few seconds before disappearing back into the mixture, you’ve hit trace. Don’t over-blend! If it gets too thick, it’ll be hard to pour into your molds. We’re aiming for a light to medium trace.
Adding Your Personal Touch: Essential Oils
Once you’ve reached trace, it’s time to get creative! This is when we add any essential oils or other additives we want in our soap. If you’re using essential oils for fragrance, now’s the time to add them. Stir them in well to make sure they’re evenly distributed throughout the soap. You can also add herbs, botanicals, or natural colorants at this stage. Just be sure to research the proper usage rates for any additives you use. We love adding essential oils like lavender or peppermint for a refreshing scent. But remember, less is more! A little goes a long way.
We’ve found that adding a tablespoon of honey at this stage can create a lovely lather. It’s a small touch that makes a big difference. Just make sure to mix it in thoroughly so it doesn’t clump up. Also, if you’re using any colorants, be sure to add them gradually until you achieve the desired shade. It’s always easier to add more than to take away!

Pouring and Insulating Your Tallow Soap
Now that we’ve reached trace, it’s time to get that soap into its mold and let the magic happen! This stage is all about setting the stage for a beautiful, well-formed bar of soap. Let’s walk through the process together.
Prepping Your Molds
First things first, let’s get those molds ready. The type of mold you use will influence how you prep it. For wooden molds, lining is key. Parchment paper works great to prevent the soap from sticking and makes removal a breeze. Silicone molds, on the other hand, are naturally non-stick, so no lining is needed. Make sure your mold is clean and dry before you start. We like to give ours a quick wipe down just to be sure. This step is important because it will affect the final look of your soap.
Pouring with Precision
Alright, time to pour! Carefully pour the soap mixture into your prepared mold. Try to pour evenly to avoid air pockets. Once the mold is filled, gently tap it on the counter. This helps release any trapped air bubbles that might be lurking within the mixture. Nobody wants a bubbly bar of soap, unless it’s intentional! If you’re adding any botanicals or other decorative elements on top, now’s the time to do it. Get creative and make each bar unique!
Keeping It Cozy: Insulating for Success
Insulation is the secret ingredient to a successful saponification. After pouring, cover the mold with a blanket or a thick towel. This helps retain the heat generated during saponification, encouraging a more complete reaction. Think of it as tucking your soap in for a good night’s sleep! We usually leave our soap undisturbed for 24-48 hours. This allows the saponification process to continue at a steady pace.
Insulating the soap is important because it helps maintain a consistent temperature, which is crucial for the chemical reaction to complete properly. Without proper insulation, the soap might cool too quickly, leading to a crumbly or uneven texture. It’s a simple step that makes a big difference in the final product.
Here’s a quick guide to insulation materials:
- Old blankets
- Thick towels
- Cardboard boxes
- Bubble wrap
| Material | Insulation Level | Pros | Cons |
|---|---|---|---|
| Old Blankets | Medium | Readily available, easy to use | Can be bulky, may absorb odors |
| Thick Towels | Medium | Absorbent, washable | Can be bulky, may absorb odors |
| Cardboard Box | Low | Recyclable, provides some protection | Not as effective as blankets or towels |
| Bubble Wrap | High | Good insulation, lightweight | Not as eco-friendly, can be wasteful |
After the insulation period, you’ll be ready to unmold and cut your soap. We’re getting closer to those beautiful bars of homemade tallow soap!
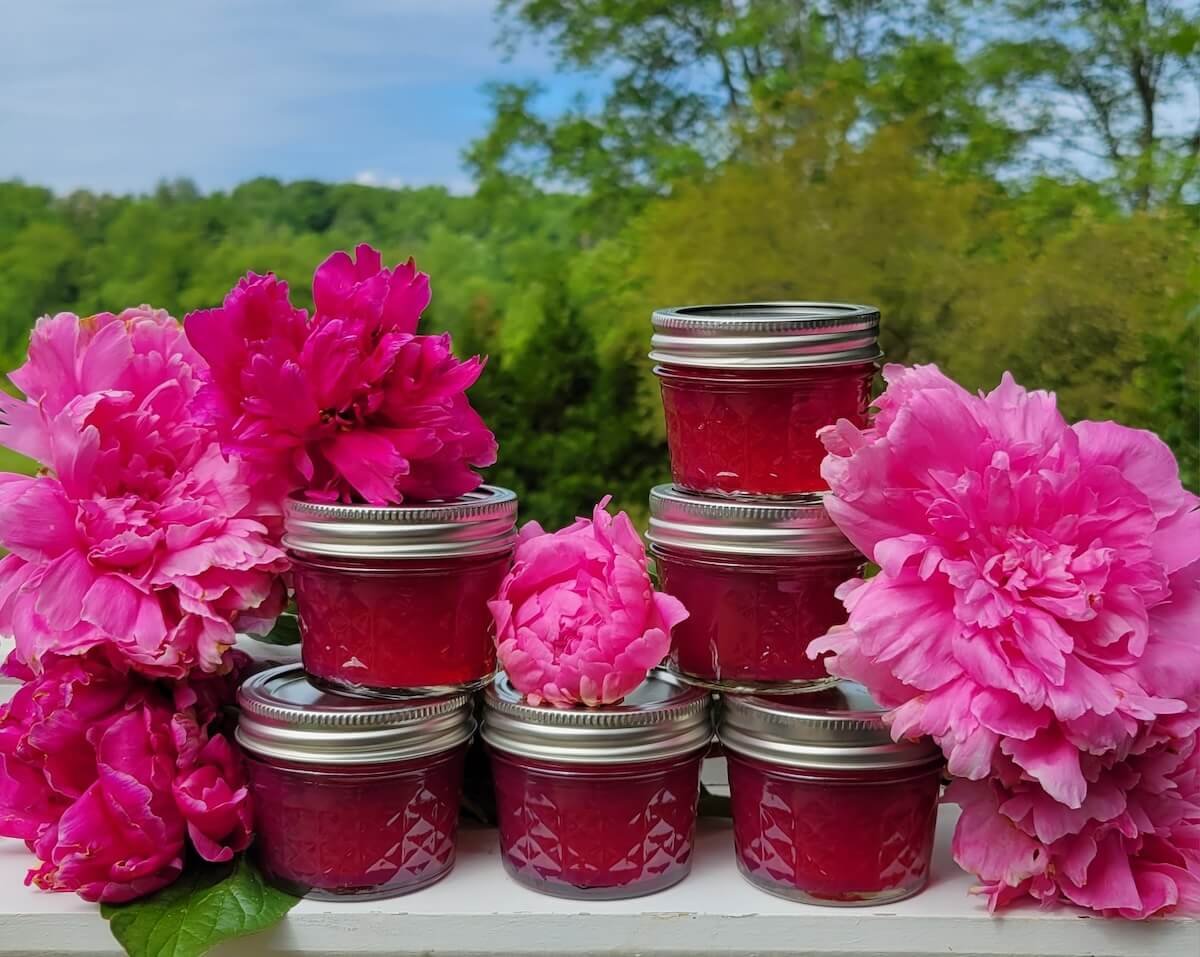
Curing Your Tallow Soap: Patience is Key
Okay, so you’ve made your soap! Awesome! But don’t get too excited just yet. The curing process is super important, maybe even as important as the actual soapmaking. Think of it like aging cheese or wine – it takes time, but the end result is so worth it. Basically, curing lets the saponification process finish up, which means any lye that’s still hanging around gets neutralized. Plus, extra water gets to evaporate, which makes for a milder, longer-lasting bar.
Why Curing Matters
Why can’t we just use the soap right away? Well, you could, but it wouldn’t be the best experience. Curing makes a huge difference in the quality of your soap. Here’s why it’s so important:
- It neutralizes any remaining lye, making the soap gentler on your skin.
- It allows excess water to evaporate, resulting in a harder, longer-lasting bar.
- It improves the lather and overall performance of the soap.
Rushing the curing process is like baking a cake and taking it out of the oven too early. It might look okay on the outside, but the inside is still gooey and not quite right. Patience is key for a truly great bar of soap.
The Curing Environment
Where you cure your soap matters. You want a spot that’s cool, dry, and has good airflow. Think of a place where air can circulate around each bar. A wire rack works great, or even a shelf lined with parchment paper. Avoid direct sunlight or really hot temperatures, as this can mess with the soap. You might see a white powdery stuff on the soap – that’s soda ash, and it’s totally harmless. Just wipe it off if you don’t like the look of it. Remember to keep your soap favors in a safe place away from kids and pets!
When is it Ready?
So, how long do you need to cure your tallow soap? The general rule is at least 4-6 weeks. But honestly, the longer, the better! Some people even cure their soaps for several months. The longer you wait, the milder and harder the bar will be. It’s a test of patience, but trust us, your skin will thank you. After the curing period, your homemade tallow soap will be ready to use. It will be gentler, longer-lasting, and have a richer lather than soap that hasn’t been cured properly. So, be patient, and your skin will thank you!
Customizing Your Tallow Soap
Now that we’ve covered the basics, let’s talk about making your tallow soap truly yours. This is where the fun really begins! We can adjust scents, colors, and additives to create something special.
Choosing Your Scents
Essential oils are a fantastic way to add fragrance to your soap. Lavender, peppermint, and tea tree are popular choices, but the possibilities are endless. Consider what kind of mood you want to evoke with your soap. Do you want something relaxing, invigorating, or simply clean-smelling? Remember to research the safe usage rates for each oil, as some can be irritating in high concentrations. A good starting point is around 1-3% of the total soap weight. You can find quality essential oils online or at local health food stores.
Unscented for Sensitive Skin
Sometimes, less is more. If you or someone you’re making soap for has sensitive skin, unscented soap is often the best option. Many commercial soaps contain artificial fragrances that can cause irritation or allergic reactions. By leaving out the essential oils, you’re creating a gentle and pure bar of tallow soap that’s less likely to cause problems. Plus, you can still enjoy the natural benefits of tallow, like its moisturizing properties.
Experimenting with Additives
Beyond scents, we can also add other ingredients to enhance our soap. Here are a few ideas:
- Clays: Add kaolin clay for a silky feel and gentle cleansing action.
- Oatmeal: Ground oatmeal can provide gentle exfoliation and soothe irritated skin.
- Herbs: Dried herbs like calendula or chamomile can add visual appeal and potential skin benefits.
When adding anything, start small. A little goes a long way, and it’s always better to add more later than to overdo it from the start. Also, be sure to research any potential allergies or sensitivities before using a new additive.
Remember to keep detailed notes of your experiments. That way, if you create a soap you absolutely love, you’ll know exactly how to recreate it! Have fun and enjoy the process of soap making!
Wrapping Things Up: Our Tallow Soap Journey
So, there you have it! Making your own tallow soap might seem a bit much at first, with all the steps and the lye. But honestly, once you get going, it’s pretty straightforward. We’ve walked through everything, from getting our ingredients ready to pouring that lovely soap into molds. It’s a really rewarding process, seeing those simple fats and lye turn into something so useful and good for your skin. Plus, there’s something cool about making things with your own hands, knowing exactly what’s in them. We hope this guide makes you feel ready to give it a try. Happy soap making!
Frequently Asked Questions
What exactly is tallow soap?
Tallow soap is a special kind of soap made using animal fat, usually from cows. It’s known for being super gentle and moisturizing, leaving your skin feeling soft and happy.
Is lye really necessary for making soap?
Yes, lye is a must-have for making real soap. It’s what causes the fats (like tallow) to turn into soap through a process called saponification. Don’t worry, when the soap is finished, there’s no lye left in the final product.
How do we stay safe when using lye?
We always put safety first! When working with lye, we wear safety glasses and gloves to protect our eyes and skin. We also make sure to work in a place with good airflow, like outdoors or near an open window, to avoid breathing in any fumes.
Why is curing our soap so important?
Curing is like letting your soap take a long nap. It helps the soap get harder, last longer, and become milder on your skin. It also lets any extra water evaporate, making a better bar of soap.
How do we know when our tallow soap is ready to use?
You can tell your soap is ready when it’s firm and dry to the touch, and it doesn’t feel greasy. Usually, this takes about 4 to 6 weeks, but it can depend on the recipe and how you store it.
Can we add other things to our tallow soap?
Absolutely! We can add essential oils for a nice smell or other natural things like oatmeal or clay for extra skin benefits. Just remember to add them when the soap mixture is at the right stage, usually at ‘trace’.