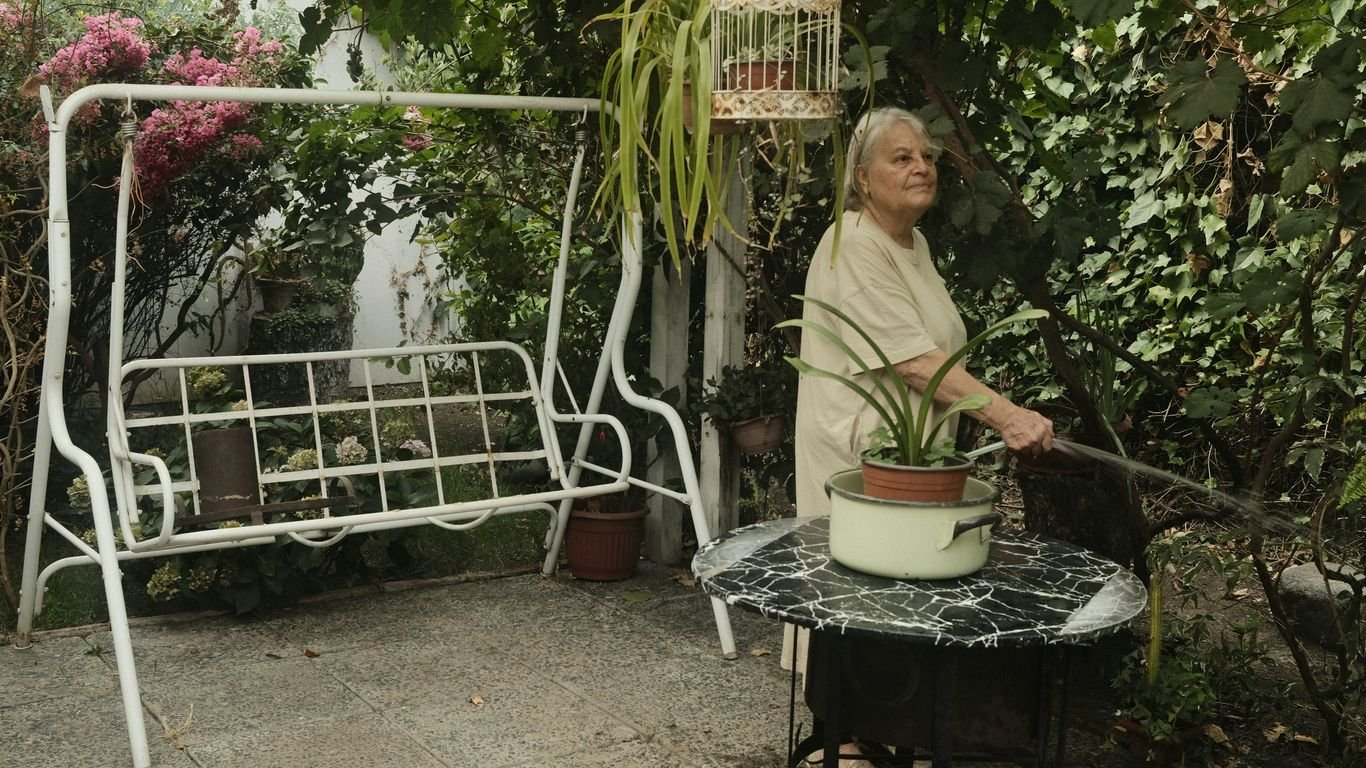
Starting a seed bank at home might sound like something only hardcore gardeners do, but honestly, it’s a lot simpler than it seems. We realized that saving seeds from our favorite plants not only saves money, but it helps us keep growing the stuff we actually like to eat. Plus, it’s a small step toward being a bit more self-sufficient. Over time, we’ve learned that having our own stash of seeds means we’re not scrambling to find the right varieties each year, and if there’s ever a shortage at the store, we’re covered. So, let’s walk through how we can start a seed bank together, using what we already have and building up from there.
Key Takeaways
- Start a seed bank by focusing on seeds from plants that do well in your area and that your family enjoys.
- Always choose open-pollinated or heirloom seeds since they’ll grow true to type year after year.
- Harvest seeds when they’re fully mature and dry them out completely before storing.
- Store seeds in airtight containers in a cool, dry, and dark place to keep them viable for longer.
- Label everything clearly and check seed viability every season so your seed bank stays fresh and useful.
Why Start Your Own Seed Bank?
So, why bother with a seed bank when you can just buy seeds every year? Well, for us, it’s about taking a bit more control over our food and our garden. Think of it as a personal insurance policy for your favorite plants.
Become More Self-Reliant
Having your own stash of seeds means you’re not totally dependent on what’s available at the store or online each season. Sometimes, a favorite variety might be out of stock, or maybe prices jump up. If you’ve saved your own, you’re good to go. It’s a really satisfying feeling to know you can plant what you want, when you want, using seeds you’ve nurtured yourself. This independence is a big part of why we started.
Preserve Favorite Varieties
We all have those plants that just work in our garden or that we absolutely love the taste of. Maybe it’s a tomato that ripens early, a pepper with just the right amount of heat, or a flower that smells amazing. Commercial seed companies sometimes stop carrying older varieties, or a popular one might suddenly disappear. By saving seeds from your best performers, you’re keeping those special plants going, year after year. It’s a way to hold onto the plants that make your garden unique.
Ensure Food Security
This might sound a bit dramatic, but having a seed bank is a practical step towards food security. In uncertain times, having the ability to grow your own food is incredibly important. It’s not just about big, global disasters; it’s about being prepared for local issues too, like unexpected crop failures or supply chain hiccups. A well-managed seed bank gives us peace of mind, knowing we have the means to grow food for ourselves and our families, no matter what.
Building a seed bank is more than just storing seeds; it’s about preserving genetic diversity, maintaining plant varieties that suit our specific needs and environment, and gaining a deeper connection to our food source. It’s a proactive step towards resilience.
Choosing What Seeds To Save
Figuring out which seeds to hold onto can feel a little overwhelming—but it’s honestly not that complicated once we get the hang of it. There’s a bit of strategy, and it centers around picking seeds that actually make sense for our gardens and our dinner tables.
Focus on Open-Pollinated and Heirloom Varieties
Not all seeds are created equal. Open-pollinated and heirloom seeds are the best bet for seed saving. These types will usually give us plants just like the parent, which is key if we want reliable results year after year. Hybrid seeds, while sometimes tempting because they produce big yields, often don’t "breed true"—meaning, if we save seed from those, who knows what will pop up next season.
| Seed Type | What It Means | Good For Saving? |
|---|---|---|
| Open-Pollinated | Pollinated naturally | Yes |
| Heirloom | Old, stable varieties | Yes |
| Hybrid (F1) | Cross between plants | Not ideal |
Select Plants That Grow Well In Your Climate
There’s nothing more frustrating than excitedly planting a new variety, only to watch it fail because it can’t handle local weather. Let’s focus on seeds from plants that thrive where we live. These will naturally be more likely to survive and even improve over time as they adapt to our area’s unique quirks (hot summers, random frosts, whatever nature throws at us).
- Choose seeds from plants that grew strong without a ton of help
- Avoid varieties that always struggle or need constant babysitting
- Make notes each season about what performed well for future saves
Prioritize Foods Your Family Enjoys
One easy win: only bother saving seeds from foods we actually want to eat. There’s no point storing up extra radish seeds if none of us even like radishes. Think honestly about what shows up most on our dinner plates and work from there.
- Tomatoes: If pasta night is a staple, save your favorite sauce varieties
- Peppers: Hot or sweet, pick based on what you use most
- Greens: Salad every week? Lettuce and spinach are must-haves
Saving seeds from what we love and what really works in our gardens means our seed bank will always be practical and ready for the season ahead.
Taking some time to think through these choices will save a lot of space—and a lot of hassle—later. We end up with a collection that’s both useful and meaningful to us.
Sourcing Your Seeds
So, you’re ready to start building your personal seed collection. That’s awesome! But where do you actually get these seeds from? Don’t worry, it’s not as complicated as it might seem. We’ve got a few good options to get you going.
Save From Your Own Garden
This is probably the most rewarding way to source seeds. When you grow plants from seeds you saved yourself the previous year, you’re essentially getting varieties that are already adapted to your specific garden conditions. It’s like a little genetic shortcut! Plus, it’s incredibly satisfying to see a plant grow from a seed you nurtured yourself. Start with plants that are easy to save seeds from, like beans, peas, or tomatoes. Just make sure you’re saving from open-pollinated or heirloom varieties, not hybrids, or you might not get the same plant next year.
Connect With Local Gardeners
Your community is a goldmine for seeds! Think about local gardening groups, community gardens, or even just neighbors who love to grow things. Many gardeners are happy to share their extra seeds, especially if they’re growing a lot of one variety. This is also a fantastic way to find locally adapted seeds that have been proven to do well in your area. You might even find unique varieties you wouldn’t see in a big seed catalog. Look for local seed swaps – these events are specifically designed for gardeners to trade seeds and knowledge. It’s a great way to meet like-minded people and build connections.
Purchase Seed Packs Wisely
Sometimes, you just need to buy seeds to get started or to fill gaps in your collection. When you’re buying, try to support local seed companies or those that focus on open-pollinated and heirloom varieties. Read the descriptions carefully. Look for information about where the seeds were grown and if they are suited for your climate. You can also sometimes find seeds in unexpected places, like gift shops or even the spice aisle of your grocery store (think coriander, fenugreek, or unhulled buckwheat). Just be sure to label these clearly, noting their source and the year you acquired them, so you know what you’re working with down the line.
When buying seeds, always check the packet for information about the variety, its origin, and its suitability for your growing zone. This helps you make informed choices for your seed bank.
Proper Seed Harvesting and Drying

Alright, so you’ve picked out your plants and you’re ready to save some seeds. This is where the real magic happens, but you’ve got to do it right. If you mess this part up, all your hard work could go to waste.
Harvest Mature Seeds
First things first, you need to make sure you’re harvesting seeds when they’re actually ready. For most plants, this means letting them fully mature on the plant. We’re talking about the "dry" seeds here – think beans, peas, peppers, tomatoes, and herbs. These guys will develop a hard outer shell or pod. Don’t pick them too early! If you harvest them before they’re mature, they might not have the energy to sprout later on. You want to see the plant start to wither or dry out, and the seed pods turn brown and brittle. For things like tomatoes, you’ll want to let the fruit get fully ripe, then scoop out the seeds. We’ll get to what to do with those "wet" seeds in a bit.
Dry Seeds Thoroughly
This is probably the most important step. Seeds need to be bone dry before you store them. If there’s any moisture left, they can mold or rot, and then they’re useless. For those dry-seeded plants, you can often let them finish drying indoors. You can spread them out on a screen, a tray, or even hang them in small bunches in a well-ventilated room. Some folks use a dehydrator on a very low setting, or even a solar oven if you have one. The goal is to get them to a point where they snap easily, not bend. For tiny seeds, like from herbs, you can sometimes put the whole dried flower head or seed pod into a paper bag and give it a good shake. The seeds will fall out into the bag.
Protect Seeds During Drying
While your seeds are drying, you need to protect them. This means keeping them away from pests like mice and insects, and also from humidity. If you’re drying them indoors, a spare room with good airflow is ideal. You can place seed heads in paper bags or shallow trays. If you’re worried about critters, you might want to cover trays with fine mesh netting. For seeds that come from fleshy fruits, like tomatoes or cucumbers, the process is a bit different. You’ll want to scoop out the seeds, put them in a jar with a little water, and let them ferment for a couple of days. This helps remove any gunk and separates the good seeds (which sink) from the bad ones (which float). After fermentation, rinse the good seeds really well and then dry them thoroughly, just like the other seeds.
Remember, the enemy of stored seeds is moisture. Even a tiny bit can ruin your whole collection over time. So, be patient with the drying process. It’s better to dry them a little too long than not long enough.
Storing Your Seed Collection
Alright, so we’ve gathered our seeds, and now it’s time to tuck them away safely. This is where we make sure all our hard work actually pays off down the road. The main goal here is to keep things cool, dark, and dry. Think of it like putting your seeds in a long nap where they won’t be disturbed.
Keep Seeds Cool, Dark, and Dry
Temperature and moisture are the biggest enemies of stored seeds. Fluctuations are bad, and too much humidity can make them sprout prematurely or, worse, get moldy. We want to avoid that at all costs. A cool basement, a closet in a climate-controlled part of the house, or even a spare fridge or freezer can work. Just make sure it’s a stable environment. The less change, the better for seed longevity.
Utilize Airtight Containers
Once we’ve got our seeds ready, we need to put them into something that seals up tight. This is key to keeping out moisture and any little critters that might want to snack on them. We can use glass jars with good seals, sturdy Mylar bags, or even metal tins. For really long-term storage, vacuum-sealed bags inside a larger container are a solid choice. It’s all about creating a barrier.
Consider Using Desiccants
Even with airtight containers, a little extra protection against moisture doesn’t hurt. We can toss in a small packet of silica gel (you know, those little packets that come in shoe boxes or electronics packaging) or even a bit of dry rice at the bottom of the container. These little helpers soak up any stray humidity that might sneak in. Just make sure they aren’t touching the seeds directly if you’re using something like rice.
We’re aiming to create a micro-environment for our seeds that mimics their ideal dormant state. This means controlling the factors that would normally tell them it’s time to grow or that it’s time to decay. By keeping them stable and protected, we give them the best chance to be viable when we need them.
Organizing and Labeling Your Seeds
So, you’ve got your seeds harvested, dried, and ready for storage. That’s awesome! But before you just toss them all into a box, let’s talk about getting them organized. Trust us, future you will be super grateful when you can actually find the seeds you need without digging through a mountain of paper envelopes. Clear labeling is the backbone of a functional seed bank.
Label Every Seed Packet
This might sound obvious, but it’s worth repeating. Every single packet needs a label. We’re talking about the plant name, the variety if you know it, and the date you saved or stored the seeds. This helps us keep track of what’s what and how old things are. You can write directly on the envelopes, use small sticker labels, or even print out custom labels. Whatever works best for you, just make sure it’s legible and won’t rub off.
Alphabetize For Easy Access
Once everything is labeled, it’s time to put them in order. Alphabetizing is usually the easiest way to go. It makes finding specific seeds a breeze. We like to use small plastic photo boxes for our short-term storage, and we just arrange the labeled seed packets inside alphabetically. For longer-term storage, like in larger bins or buckets, alphabetizing is still your best bet. It helps us keep a good inventory and know what we have on hand.
Use Photo Boxes or Bins
Choosing the right storage containers makes a big difference. For seeds we plan to use within a year or two, simple plastic photo boxes work great. They keep things organized and protected from light. If you’re building a more extensive seed bank for long-term storage, consider using food-grade buckets or even sturdy ammo cans. These offer better protection against moisture, pests, and light, which are the enemies of seed viability. You can find some great options for seed storage solutions online.
Keeping your seeds organized isn’t just about neatness; it’s about practicality. A well-organized seed bank means you can quickly access the varieties you need for planting, saving you time and frustration when the growing season arrives. It also helps you keep track of what you have, preventing you from buying seeds you already possess.
Maintaining Your Seed Bank
So, you’ve put in the work to gather and store your seeds. That’s awesome! But a seed bank isn’t a ‘set it and forget it’ kind of thing. We need to keep an eye on our collection to make sure it stays viable and useful. Think of it like tending a pantry; you wouldn’t just let things sit until they go bad, right?
Test Seed Viability Regularly
This is super important. Over time, seeds lose their ability to sprout. We need to check on them periodically to see if they’re still good. It’s not hard to do. Grab a few seeds from a packet, put them on a damp paper towel, fold it over, and stick it in a plastic bag or container. Keep it somewhere warm and out of direct sun. After a week or so, check to see how many sprouted. If only a few do, it might be time to use those seeds up in the garden or find new ones.
Rotate Through Stored Seeds
Just like with canned goods, we want to use the oldest seeds first. This means keeping track of when you collected or stored each batch. When you’re planning your garden, try to use seeds that have been in storage the longest. This helps ensure you’re using seeds before they lose their viability and also gives you a chance to see which varieties perform best over time in your specific conditions.
Replenish As Needed
As we use seeds from our bank, or find that some aren’t sprouting anymore, we’ll need to add new ones. This could mean saving seeds from our own successful harvests that year, trading with fellow gardeners, or buying new seed packs. The goal is to keep a healthy stock of reliable seeds for the future. Don’t wait until you desperately need a seed type to realize your supply is gone or no good. A little proactive effort goes a long way in keeping our seed bank robust.
Wrapping It Up
So, there you have it. Starting your own seed bank might seem like a big project at first, but really, we can all do it. It’s about saving those plants we love, the ones that do well in our yards or taste the best. We don’t need fancy equipment to get going; we can start with what we have right now. Think of it as building a little library of life, right in our own homes. Plus, it’s a great way to share with friends and neighbors, making our gardens, and our communities, a little stronger. Let’s get saving!
Frequently Asked Questions
Why should we bother starting our own seed bank?
Starting your own seed bank is like having your own personal pantry for plants! It helps us become more independent by saving seeds from our favorite veggies and flowers that grow really well in our yard. Plus, it’s a fantastic way to make sure we always have seeds for the plants we love, even if they become hard to find elsewhere. It’s also a great backup for our food supply, giving us more control over what we can grow.
What kind of seeds are best to save?
We should focus on saving seeds from plants that are ‘open-pollinated’ or ‘heirloom’ varieties. These seeds will grow into plants that are just like their parents. We should also pick plants that we know grow well in our local weather and soil, and definitely choose ones that our family actually likes to eat! Avoid ‘hybrid’ seeds, as they often don’t grow true to the parent plant.
Where can we get seeds if we don’t have our own plants yet?
If we don’t have plants to save seeds from, we can get them from a few places. We can ask friends or neighbors who garden if they have extra seeds from their plants. Sometimes, local gardening groups or community centers have seed swaps. We can also buy seed packets, but it’s good to choose wisely and maybe start with a small, reputable company.
How do we make sure the seeds we save are good?
After we collect our seeds, we need to dry them out really well. Think of it like making sure they’re completely dry, not damp at all. Then, we need to store them in a place that’s cool, dark, and dry. Using airtight containers, like glass jars or metal tins, helps keep out moisture and pests. Sometimes, we can even add little packets called desiccants to soak up extra moisture.
How should we keep our seeds organized?
Labeling is super important! We need to write down what kind of seed it is, maybe the variety, and when we collected it on every single packet. We can then organize them in a way that makes sense to us, like putting them in alphabetical order. Storing them in small containers within a larger bin or box, like a photo box or a plastic bin, makes them easy to find and keeps them protected.
How do we know if our stored seeds will still grow?
We should test our seeds every so often to see if they’re still alive and ready to sprout. A simple way to do this is to take a small number of seeds, put them on a damp paper towel, and place that inside a plastic bag in a warm spot. If they start to sprout after a week or two, then we know they’re good to go! This helps us know which seeds to use first.