Mastering the Art of Water Bath Canning: Preserving the Bounty of Your Homestead
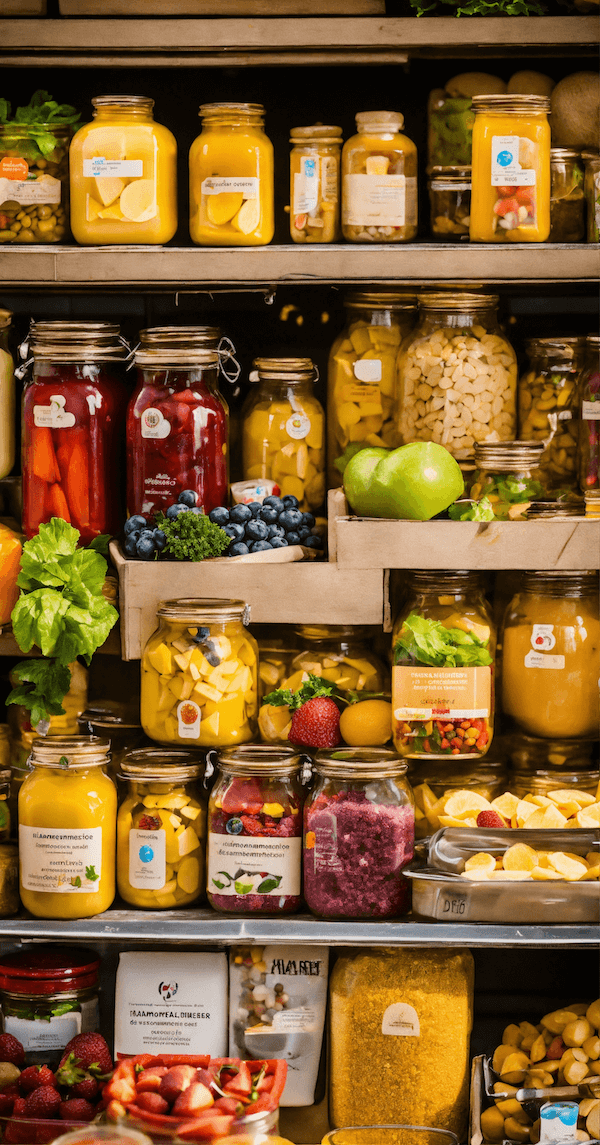
If the beating heart of the homestead is the garden, then water bath canning your produce must surely be its pulse. This unassuming piece of equipment has the power to transform the fleeting flavors of the season into shelf-stable delights that will nourish my family long after the last harvest has been gathered.
Water bath canning is a safe, reliable method for canning high-acid foods like fruits, jams, pickles, and tomatoes. By submerging jars in a hot water bath, you can create an airtight seal that locks in freshness and prevents the growth of harmful microorganisms. It’s a skill that has been passed down through generations of homesteaders, and one that I’m excited to share with you today.
Whether you’re new to the world of home canning or a seasoned preservationist looking to hone your skills, this comprehensive guide will walk you through the entire process of mastering the art of water bath canning. From selecting the perfect produce to perfecting your processing times, you’ll be equipped with the knowledge and confidence to transform the bounty of your homestead into shelf-stable, delicious delights.
So, let’s dive in and unlock the secrets to preserving the flavors of your homestead through the magic of water bath canning!
Gathering Your Canning Supplies
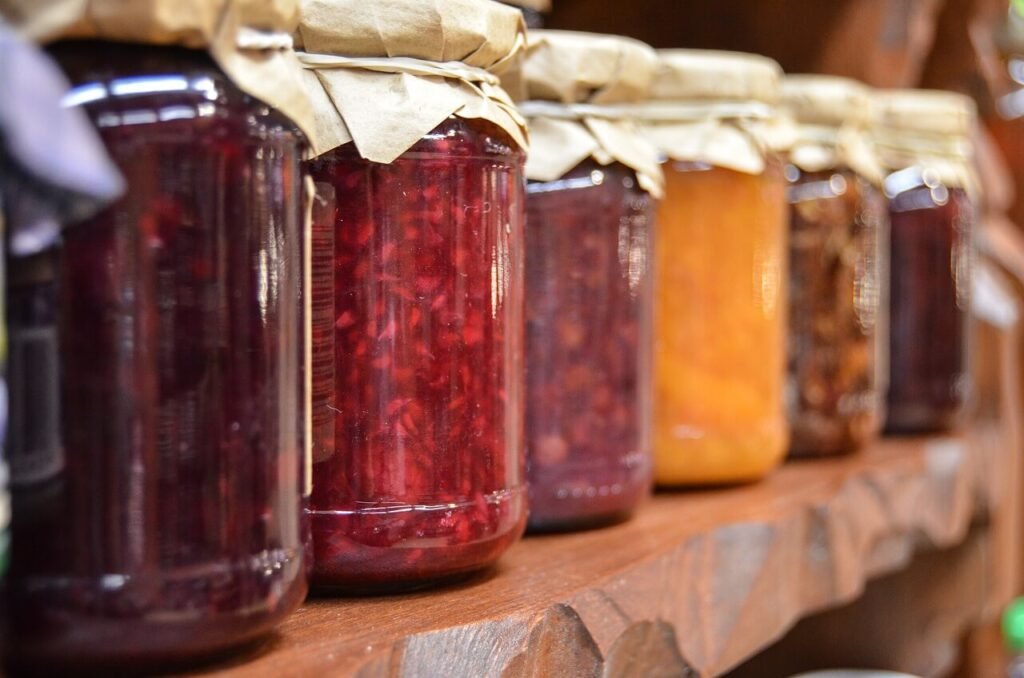
Before you can start canning, you’ll need to assemble the essential tools and equipment. While the initial investment may seem daunting, these supplies will serve you well for years to come, allowing you to preserve the harvest from your homestead garden, orchard, and beyond.The most important piece of equipment is, of course, the water bath canner. This is a large, deep pot with a rack or trivet inside to hold your jars. Look for one that can accommodate the size of jars you’ll be using, typically either pint or quart.
In addition to the canner, you’ll need:
- Mason jars with new, two-piece lids (either regular or wide-mouth)
- Jar lifter to safely remove hot jars from the canner
- Magnetic lid wand to easily place lids on jars
- Canning funnel to prevent spills when filling jars
- Bubble remover/headspace tool to remove air bubbles and measure headspace
- Ladle for transferring hot food into jars
- Towels or heat-resistant pads for handling hot jars
Once you’ve gathered your supplies, it’s time to start prepping your produce for canning. We recommend this water bath canner as it includes pretty much all of the additional supplies listed above and it’s the perfect starting point for your canning journey.
Selecting and Preparing Your Produce
The key to successful water bath canning lies in choosing the right high-acid fruits and vegetables. Some of the best options for this method include:
- Tomatoes (with added acid like lemon juice or citric acid)
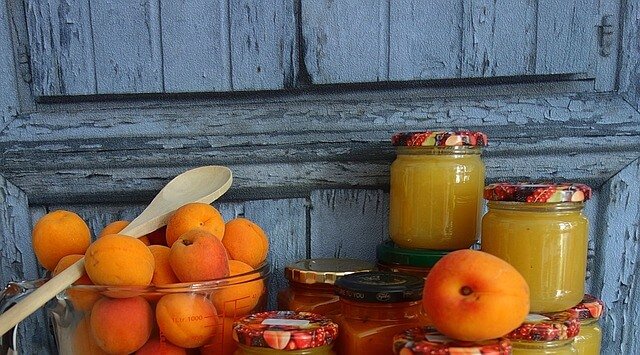
- Fruits like apples, berries, peaches, and pears
- Jams, jellies, and fruit preserves
- Pickles, relishes, and chutneys
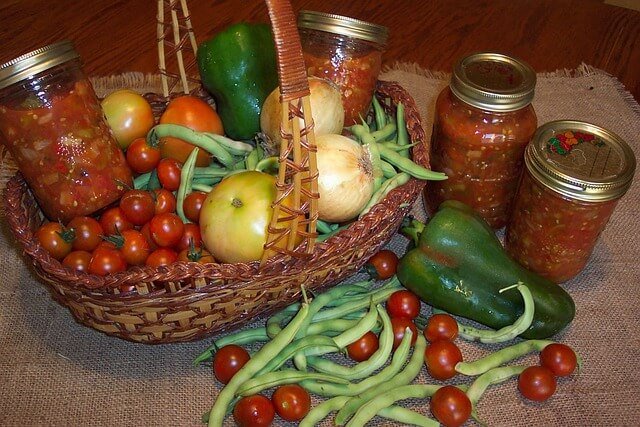
When selecting your produce, look for the freshest, ripest specimens, free from bruises or blemishes. Wash them thoroughly and remove any damaged or discolored areas.Depending on the recipe, you may need to peel, pit, or chop your produce before canning. Follow the specific instructions for your chosen recipe to ensure the best texture and flavor in your final product.
The Water Bath Canning Process
Now that you’ve gathered your supplies and prepared your produce, it’s time to get canning! Here’s a step-by-step guide to the water bath canning process:
- Prepare the Jars: Wash your jars, lids, and bands in hot, soapy water. Rinse thoroughly and keep them warm until ready to use.
- Fill the Jars: Using a canning funnel, ladle the hot, prepared food into the clean jars, leaving the appropriate headspace (typically 1/2 inch for most recipes).
- Remove Air Bubbles: Insert a bubble remover or plastic knife along the inside of the jar to release any trapped air bubbles.
- Wipe the Rims: Use a clean, damp cloth to thoroughly wipe the rim of each jar, ensuring a proper seal.
- Apply the Lids: Place the flat lid on the jar, followed by the threaded band. Tighten the band, but not too tightly.
- Process the Jars: Carefully lower the filled jars into the water bath canner, ensuring they are fully submerged. Bring the water to a rolling boil and process the jars for the recommended time, adjusting for altitude if necessary.
- Remove and Cool the Jars: Using a jar lifter, carefully remove the processed jars from the canner and place them on a towel or heat-resistant surface to cool completely, usually 12-24 hours.
- Check the Seals: Once cooled, check that the lids have sealed properly by pressing down on the center of each lid. If the lid doesn’t flex up and down, it’s sealed.
- Store the Jars: Wipe the jars clean, label them with the contents and processing date, and store them in a cool, dark place for up to one year.
By following these steps, you’ll be well on your way to mastering the art of water bath canning and preserving the bounty of your homestead for seasons to come.
Tips and Tricks for Water Bath Canning Success
As you embark on your water bath canning journey, here are a few additional tips and tricks to help ensure your success:
- Invest in a Quality Canner: Look for a water bath canner made of heavy-duty stainless steel or enamel-coated steel. This will ensure even heat distribution and long-lasting durability.
- Adjust for Altitude: If you live at an elevation above 1,000 feet, you’ll need to increase your processing times to account for the lower boiling point of water. Consult a reliable canning guide for the appropriate adjustments.
- Experiment with Recipes: Don’t be afraid to try new and creative canning recipes, from savory tomato sauces to sweet fruit preserves. Just be sure to use only tested, high-acid recipes to ensure food safety.
- Maintain Cleanliness: Proper sanitation is crucial for successful canning. Thoroughly wash all equipment and work surfaces, and sterilize your jars before use.
- Store Jars Properly: Keep your canned goods in a cool, dark place, away from direct sunlight. Avoid storing them near heat sources or damp areas, which can compromise the seals.
- Rotate Your Inventory: Use the oldest jars first, and keep track of processing dates to ensure you’re consuming your canned goods at the peak of freshness.
- Consult Reliable Resources: If you ever have questions or concerns about the canning process, don’t hesitate to reach out to your local extension office or refer to trusted sources like the National Center for Home Food Preservation.
By following these tips and tricks, you’ll be well on your way to mastering the art of water bath canning and preserving the bounty of your homestead for years to come.


