Have you ever thought about turning those beautiful, fragrant peonies in your garden into something delicious? Well, we did, and let us tell you, making peony jelly at home is totally doable and super rewarding. It’s a fun way to capture the essence of spring in a jar, and trust us, your taste buds will thank you. We’re going to walk you through everything you need to know, from picking the right flowers to sealing your jars, so you can enjoy this unique treat all year long.
Key Takeaways
- Always pick peonies that haven’t been sprayed with anything nasty, like pesticides, if you plan to eat them.
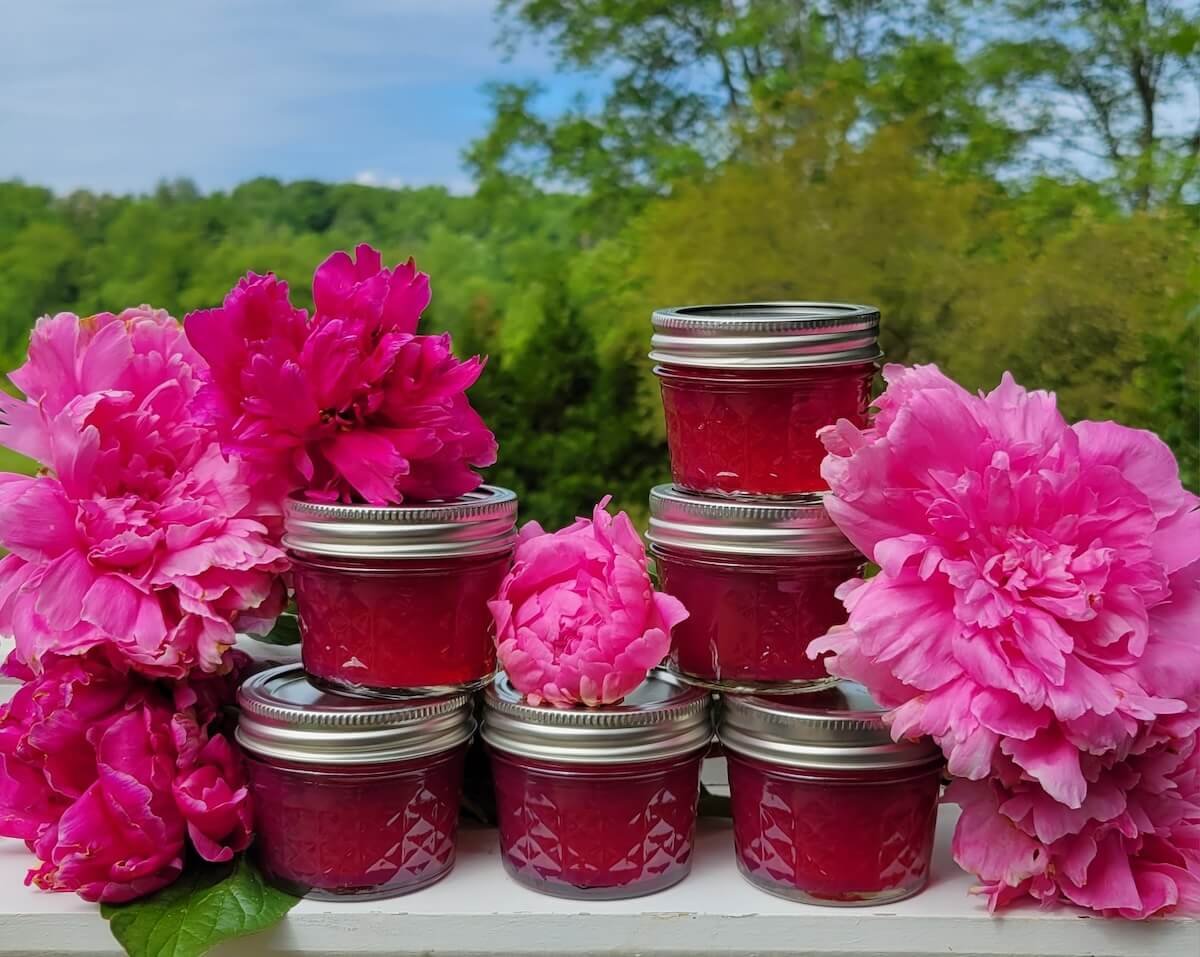
- The color of your peony jelly can change based on the peony petals you use; red and pink ones often give a prettier, deeper color.
- You’ll need to steep the peony petals in hot water for a good amount of time, usually overnight, to get all that flavor out.
- Making peony jelly involves cooking the infused liquid with sugar and pectin, and getting the right set might take a little practice.
- You can preserve your peony jelly by canning it in a water bath, which makes it last a long time, or just keep it in the fridge for quicker use.
Picking the Perfect Peonies for Your Jelly
Okay, so you’re ready to make some peony jelly! Awesome. But before we even think about pectin or sugar, we need to talk about the stars of the show: the peonies themselves. Not all peonies are created equal, especially when it comes to jelly-making. Let’s get into what to look for.
Choosing Fragrant Varieties
Fragrance is key! The more fragrant the peony, the more flavorful your jelly will be. Think about it: that beautiful scent is packed with aromatic compounds that will translate into a delicious, floral taste. Some varieties that are known for their strong fragrance include ‘Sarah Bernhardt’ (a classic!), ‘Duchesse de Nemours’ (a lovely white), and ‘Monsieur Jules Elie’ (a big, bomb-shaped pink). Don’t be afraid to stick your nose right in there and give them a good sniff before you pick them. If they don’t smell amazing in the garden, they won’t magically smell better in your jelly. We want that intense floral aroma!
The Best Colors for Peony Jelly
Color matters, but maybe not in the way you think. While any color peony can technically be used, pink and red varieties tend to give the jelly a more vibrant hue. White peonies will result in a paler jelly, which is still beautiful, but might not have that same visual oomph. Experiment! Mix different colors to see what kind of shades you can achieve. Just remember that the color intensity of the petals doesn’t always directly correlate to the flavor intensity. Here’s a quick guide:
- Dark Pink/Red: Rich color, potentially stronger flavor.
- Light Pink: Delicate color, subtle flavor.
- White: Pale color, mild flavor.
Ensuring Pesticide-Free Blooms
This is non-negotiable: you must use pesticide-free peonies. Since we’re going to be eating these flowers, we absolutely don’t want any harmful chemicals in the mix. If you’re growing your own, make sure you haven’t used any pesticides. If you’re buying them, ask your florist or farmer directly about their growing practices. Look for certified organic options if possible. It’s better to be safe than sorry! If you aren’t sure, don’t use them. You can also consider edible flower jellies made from other blooms if you’re concerned about pesticide exposure.
It’s really important to know where your flowers come from. Local farmers markets are a great option because you can talk directly to the people who grew the peonies. They can tell you exactly what they used (or didn’t use!) on their plants. Plus, you’re supporting local agriculture, which is always a good thing.
Here are some things to consider:
- Grow your own: This gives you complete control over what goes on your plants.
- Buy organic: Look for certified organic peonies from a reputable source.
- Ask questions: Don’t be afraid to ask your florist or farmer about their growing practices.
Gathering and Preparing Your Peony Petals

Now that we’ve got our beautiful, fragrant peonies, it’s time to get those petals ready for jelly-making! This step is all about maximizing flavor and ensuring we have a clean, delicious base for our peony creation. Let’s get started!
Cleaning Your Petals
First things first, we need to make sure our petals are squeaky clean. Give those freshly picked blooms a good shake to dislodge any lingering bugs or dirt. Then, gently twist the petals off the flower, avoiding the green sepals and any stamens. You’ll want about 4 cups of petals for a good batch. After that, give them a rinse in a colander under cool water. This will remove any remaining debris. We don’t want any unwanted guests in our jelly!
Steeping for Maximum Flavor
This is where the magic happens! We’re going to infuse the petals with hot water to extract all that lovely peony flavor and color. Add your rinsed petals to a quart jar or a large bowl. Boil some water and pour it over the petals until they’re completely submerged. Let the mixture cool slightly, then cover and refrigerate overnight. This long steeping time really helps to draw out the delicate peony essence. The next day, you’ll notice the water has taken on a beautiful hue – a sign of success!
Straining the Infused Liquid
Time to separate the liquid gold from the spent petals. Grab a fine-mesh sieve or a cheesecloth-lined colander and place it over a bowl. Gently pour the peony-infused water through the sieve, allowing all the liquid to drain. Discard the petals – they’ve done their job! What you’re left with is the base for your peony jelly. This peony liquid is packed with flavor and ready to be transformed into something amazing.
This infused liquid can also be frozen for later use, which is super handy if you want to make peony jelly year-round. Just pour it into freezer-safe containers, leaving a little headspace, and you’re good to go!
Whipping Up a Batch of Peony Jelly
Essential Ingredients for Peony Jelly
Okay, so we’ve got our peony-infused water ready to go. Now it’s time to gather the rest of the ingredients we’ll need to transform it into delicious jelly. Here’s what we typically use:
- 3 1/2 cups of peony-infused water (remember that lovely liquid we strained?)
- 1/4 cup of fresh lemon juice (this helps with the set and adds a nice tang)
- 1 package of powdered pectin (like Sure-Jell – this is what makes it jelly!)
- 3 cups of granulated sugar (adjust to your sweetness preference, but don’t skimp too much or it won’t set properly)
It’s important to use the right kind of pectin. Powdered pectin is what we usually go for, but liquid pectin can work too. Just be sure to adjust the recipe accordingly, as the amounts and cooking times might differ. Also, make sure your lemon juice is fresh! It really does make a difference in the final flavor.
Cooking Your Peony Jelly to Perfection
Alright, let’s get cooking! This is where the magic happens. We’re going to transform that watery peony infusion into shimmering, flavorful jelly. Here’s how we do it:
- In a large pot (stainless steel is best), combine the peony-infused water and lemon juice. Bring it to a rolling boil over medium-high heat. A home garden is a great place to source your ingredients.
- Add the powdered pectin and stir constantly until it’s fully dissolved. Keep stirring! We don’t want any clumps.
- Pour in the sugar all at once and stir like crazy. Bring the mixture back to a full rolling boil that you can’t stir down. This is important for the jelly to set properly.
- Boil hard for exactly 1 minute, stirring constantly. Set a timer! Overcooking or undercooking can affect the set.
- Remove from heat and skim off any foam that forms on the surface. This will give you a clearer, more beautiful jelly.
Tips for a Perfect Set
Getting that perfect jelly consistency can be a little tricky, but here are a few tips we’ve learned along the way:
- The Sheet Test: Before you start, put a couple of metal spoons in the freezer. When you think the jelly is ready, take one of the spoons out and drop a spoonful of the hot jelly onto it. Let it cool for a few seconds, then push it with your finger. If it wrinkles or forms a “sheet,” it’s ready! If it’s still runny, keep cooking for another minute or two and test again.
- Use a Candy Thermometer: If you’re nervous about the sheet test, a candy thermometer can be your best friend. Aim for a temperature of 220°F (104°C). This is generally the setting point for jelly.
- Don’t Double the Recipe: If you need a larger batch, it’s better to make multiple smaller batches rather than doubling or tripling the recipe. Larger batches can take longer to set and may not turn out as well.
- Patience is Key: Sometimes, even if you do everything right, the jelly might take a little longer to set. Don’t panic! Just give it some time. It can take up to 24 hours for jelly to fully set.
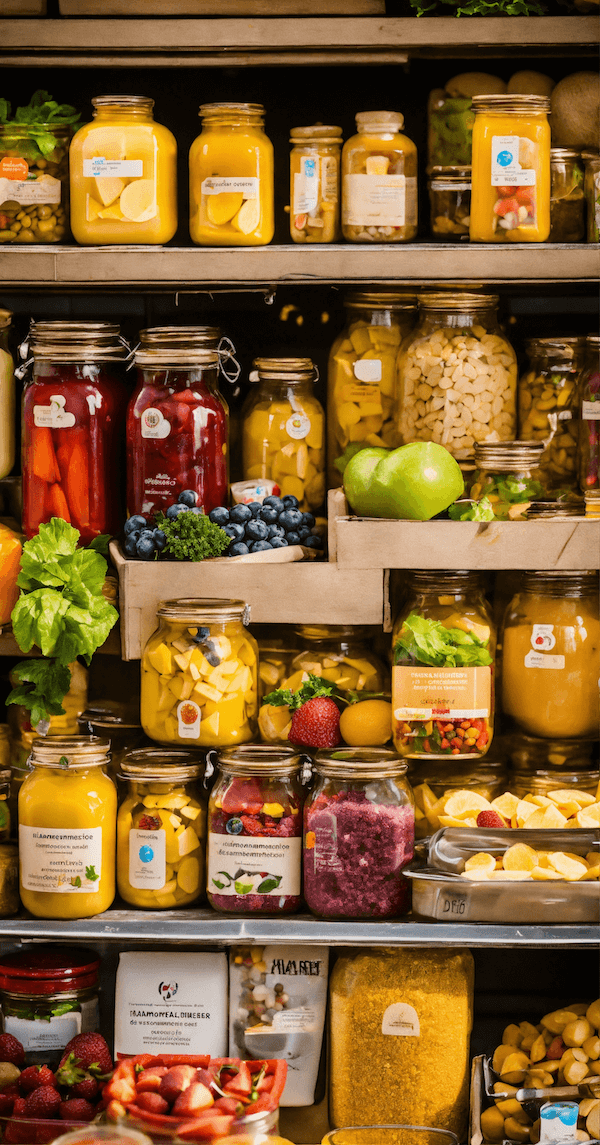
Preserving Your Peony Jelly Harvest
Sterilizing Your Jars
Okay, so you’ve made this beautiful peony jelly, and now you want to keep it around for a while. First things first: sterilizing your jars. It’s not as scary as it sounds! You can run them through a cycle in your dishwasher if it has a sterilize setting. If not, no worries! Just boil the jars in a large pot of water for about 10 minutes. Make sure they’re fully submerged. Don’t forget the lids! Boil those for a few minutes too, but don’t boil them as long as the jars – about 2-3 minutes is perfect. This step is super important to prevent any unwanted growth in your jelly later on. We don’t want any science experiments happening in our pantry!
Water Bath Canning for Longevity
Now for the fun part: water bath canning! This is how we make sure our peony jelly lasts longer than a few weeks in the fridge. After you’ve filled your sterilized jars with hot jelly, leaving about 1/4 inch of headspace, wipe the rims clean with a damp cloth. Place the lids on top and screw on the bands until they’re fingertip tight – not too tight, not too loose. Place the jars in your water bath canner filled with enough water to cover them by at least an inch or two. Bring the water to a rolling boil and process for the correct amount of time, which depends on your altitude.
| Altitude (feet) | Processing Time (minutes) |
|---|---|
| 0 – 1,000 | 10 |
| 1,001 – 6,000 | 15 |
| Above 6,000 | 20 |
Once the processing time is up, turn off the heat and let the jars sit in the hot water for about 5 minutes before removing them. This helps prevent thermal shock and breakage. Carefully remove the jars and place them on a towel-lined surface to cool completely.
Storing Your Beautiful Peony Jelly
After the jars have cooled completely (usually takes about 12-24 hours), check the seals. You should hear a ‘pop’ when the jars seal, or you can press down on the center of the lid – it shouldn’t flex. If a jar didn’t seal, you can either reprocess it with a new lid or store it in the fridge and use it within a few weeks. For the sealed jars, remove the bands (you don’t need them anymore!) and wipe down the jars. Store your beautiful peony jelly in a cool, dark place, like a pantry or cupboard. Properly canned jelly can last for at least a year, maybe even longer! Imagine enjoying the taste of spring in the middle of winter – that’s the magic of preserving!
Creative Ways to Enjoy Your Peony Jelly
Sweet Treats with Peony Jelly
Let’s be honest, the first thing most of us think about with jelly is dessert! And peony jelly is no exception. Its delicate floral notes make it a fantastic addition to all sorts of sweet treats. Think beyond just spreading it on toast (though that’s definitely a good start!).
- Use it as a glaze for cakes or pastries.
- Swirl it into yogurt or ice cream for a burst of flavor.
- Fill thumbprint cookies with a dollop of peony perfection.
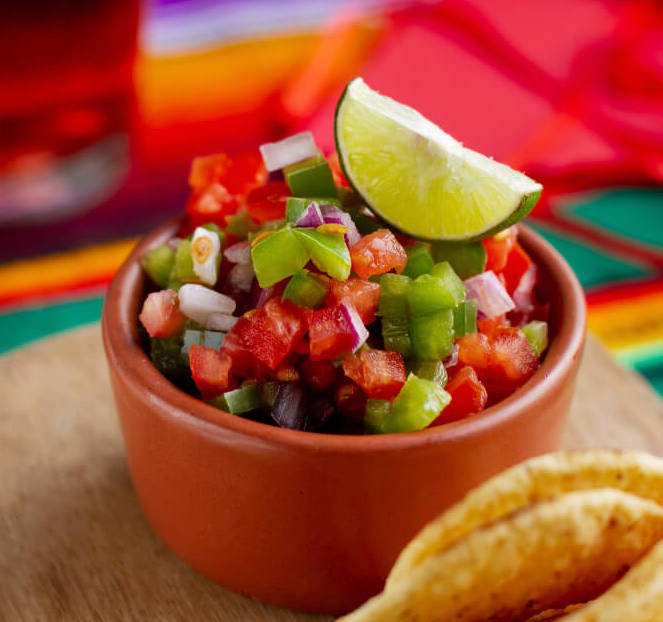
Savory Pairings for Peony Jelly
Okay, hear us out – peony jelly isn’t just for sweets! Its unique flavor profile can actually complement savory dishes surprisingly well. We’ve found that the subtle sweetness and floral aroma can add a special touch to appetizers and even main courses. It’s all about experimenting and finding the right balance.
- Serve it with a cheese board, especially with creamy cheeses like brie or goat cheese.
- Use it as a glaze for grilled chicken or pork.
- Add a spoonful to a vinaigrette for a floral twist on your salad.
Beyond the Kitchen: Gifts and More
Our homemade peony jelly is so special, we love to share it! A beautifully labeled jar of pink peony jelly makes a thoughtful and unique gift for friends, family, or even as a hostess present. But beyond gifting, there are other creative ways to use your peony jelly.
- Include a small jar in a gift basket with other homemade goodies.
- Use it as a unique party favor for a garden-themed event.
- Create personalized labels with a handwritten note for an extra special touch.
We’ve even heard of people using peony jelly as a natural lip balm (though we haven’t tried it ourselves!). The possibilities are truly endless when you have a jar of this beautiful and delicious jelly on hand.
Making Peony Syrup: A Versatile Alternative
While peony jelly is fantastic, let’s explore another delicious option: peony syrup! It’s incredibly versatile and adds a unique floral touch to drinks, desserts, and more. Plus, the process is quite similar to making jelly, so you’ll pick it up in no time. We find it’s a great way to use up any extra petals you might have after making jelly, or if you just want a slightly different peony experience.
Ingredients for Peony Syrup
Just like with peony jelly, the quality of your ingredients matters. Here’s what you’ll need:
- 4 cups of cleaned peony petals (choose fragrant, pesticide-free blooms)
- 3 cups of water
- 3 cups of granulated sugar
- Juice of 1/2 lemon
Simple Steps to Peony Syrup
Making peony syrup is surprisingly easy. Here’s how we do it:
- Infuse the Petals: Bring the water to a boil. While waiting, thoroughly wash your peony petals, removing any greenery. Place the petals in a heat-safe bowl and pour the boiling water over them. Cover the bowl with a towel and let it steep overnight (or for at least 8 hours). This allows the water to fully extract the peony’s flavor and color.
- Strain and Measure: The next day, strain the infused liquid through a fine-mesh sieve or cheesecloth, squeezing the petals to extract as much liquid as possible. Discard the spent petals. Measure the amount of peony-infused water you have. This measurement is important for the next step.
- Combine and Boil: In a saucepan, combine the peony-infused water with an equal amount of sugar (e.g., if you have 3 cups of peony water, add 3 cups of sugar). Bring the mixture to a boil over medium heat, stirring constantly until the sugar is completely dissolved. Once the sugar is dissolved, reduce the heat slightly and let the syrup simmer for about 5-10 minutes, or until it thickens slightly. Be careful not to overcook it, as it will thicken more as it cools.
- Add Lemon Juice: Remove the syrup from the heat and let it cool slightly. Once it’s cooled a bit, stir in the lemon juice. The lemon juice not only adds a touch of brightness but also helps to preserve the syrup and enhance its color. You’ll notice the color change from a dull yellow to a vibrant pink!
- Bottle and Store: Pour the cooled syrup into sterilized bottles or jars. Peony syrup can be stored in the refrigerator for up to a month.
Peony syrup is a delightful addition to any kitchen. Its unique floral flavor and beautiful color make it a special treat. Experiment with different peony varieties to discover your favorite flavor profile.
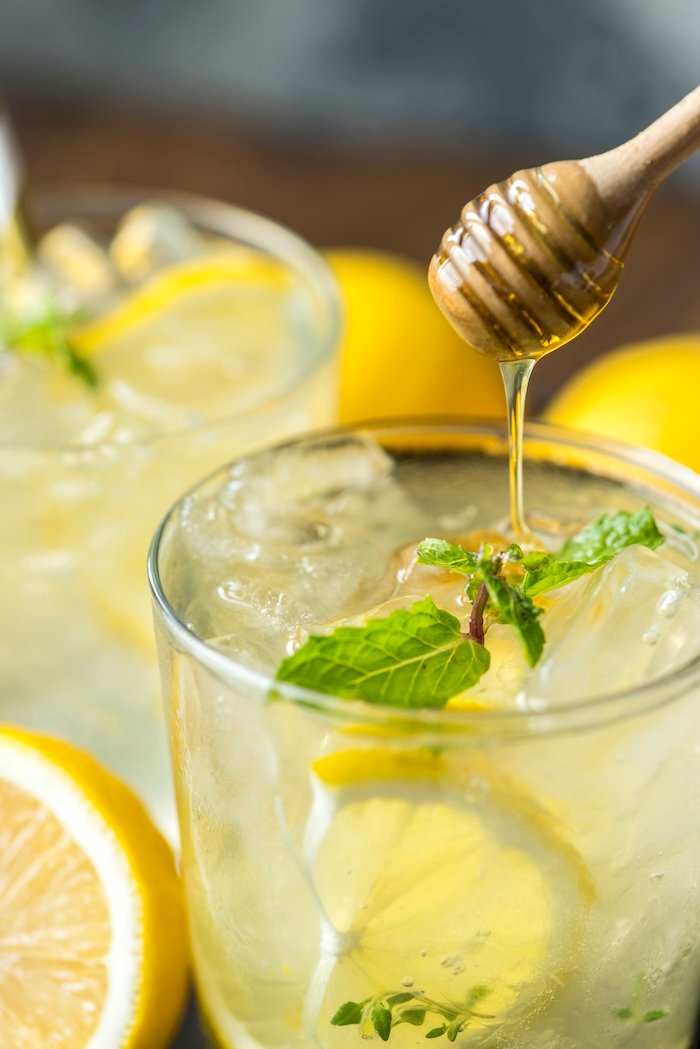
Using Your Homemade Peony Syrup
Now for the fun part: using your homemade peony syrup! Here are some of our favorite ways to enjoy it:
- Cocktails and Drinks: Add a splash of peony syrup to cocktails, mocktails, lemonade, or sparkling water for a floral twist. It’s especially delicious in gin and tonics or vodka sodas.
- Desserts: Drizzle peony syrup over pancakes, waffles, ice cream, or cakes. It also makes a wonderful addition to fruit salads or yogurt parfaits.
- Baking: Use peony syrup to flavor frostings, glazes, or even add a touch to your favorite cookie or cake recipes. Consider using it in peony jelly cookies!
- Other Uses: Get creative! Try using peony syrup to sweeten your tea or coffee, or even as a glaze for grilled meats or vegetables. The possibilities are endless!
Scaling Up Your Peony Jelly Production
So, you’ve mastered the art of making small batches of peony jelly and now you’re thinking bigger? We get it! Whether you’re planning to sell at a local farmer’s market or just want to have a larger supply for yourself, scaling up your peony jelly production is totally achievable. It just requires a bit of planning and some adjustments to your process.
Processing Large Quantities of Petals
When dealing with a large number of petals, efficiency is key. Instead of meticulously cleaning small batches, consider using a large tub or even a clean, food-grade plastic bin to wash your petals. A salad spinner can also be a lifesaver for quickly drying them. Remember to always use unsprayed, pesticide-free blooms!
Here’s a simple breakdown of how we handle large quantities:
- Snip peony blooms towards the end of the blooming season.
- Separate petals from stems and greenery.
- Rinse petals thoroughly in a colander or large tub.
- Steep petals in boiling water for 12 hours.
Freezing Infused Peony Liquid
One of the best tips we can give you is to freeze your infused peony liquid. This allows you to process petals when they’re in season and make jelly throughout the year. Simply strain the liquid after steeping, pour it into freezer-safe containers (leaving some headspace for expansion), and freeze. When you’re ready to make jelly, just thaw the liquid in the refrigerator. This method is a game-changer for managing your time and resources.
Freezing the infused liquid not only extends its shelf life but also allows you to experiment with different batches and flavor combinations later on. It’s like having a little bit of summer stored away for a rainy day.
Batching for Efficiency
When making multiple batches of jelly, organization is your best friend. Prepare all your ingredients in advance – measure out your sugar, pectin, and lemon juice for each batch. This way, you can focus on the cooking process without having to stop and measure ingredients mid-batch. Consider investing in a larger stockpot to accommodate bigger batches, and always have your sterilized jars ready to go. Here’s a quick checklist to keep you on track:
- Prepare all ingredients before starting.
- Use a large stockpot for bigger batches.
- Sterilize jars and lids in advance.
- Have a designated cooling area for the finished jelly.
Conclusion
So, there you have it! Making peony jelly at home is a pretty cool way to keep a bit of spring around, even when the flowers are long gone. We’ve found that with just a few simple steps, you can turn those beautiful petals into something really special. It’s not just about the taste, which is amazing, but also about the fun of making it yourself. Plus, it makes for some really nice gifts. We hope you give it a try and enjoy your homemade peony jelly as much as we do!
Frequently Asked Questions
How do we choose the best peonies for our jelly?
We pick peonies that smell great and have nice colors. Pink or red peonies usually give us the prettiest jelly. It’s super important to make sure the flowers haven’t been sprayed with any chemicals, so they are safe to eat.
What’s the best way to get our peony petals ready?
We gently wash our peony petals to get rid of any dirt or tiny bugs. Then, we put them in hot water and let them sit for a long time, usually overnight. This helps pull out all their lovely flavor and color.
What ingredients do we need to make peony jelly?
Besides the peony water, we need sugar, lemon juice, and pectin. Pectin is a natural ingredient that helps the jelly get firm. We cook everything together until it reaches the right thickness, making sure to stir it often.
How do we store our peony jelly so it lasts?
To keep our jelly fresh for a long time, we put it in clean glass jars. We seal the jars by putting them in a hot water bath. This makes sure no air gets in, so the jelly stays good for months in a cool, dark place.
What are some fun ways to enjoy our homemade peony jelly?
Peony jelly is awesome on toast, biscuits, or even mixed into yogurt. It can also be a special topping for ice cream or a unique flavor in cookies. Some people even use it in drinks!
Can we make a lot of peony jelly at once?
If we have tons of peonies, we can make big batches. We can also freeze the peony-infused water. This lets us make jelly or syrup whenever we want, even when peonies aren’t in bloom.