April is a busy month for anyone who likes to eat with the seasons or preserve food at home. We see the first real wave of spring vegetables and some early fruits showing up at farmers’ markets and in gardens. Sometimes it feels like everything is ready at once, and figuring out how to keep it all from going to waste can be a bit much. In this april preserving guide, we’ll share what’s in season and some easy ways to save the best of spring for later. We’ve learned a lot by trial and error, so we’re sharing our favorite tricks and a few stories from our own kitchen chaos.
Key Takeaways
- April brings lots of fresh greens, asparagus, artichokes, rhubarb, peas, and the first strawberries—perfect for preserving.
- Freezing, dehydrating, and fermenting are quick ways to handle spring produce if you’re short on time or new to preserving.
- Strawberries are at their best now, so try making jam, fruit leather, or canning them in syrup for easy treats later.
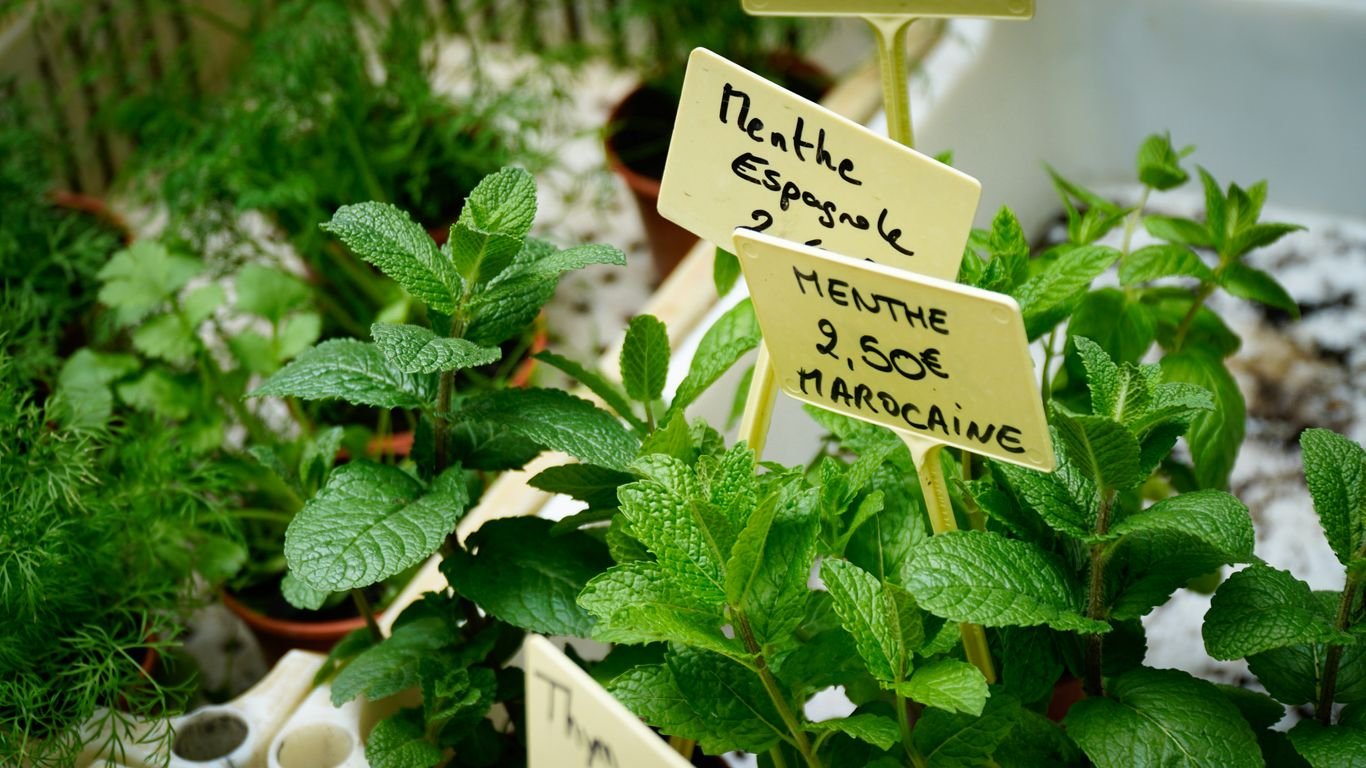
- Don’t forget about herbs—dry or freeze them early for easy flavor boosts all year long.
- Keep it simple and focus on what your family actually likes to eat; a little planning and teamwork goes a long way.
Spring Harvest Stars: What’s In Season for April

April is game-on for those of us who have been waiting all winter for fresh, spring crops. There’s something special about the first veggies and fruits popping up at the market—maybe because we know just how short their window is.
Spotlight on Artichokes, Asparagus, and Rhubarb
Artichokes can be a bit intimidating to prep, but this is hands-down the tastiest time to eat them. We love them steamed, tossed into salads, or simply dipped into a bit of melted butter. Asparagus is another big April winner—tender, sweet, and perfect whether roasted, grilled, or shaved raw into salads. And then there’s rhubarb, which honestly looks like it’s from another planet, but makes pies and jams that actually taste like spring. One thing to remember: April is your golden ticket for the freshest, sweetest artichokes and asparagus you’ll see all year.
| Vegetable/Fruit | Best Prep | Season Peak |
|---|---|---|
| Artichoke | Steamed, grilled | April-May |
| Asparagus | Roasted, raw salads | April-June |
| Rhubarb | Pies, jams, crumbles | April-June |
- Artichokes pair well with lemon and olive oil.
- Asparagus stalks should snap, not bend.
- Rhubarb leaves are toxic; only use the stalks.
It’s funny how we eagerly wait months for these veggies to show up, then suddenly have more than we know what to do with. Blanch and freeze extras if you get overwhelmed.
If you want to plan out how to use or save your harvest, there are handy early preparation guides for spring crops.
Greens Take Center Stage: Spinach, Kale, and Peas
Spring is green season, no question. Spinach, kale, and peas roll in hard—fresh, crisp, and full of flavor. We find that spinach is at its best right now, perfect for tossing into everything from omelets to smoothies. Kale’s great sautéed or tossed in salads, and those first real garden peas? Bright, sweet, and nothing like the frozen kind you’ve been relying on all winter.
Our go-to ways to use spring greens:
- Throw tender spinach and kale into simple salads, or wilt them after a quick sauté.
- Blitz greens into pestos, dips, or savory pies.
- Snack on raw snap peas, or quickly blanch for a sweeter flavor.
Strawberries and Citrus: The Last and First Fruits
This time of year is a little weird (but fun) for fruit. Some days, you’ll score the last of the good winter citrus—maybe oranges or grapefruits hanging on—and some days you’ll see local strawberries starting to appear. Strawberry season is just getting going in many areas. These are juicy, red, and sometimes a bit oddly shaped—but they taste like more than anything you find in December.
- Try slicing strawberries over yogurt, or mash them into a quick jam.
- Use leftover citrus for dressings or infusing water.
- If you have space, freeze any surplus strawberries for later.
When we see those first local berries, we know spring is finally here—for real. Don’t be surprised if they vanish fast.
For a full list of what’s coming in and how to use it, keep your meal plan flexible and let April’s best produce set the pace!
Simple Preservation Methods For Seasonal Produce

We all get a bit overwhelmed once the garden or market haul shows up on the counter. So, let’s make it as simple as possible—the trick is picking the right preservation method for each veggie or fruit. We don’t need to master every technique; just pick one or two that match our seasonal favorites and resources.
Freezing, Dehydrating, and Fermenting Basics
Freezing is hands-down the easiest way to capture greens or peas when we’re pressed for time. Wash, chop if necessary, and pack in airtight bags. For best results, we should always blanch veggies first—it helps keep that color and texture for the long run.
Dehydrating comes in handy for making those crunchy kale chips or transforming basil into a* super-flavorful* powder. A basic dehydrator or even a low oven works here. Just keep things in a single layer and check on them every few hours.
Fermenting is a little science project and a little magic. We tried it last spring with asparagus, and the bonus funky results were wild (in a good way). Salt, water, and patience—no fancy gear necessary.
Preservation Quick Reference Table
| Method | Good For | Time Involved | Special Gear |
|---|---|---|---|
| Freezing | Peas, Spinach, Kale | 1-2 hours | Freezer, Bags |
| Dehydrating | Herbs, Kale, Fruit | 4-12 hours | Dehydrator/Oven |
| Fermenting | Asparagus, Radishes | 2-7 days | Jars, Salt |
If we keep even just one batch of something in the freezer or pantry from every month, we end up with an incredible variety by winter—tiny steps matter more than we think.
Best Uses for Canning in Spring
Canning is the gold standard for putting up sauces, jams, and pickled things. For April, we lean toward bright jams, tangy pickled asparagus, and a few jars of rhubarb compote. Processing time can eat up an afternoon, but the pay-off is worth it.
Here are three things we keep in mind when canning:
- Only use recipes designed for canning to keep things safe
- Have a water bath or pressure canner on hand (the best for killing bacteria, according to pressure canning safety basics)
- Label every jar with the date and type
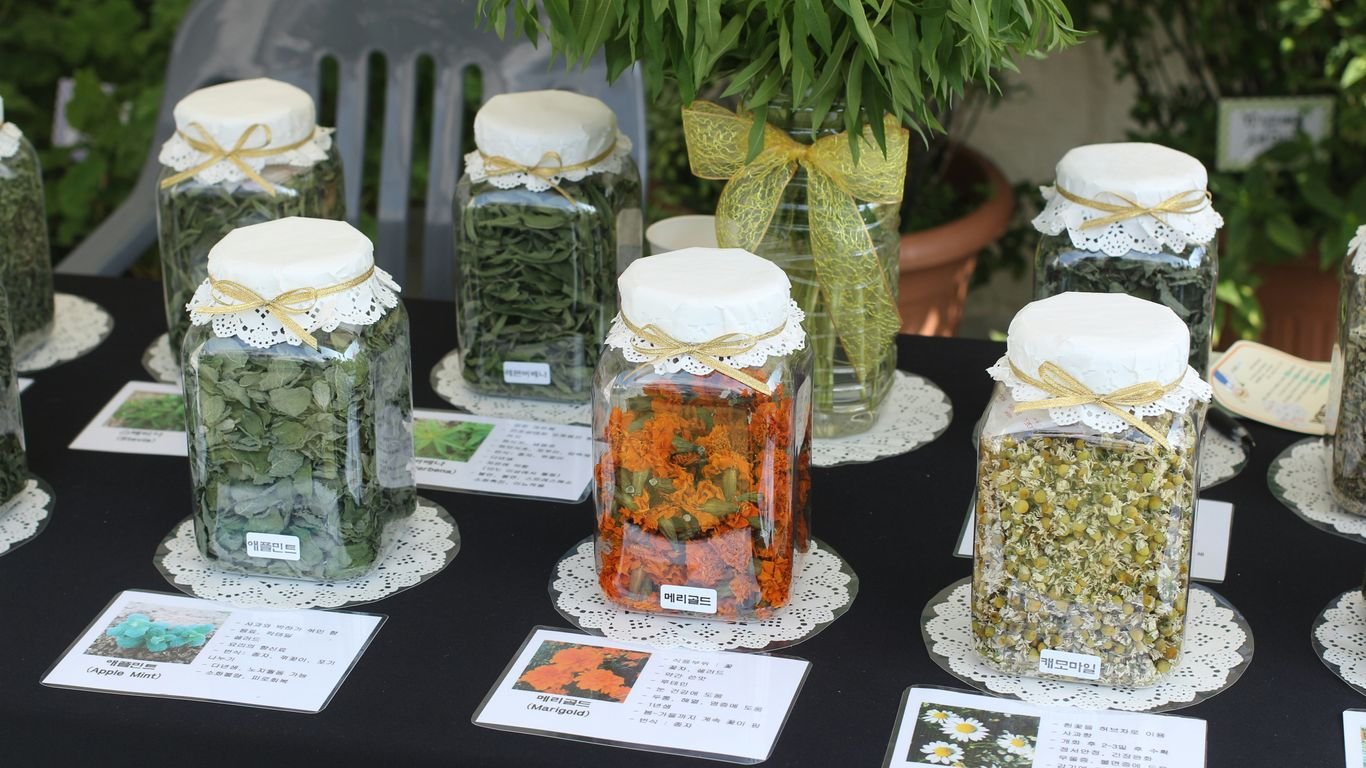
Drying and Storing Herbs for Year-Round Flavor
Herbs are easy to forget, but nothing beats dried mint or oregano in mid-January. We bunch and hang them upside down in a cool spot, or spread them out on trays. Once dry, strip the leaves and stash them in glass jars or old spice containers.
Ways we preserve our spring herbs:
- Air drying small-leaf herbs like thyme or chives
- Using the dehydrator for wetter types, like basil
- Mixing dried herbs into homemade seasonings so we’re set for the rest of the year
Spring preserving doesn’t have to be complicated. Whether we’re popping peas in the freezer or setting up a batch of pickled asparagus, what matters is finding the methods that fit into our real-life schedules—and sticking to them.
Strawberry Love: Preserving April’s Sweet Bounty
April means we’re up to our elbows in strawberries—we honestly look forward to this all year. Whether you’re gathering berries from your own backyard patch or catching deals at the farmers’ market, preserving this sweet bounty can stretch that spring feeling long into winter. Let’s roll up our sleeves and get a little sticky, because strawberries won’t wait!
Making and Freezing Homemade Strawberry Jam
Strawberry jam is the kitchen classic for a reason. We start with the ripest berries, mash them up, and stir them with sugar and lemon juice. Some of us use pectin, some love a more old-school, softer set.
Here’s how we do it:
- Rinse and hull strawberries, then mash lightly with a potato masher.
- Warm them in a big pot with sugar and a squeeze of lemon.
- Boil until it thickens (usually 10–30 minutes), then pour into freezer containers or jars.
- Let cool, then pop into the freezer for easy toast toppers.
The best part is tasting it with a spoon, still warm, before it ever gets to a jar.
Dehydrating Strawberries and Fruit Leather Snacks
When we want something for snacking or tossing in oatmeal, we break out the dehydrator. Strawberry chips and fruit leather are a whole different kind of treat.
- Slice berries thinly (about ¼ inch).
- Lay them on dehydrator trays—not overlapping!
- Dry at 135°F until leathery (8–12 hours is usual).
- For fruit leather, purée the berries with a splash of lemon and spread thinly on lined trays.
Dehydrated strawberries pack that sweet, tangy punch and don’t take up much space in the pantry. Kids and adults both love these, no question.
Sometimes we’ll sprinkle a pinch of cinnamon or a hint of vanilla into the blender for the fruit leather, just for fun. It’s little touches like that which keep things from getting dull.
Canning Strawberries in Syrup for the Pantry
Canning isn’t just for grandmas (though ours do set the gold standard). We love preserving whole strawberries in light syrup for cobbler or topping pancakes. Seriously, it’s like a jar of sunshine come January.
Basic process:
- Prepare sterilized jars.
- Make a light syrup (use about 2 cups sugar to 4 cups water, boil to dissolve).
- Pack cleaned whole berries into jars, cover with hot syrup, leaving some headspace.
- Process in a boiling-water bath canner (10–15 minutes, depending on your altitude).
Here’s a quick table for syrup options:
| Syrup Type | Sugar (cups) | Water (cups) | Flavor Profile |
|---|---|---|---|
| Light Syrup | 2 | 4 | Subtle, balanced |
| Medium Syrup | 3 | 4 | Classic sweet |
| Heavy Syrup | 4 | 4 | Really rich |
We always check clean lids for a tight seal the next morning (so satisfying when that pop is just right!).
Want more creative ways to keep fruit around? Check out straightforward preservation methods for your seasonal harvest that work for all kinds of produce, not just berries.
Preserving strawberries in April doesn’t take much—just a chunk of time, a bit of counter space, and maybe some helpful hands to sneak a few berries along the way. We think it’s totally worth it.
Go Green: Keeping Asparagus, Peas, and Spring Greens Fresh
Spring is here, and with it, some of our favorite veggies finally hit their peak. Asparagus, peas, and those leafy greens like spinach and kale are everywhere. The tricky part? These spring stars seem to go from perfect to wilted in the blink of an eye. If we want to enjoy their fresh flavor for months to come, we need to jump on the right preservation techniques right away. Let’s focus on a few tried-and-true ways to keep these veggies tasting like spring, even when the season is gone.
Freeze or Dehydrate Spinach and Kale
We all know what happens when we let greens sit too long in the fridge. It’s not pretty. Instead, here’s what works best for us:
- Freezing:
- Wash and dry the greens thoroughly.
- Quickly blanch them (about 2 minutes for spinach, 3 for kale).
- Dunk them into ice water, drain well, and pack into airtight bags.
- Dehydrating:
- Spread cleaned leaves in a single layer on dehydrator trays.
- Dry at low heat (around 115°F/46°C) until brittle.
- Crumble into jars for easy smoothie or soup boosters.
We always keep a jar of dried kale near the stove for tossing into scrambled eggs, pasta, or rice.
Ferment and Pickle Asparagus Like a Pro
If you’ve never tried homemade pickled or fermented asparagus, you’re missing out. That tangy crunch is such a treat in the middle of winter, and the prep doesn’t take long at all.
Here’s a quick comparison of our favorite techniques:
| Method | Flavor Profile | Storage Time | Extra Notes |
|---|---|---|---|
| Quick Pickle | Tangy, crisp | 1-2 months | Ready in 24 hours; fridge |
| Ferment | Sour, complex | 6+ months | Needs 7-10 days to mature |
| Blanch & Freeze | Mild, fresh | 6-9 months | Great for pasta & soups |
Quick-pickled asparagus is ridiculously simple: just stack trimmed spears in a jar, add a hot brine (equal parts vinegar and water, a bit of salt, a pinch of sugar), throw in some seasonings, and refrigerate. For fermenting, it’s saltwater brine and a little time.
Enjoying Peas All Year: Freezing and Canning Tips
Nothing beats sweet spring peas straight from the pod. Since they lose their snap fast, here’s how we keep them on hand:
- Freezing Peas:
- Shell and rinse the peas.
- Blanch in boiling water for 1-2 minutes.
- Cool quickly in ice water, drain well.
- Spread on a baking tray to freeze, then transfer to zip bags.
- Canning Peas:
- If you like having shelf-stable peas, pressure canning is the way to go. Please follow a reliable canning recipe and never skip the pressure step, as peas need it for safety.
And don’t forget—when storing greens for the fridge, keeping a little moisture in the container helps keep them crisp. If you want a plastic-free option, glass storage works just as well (leafy greens storage ideas).
Preserving spring green veggies isn’t tough, but it’s all about jumping in the moment you bring them home. When you’re ready, you’ll be munching on the flavors of April in the middle of December.
April Herb Haul: Making the Most of Early Herbs

Spring herbs light up our kitchens in April, and honestly, we can’t wait to use every bit of mint, oregano, and chives that pop up. It feels pretty good to figure out simple ways to save the extras from the garden. We don’t want a single sprig of fresh flavor to go to waste. Here’s how we stretch that early spring haul so it lasts longer than the first few weeks of sun.
Drying Chives, Mint, and Oregano for Storage
Drying is our go-to for herbs like chives, mint, and oregano. When you hang bundles or use a dehydrator, you’re setting yourself up for easy weeknight dinners later. Here’s how we handle it most weekends:
- Cut herbs in the late morning when the leaves are dry and flavorful.
- Shake off dust and remove any wilted leaves.
- Bundle and hang in a well-ventilated space (or use a dehydrator if we’re impatient).
We use small jars, recycled spice containers, or even zip-top bags for storage. The key is keeping everything in a cool, dry spot so flavor holds up.
| Herb | Best Drying Method | Stores For |
|---|---|---|
| Chives | Air Dry/Dehydrate | 6-12 months |
| Mint | Air Dry | 6-12 months |
| Oregano | Air Dry/Dehydrate | 12 months |
Fresh-dried herbs pack way more punch in recipes than old bottles off a store shelf, so it’s worth the extra effort.
Freezing Fresh Herbs in Oil or Butter
We like freezing herbs when we want that just-picked taste, especially for soft-leaf herbs that don’t dry well. For starters, chop herbs finely, then pack ice cube trays with herbs and top with olive oil (or melted butter, if we’re feeling decadent). Toss them in the freezer, and next time we need a pop of flavor, a cube goes straight into the pan. Freezing herbs with olive oil or water has saved us on so many busy nights.
A simple breakdown:
- Great for parsley, basil, cilantro, chives, dill
- Works for blends—try garlic and chive, or basil and parsley
- Melts straight into hot dishes like pasta, soups, or roasted veggies
Creative Ways to Use and Store Spring Herbs
Sometimes we over-harvest (it happens every year), so we get creative. Here are a few tricks:
- Herb vinegar: Steep herbs in vinegar for salad dressings
- Compound butter: Mash with butter and freeze for steaks or bread
- Herbed salt: Mix dried herbs with kosher salt for a seasoning boost
- Pesto: Make batches and freeze flat in bags for quick defrosting
The bottom line? April herbs are fleeting but easy to stretch. A little bit of time now means homemade flavor for months—and fewer excuses to let anything wilt in the crisper. We keep experimenting and jotting down what works so every spring haul gets a little easier to handle.
Organized & Ready: Smart Tips for a Stress-Free Preserving Season
April is when things start moving fast in the garden. If we want to stay sane—and actually enjoy preserving what we grow—we’ve got to get organized before veggies pile up on the counter. It’s way easier to handle the harvest when we have a plan and don’t scramble for supplies at the last minute! I’ve lost count of how often I’ve had everything prepped and then realized I was out of canning lids or vinegar. Not fun.
Creating a Personalized “April Preserving Guide” List
For us, writing out what we want to preserve—and how—saves so much hassle. Not everything can be put up the same way. We look at what we really eat: which jams we plow through, what ends up stuck in the pantry, and who actually eats those fancy pickled beets. Then, we make our own checklist tailored for April’s harvest:
- List all the ready-to-pick produce (spinach, kale, asparagus, strawberries, mint, chives, etc.)
- Match each item with a preservation method (freezing, canning, dehydrating, etc.)
- Note down any new recipes we want to try or swap in, based on what’s growing best this year
Taking the extra 10 minutes to jot all this down—either in a notebook or on a phone app—makes a shocking difference. The written reminder helps us stick to what we love and dodge the overwhelm of too many half-finished projects.
Getting Your Preservation Kit and Supplies Ready
The last thing any of us need is discovering we’re short on jars or salt mid-process. April is the perfect time to do a supply sweep:
- Take stock of jars, lids, rings, and check for any cracks or rust
- Double-check pantry basics: canning salt, vinegars, pectin, sugar, lemon juice
- Make sure your equipment—canner, dehydrator, freezer space—is in working order
- Sharpen knives, replace old labels, and restock bandages (for the inevitable nicks)
Here’s a tool and supply checklist to help:
| Item | Check Status | Notes |
|---|---|---|
| Mason jars & lids | [ ] | Clean, unchipped |
| Canning salt | [ ] | Stocked |
| Vinegar (white, ACV) | [ ] | For pickling |
| Pectin | [ ] | Jam/jelly ready |
| Freezer bags/containers | [ ] | Labeled |
| Labels/Sharpies | [ ] | Date/contents |
And for month-by-month prepping, the April gardening guide from Utah State Extension is a good reference if you want extra context!
Time Management Tricks to Handle Busy Harvests
Spring gets busy before we realize it. Maybe you work full time, or the kids’ after-school stuff is non-stop. We’ve learned to:
- Block off a couple evenings a week for small-batch jobs—like freezing greens or prepping herb bundles—so nothing piles up.
- Trade a bit of downtime (less TV, maybe skip one social scroll-a-thon) for a jam session or blanching rush. It’s amazing what you can get done in an hour.
- Stagger the work, focusing on the most perishable crops first. Spinach goes before beets, for example, because it’ll wilt fast.
- Get help: Even little kids can wash strawberries, older kids can pack jars, and we can make it social with friends or neighbors.
Remember, getting organized isn’t about doing it all. It’s about picking the methods that work for us and keeping preserving fun, not frantic. A little prep now means more time to relax and enjoy those homegrown treasures all year.
Avoiding Preservation Overwhelm: Keeping It Fun and Manageable

When everything starts ripening at once, it’s so easy to feel like we have to do everything—and do it perfectly. But that’s not really sustainable. Instead, we always start out by making a list of the foods our family asks for the most. Maybe it’s pickled asparagus or strawberry jam that’s a must in our pantry every year. Setting priorities right away makes the whole process a lot less stressful.
Here’s how we decide what to tackle first:
- List all spring crops and mark the top recipes everyone loves
- Set realistic goals for how much of each to preserve
- Be okay with skipping something if time’s tight
If we ever feel like we’re about to drown in produce, we remind ourselves that eating just one home-preserved jar is better than doing none at all. That’s still a win for us.
Getting Help and Making It a Group Effort
Trying to do it all single-handedly? That’s the quickest path to burnout. We rope in the whole household—even if it just means shelling peas or rinsing strawberries. It’s actually more fun that way, and sometimes what seems like a chore turns into a goofy, memorable family afternoon. If neighbors or friends want to join? Even better. We swap extra jars for time or pitch in together for a batch session.
Here’s what’s worked for us:
- Assign small, quick jobs to younger kids (like washing fruit)
- Turn big tasks, like snapping beans, into a group activity with music or snacks
- Divide batches between friends and split the haul
Keeping everyone involved saves time and might surprise you—kids often eat more veggies if they help, and adults love the company.
Celebrate Little Wins Along Your Preserving Journey
Preserving isn’t a sprint. Sometimes we get so wrapped up in the to-do list that we forget to enjoy the small victories. We try to pause and celebrate even the smaller days—like finally clearing the last bowl of rhubarb or pulling a tray of kale chips from the oven without burning half of them.
Here’s a handful of ways we celebrate:
- Share a jar of something new with a neighbor
- Write down what went well (even if it feels small)
- Plan an easy dinner with garden produce, and pat ourselves on the back!
We keep in mind that staying organized helps, too—having a shelf or bin ready for the next batch keeps everything easy to grab and reduces chaos. Organizing our fridge and freezer is a simple fix that keeps us sane during the busiest weeks of spring.
April is a busy month, but we remind ourselves it’s supposed to be enjoyable—not exhausting. The more we focus on what matters most and support each other, the more fun and less overwhelming preserving becomes.
Wrapping Up: Let’s Make the Most of Spring’s Bounty
So that’s our April preserving guide in a nutshell. Spring is such a fun time to get back into the kitchen and try out new ways to save all those fresh veggies and fruits. We don’t have to do it all at once or get fancy—sometimes just freezing a bag of peas or making a quick batch of strawberry jam is enough. The main thing is to use what’s in season and not let it go to waste. If you’re like us, you’ll probably have a few kitchen fails along the way (I’ve definitely burned a tray of kale chips or two), but that’s all part of the process. Let’s keep experimenting, share what works, and enjoy the taste of spring all year long. Happy preserving, everyone!
Frequently Asked Questions
What fruits and vegetables are in season during April?
In April, we usually see fresh artichokes, asparagus, rhubarb, peas, spinach, kale, and potatoes at their best. For fruits, this month is the end of citrus season and the start of strawberries and kiwi.
What’s the easiest way to start preserving spring produce?
We find that freezing is the simplest way to start. You just clean, chop, and freeze your fruits or veggies. This works great for spinach, peas, strawberries, and even chopped herbs.
How do we keep herbs fresh for a long time?
We like to dry herbs like mint, chives, and oregano by hanging them or using a dehydrator. You can also freeze them in oil or butter using ice cube trays, which makes it easy to add flavor to meals later.
Can we make jam without a lot of special tools?
Yes! We can make strawberry jam with just a pot, some sugar, and fruit. If we don’t want to can it, we can freeze the jam in small containers to enjoy later.
What should we do if preserving feels overwhelming?
We try to focus on our family favorites first and only preserve what we know we’ll eat. Getting help from family or friends and making it a fun group activity can also make the work easier and more enjoyable.
How do we know which method is best for each fruit or veggie?
We look at how we like to eat each food. For example, leafy greens like spinach are best frozen or dried, while asparagus can be pickled or frozen. We also think about what supplies we have and how much time we can spend preserving.