May is when our kitchens start buzzing again, and the garden finally pays us back for all that waiting. We’re looking at strawberries, rhubarb, and the first greens—stuff that only sticks around for a few weeks if we’re lucky. It’s easy to get ahead of ourselves, but if we use a may canning calendar, we can catch the best of the season before it’s gone. Every year, we try to learn from what worked (and what flopped), so we don’t end up with jars of something no one eats. Let’s talk about how we can get ready, what to put up, and how to keep things simple so we actually enjoy the process.
Key Takeaways
- Start your may canning calendar by reviewing what your family actually ate last year—ditch the duds and focus on favorites.
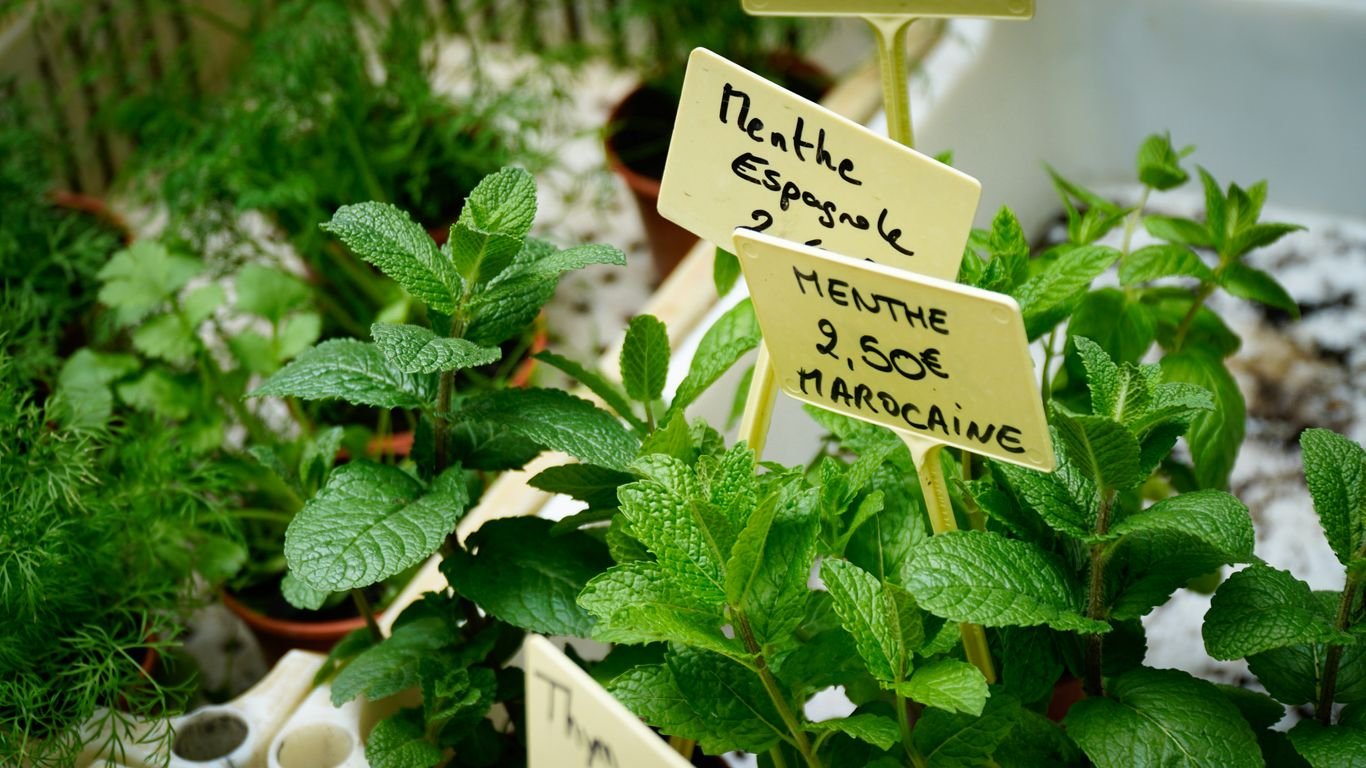
- Strawberries, rhubarb, and early greens like asparagus are the stars in May—these don’t last long, so get them while you can.
- Keep your canning space organized and your equipment ready; nothing slows you down like missing lids or sticky jars.
- If your kitchen gets too hot, try canning outside or early in the day to make things easier on yourself.
- Write down what you make and how it turns out—future you will thank you when it’s time to plan next year’s canning.
Getting Started with Your May Canning Calendar
May sneaks up on us quick—one week it’s chilly and muddy, the next, our gardens are shoving out strawberries and those early greens like nobody’s business. Before we start filling jars, though, it’s smart to set up a plan that makes the whole month a bit less frantic. Building out a canning calendar helps us make the most out of spring produce, avoid waste, and enjoy the jars we actually want come winter.
Review Last Year’s Hits and Misses
Let’s be real: not every jar from last year was a winner. Some stuff got devoured, while other jars lingered behind the pasta sauce, looking sad. Take a little time to:
- Check your pantry and see what’s left—was that spicy rhubarb jam a hit or a flop?
- Toss out anything unappetizing or weird. Don’t save it for guilt’s sake.
- Jot down what went quickly and what’s still sitting. If nobody touched those pickled beans, maybe skip them—unless you just want to tweak the recipe.
If there’s one thing we’ve learned, it’s never let an unpopular jar hang out hoping it’ll get tastier with age. Nobody wants to deal with an explosion of forgotten jam in January.
Take Stock of Supplies and Equipment
Scrambling to find canning lids or a missing jar lifter right as strawberries hit peak sweetness? Been there. Here’s a quick checklist to keep us ready:
- Count our jars (inspect for chips and cracks)
- Check inventory: lids, rings, pectin, sugar, pickling salt, vinegar
- Make sure the canner’s in working shape—no rust and that gasket is still nice and snug
- Clean and organize the pantry or wherever we’ll store finished jars
| Item | Needed? (Y/N) | Note |
|---|---|---|
| Quart Jars | ||
| Pint Jars | ||
| Lids & Rings | ||
| Pectin | ||
| Sugar | ||
| Pickling Salt | ||
| Vinegar | ||
| Pressure Canner | ||
| Water Bath Canner | water-bath canning info |
Plan for What Your Family Loves
It’s easy to dream big and want to try every fancy jam or pickle we see online. But let’s get real: there’s only so many jars of pepper jelly we can get through. We try to focus on:
- Making enough of the family favorites—to last at least through winter
- Picking a couple of new recipes to keep things fun (but not overboard)
- Adjusting amounts—if we ran out of strawberry jam by Halloween last year, we know to double it this time
Sometimes we swap recipes with friends or try something new we found at the farmers market. If it’s a win, we add it to next year’s plans and maybe grow those berries or buy them in bulk next season.
A little effort planning now saves us a world of stress later, especially when our kitchen counters are overflowing with produce. May’s the moment to get ready—once the fruit rolls in, we’ll be grateful everything’s in order.
Perfectly Preserved: Berries to Can in May

Canning May berries means we get a jump on the summer preserving season before things get too hot. This month, strawberries, blueberries, and sometimes even cherries pop up at farmers markets, U-pick farms, or if we’re lucky, our own backyards. Let’s not leave rhubarb out, since it makes a seriously unique jam partner.
Strawberry Jam and Preserves
If you’ve ever bitten into a sun-warmed, just-picked strawberry, you know why early summer is prime jam season. We find that local berries, sweet and red all the way through, make the best preserves. Sometimes we wind up with a batch that’s a little bland—honestly, we don’t waste those either. Here are a few things we do with the berries, even the less-than-perfect ones:
- Simmer down the not-so-flavorful ones for a thick strawberry syrup.
- Pair strawberries with a splash of lemon juice and sugar for a classic jam.
- Add chopped strawberries to a salad dressing or roast them to boost flavor for preserves.
Block off a lazy afternoon, grab your canning pot, and you’ll have shelf-stable jars ready for pancakes, yogurt, and ice cream.
Homemade strawberry jam in May always tastes like a reward after waiting through spring rain.
Exploring Blueberries and Cherries
When our local blueberry season starts, even just a few weeks earlier than the big summer rush, we stock up. Blueberries can be unpredictable—a taste test is the way to go, since ripe, local berries always beat out grocery-store finds.
Try these canning ideas this month:
- Simple blueberry jam—no fancy steps, just berries, sugar, and a squeeze of lemon.
- Blueberry syrup for pouring over waffles.
- Whole canned cherries (if you see early ones at the market). Pro Tip: Pit them before you start so no one breaks a tooth come winter.
If you like tracking what works, use a quick table like this during your first batches:
| Berry | Sugar Needed per 1 lb | Best Added Juice | Notes |
|---|---|---|---|
| Strawberry | ¾ cup | Lemon | Add vanilla for deeper flavor |
| Blueberry | ½ cup | Lemon or Orange | Try with a cinnamon stick |
| Cherry | ⅔ cup | Lemon or Cherry Juice | Taste and adjust for tartness |
Combining Rhubarb for Unique Flavors
Let’s be real—rhubarb needs a buddy, and strawberries are its soulmate in the jar. We love using rhubarb with:
- Strawberries for that timeless, tangy-sweet jam.
- Blueberries, which mellow out rhubarb’s acidity.
- Orange zest or ginger if you’re looking for something new.
We chop rhubarb into small pieces, then let it sit with sugar for a bit to soften. If we’re feeling creative, we’ll throw in a handful of whatever leftover fruit is hiding in the fridge.
Here’s our basic springtime canning approach for unique berry-rhubarb combos:
- Wash and chop berries and rhubarb.
- Mix together with sugar and let sit to draw out juices.
- Simmer gently, add spices or zest, then jar and water bath-process.
We always make a little extra so there’s at least one jar to taste right away, straight off the spoon. Nothing wrong with a little quality control!
Early Summer Greens: What to Pick and Preserve
May feels like the true start of fresh greens season. Our gardens and local markets are full of young shoots and veggies that just don’t last long—so acting fast is key. We might be tempted to let some of these greens slip by, but we’ll thank ourselves in January if we get them put up now. Below, we break down the best greens for May, how we like to process them, and a few things we wish we’d known sooner.
Harvesting and Canning Asparagus
It’s wild how fast asparagus shoots up in the spring—one day, nothing, and the next, little green spears everywhere. If we’re quick about it, we can gather enough to can for winter soups and sides. Here’s how we approach it:
- Harvest thin, tender stalks for the best texture.
- Snap rather than cut—if it bends and breaks, it’s tender enough.
- Trim woody ends and blanch stalks before packing in jars.
- Use a pressure canner—boiling water won’t cut it with asparagus’s low acidity.
| Step | What to Do |
|---|---|
| Harvest | Early morning, young |
| Prep | Snap ends, rinse, blanch |
| Can | Pressure can only |
| Storage | Cool, dark pantry |
The whole process doesn’t take too long, and store-bought asparagus just can’t compete—ours is crisper and far more flavorful year-round.
Peas: Freeze or Can?
Peas are a toss-up for us every year; they’re so sweet and tender when fresh, but keeping them that way is tough. After a few too many mushy canned peas, we started freezing instead. Here’s our comparison:
- Shell peas while watching a favorite show—it makes the time pass fast.
- Blanch quickly, then plunge in ice water to keep them bright green.
- Pack in freezer bags, squeezing out as much air as possible.
- Sugar snap and snow peas do better blanched and frozen than canned.
| Preservation Method | Texture After Storage | Prep Time |
|---|---|---|
| Canning | Mushy, soft | Moderate |
| Freezing | Fresh, crisp | Short |
We love pulling a bag of peas from the freezer for quick stir-fries or pasta. If you’re on the fence, try both methods—your family will quickly tell you their favorite.
Spinach and Lettuce: Fresh or Jarred
Spinach and lettuce are tricky. Let’s be honest, canned lettuce isn’t a thing for a reason. For spinach, though, we have a few options:
- Wash thoroughly—spinach grabs onto dirt like nothing else.
- Blanch briefly to keep color and nutrients.
- Freeze in meal-sized portions, or dehydrate for tossing into soups.
- Consider skipping canning for lettuce; instead, enjoy it fresh and use extra in wraps or smoothies.
For more ideas on preserving your own harvest, we’ve found monthly preservation calendars and kitchen productivity tips super handy to figure out what works—and what’s best left to eat fresh.
Early summer means making the most of what’s popping up fast. A little effort now means we’ll be tasting May’s best long after the season’s over.
Don’t Sleep on Rhubarb and Spring Vegetables
Spring moves quickly, and if we blink, we might miss some of the best stuff the season has to offer in our kitchens. Rhubarb, artichokes, and other spring gems don’t stick around long, so we need to be on our toes if we want to capture their peak flavor for later. Let’s break down how we handle and preserve these short-season favorites, keep them safe, and make the most of their unique flavors in our canning routine.
Tips for Handling Rhubarb Safely
Rhubarb is one of those plants that feels a bit mysterious if you haven’t worked with it much. Those big leaves may look harmless, but they’re actually toxic—so always trim them away and just use the stalks. Here are the basics for prepping rhubarb for canning or freezing:
- Wash stalks thoroughly to remove soil and grit.
- Cut off leaves and discard (never compost them near edible crops).
- Slice stalks into even pieces, about a half-inch wide, for even cooking.
- If you’re freezing instead of canning, blanch rhubarb first to lock in that vibrant color and flavor.
If we’re ever in doubt, it’s always safer to stick with just the stalk—no leaves, no funny business. Better safe now than sorry later! For more spring canning ideas to fit your garden’s output, there’s a great breakdown of preserving calendars at creative solutions for small spaces.
Making Strawberry-Rhubarb Jam
This combo is a total classic, and for good reason—strawberries add sweetness, rhubarb brings a punch of tart, and together, they give jam a taste that feels like the start of summer. Here’s our typical strawberry-rhubarb jam drill:
- Combine equal parts chopped strawberries and rhubarb.
- Add sugar (usually about three-fourths the weight of the fruit mix).
- Stir in some lemon juice for brightness.
- Simmer and stir until everything’s thick and glossy.
- Ladle into sterilized jars, then process in a boiling water bath per your jar size and altitude.
If you like chunkier preserves, cut the rhubarb and berries a little larger. For a silkier spread, mash them up a bit as they cook. And if you’re short on strawberries, you can mix in raspberries, too—get creative (or thrifty) with whatever’s at the market.
Pickling and Preserving Artichokes
Artichokes can look intimidating on the counter, but once you get the hang of prepping them for canning or pickling, they’re a rewarding addition to the pantry. These tips make the job easier:
- Choose small, tight artichokes for the best texture and flavor.
- Trim away the tough outer leaves, then use a spoon to scoop out the fuzzy choke.
- Dip the prepped hearts in a little lemon water so they don’t brown up.
- Artichokes pressure-can best because of their low acidity—if we pickle them in vinegar, a hot water bath works, but double-check your recipe.
Here’s a quick look at preserving methods for these spring veggies:
| Vegetable | Prep Steps | Recommended Preservation |
|---|---|---|
| Rhubarb | Chop, blanch (if freeze) | Freezing, Jam |
| Strawberry-Rhubarb | Chop, cook, can | Jam, Preserves |
| Artichokes | Trim, remove choke | Pressure can, Pickle |
Whether we toss a few jars in the freezer or pack the pantry shelves, spring is the season to snag these short-lived stars before they’re gone till next year. If you’re looking for ways to maximize every inch of your garden and kitchen, don’t miss tips from the preserving and canning calendars for early summer produce.
Keeping Track: Inventory and Recipe Notes for May
Staying organized is half the battle when it comes to spring canning. May always feels full of surprises—one day, we’re overrun with strawberries, and the next, we’re staring at a shelf of half-open pectin boxes wondering where the month went. Let’s keep our cool and actually remember what we made, what worked, and what we definitely don’t want to repeat.
Jotting Down Canning Success Stories
Some recipes are pure gold and worth repeating every year, but others—well, sometimes they barely get opened. It helps so much to capture our wins (and flops) before the memory fades.
- Keep a simple locker notebook or digital list of every batch you can; label each jar with the date and a quick note if it’s something new.
- If your family can’t stand a recipe, mark it as “never again” and free up that precious shelf space.
- Make a point to write down new flavor combos or tweaks that turned out well—future-you will thank you.
I always try to scribble a one-liner next to every filled jar: “Huge hit,” “not sweet enough,” or “don’t forget to double next year.” It’s much easier than guessing when shelves clear out in the winter.
Tracking What You Need for Next Year
Running out of vinegar or jars in the middle of canning season is just maddening. Instead, we try to keep a running tab of what we use, so next year’s start is a breeze.
Here’s a quick sample inventory table (feel free to adjust it for your own needs):
| Supply | May On Hand | Used in May | Plan to Buy |
|---|---|---|---|
| Quart Jars | 15 | 10 | Yes (order 2 cases) |
| Lids | 40 | 18 | Yes (bulk pack) |
| Pectin | 3 boxes | 2 boxes | Yes (get 5 boxes) |
| Vinegar (gallons) | 2 | 1 | No |
| Sugar (lbs) | 10 | 6 | Yes |
- Keep inventory forms handy and update them as you finish each session.
- Don’t forget about spices, pickling salts, or special ingredients for unique jam flavors.
- If you run out of anything in May, just scribble it down for the next year’s shopping list.
How to Store Your Finished Jars
Now, choosing where to put your filled jars can really affect their shelf-life and flavor. We’re not all blessed with walk-in pantries, and that’s okay!
- Basements, closets, or any cool, dark spot is usually fine—as long as there’s no direct sunlight or wild temperature swings.
- Shallow shelves help keep jars in sight, so nothing gets lost and forgotten.
- Put your newest jars at the back, and rotate older preserves forward so you use up last year’s first.
If you’re short on space or want more storage hacks, check out these seasonal guides and tips for canning and preserving, which have tons of practical advice for making the most of your pantry, all year long.
Here’s our simple rule: if there’s an unloved jar haunting the back of a shelf, it’s okay to compost it and move on. There’s no need to clutter up your storage for pride’s sake.
Hot Kitchen, Cool Tricks: Canning in Warm Weather

Let’s be honest—when May rolls in and berry season goes wild, our kitchen morphs into a sauna. But we still want to stick those fresh flavors in jars. So, how do we keep our cool (literally and figuratively) when it’s time to preserve early summer’s best?
Outdoor Canning Setups
One word: outside. When it’s too warm to think straight, setting up our canning station outdoors saves us from sweating through the process. Here’s how we make outdoor canning work:
- Use a propane burner: A simple camp stove or turkey fryer burner is perfect for boiling water and running your canner.
- Stable, heat-proof surface: A folding table or picnic bench holds jars, lids, and utensils, but double check it can handle some weight.
- Shade matters: Setting up under an awning or pop-up canopy keeps us from baking in the midday sun!
Pro tip: Keep your cooling racks and extra towels close, just like you do in the kitchen. We always bring a box fan, too, just in case the wind isn’t pulling its weight.
Keeping Your Kitchen Cool
Sometimes we have no choice but to can inside, so we get creative. We:
- Start canning super early, while it’s still cool outside.
- Only work in small batches—nobody wants a four-hour marathon session at noon.
- Shut out the heat by keeping lights low and windows covered.
- Fire up the fan, turn on the vent (if you have one), or open a few windows for cross-breeze.
On those sweltering afternoons when the kitchen feels unbearable, freezing the berries and peas for later is our best move. We stash several pints in the freezer and come back to them when the weather turns bearable again.
Timing Your Preserves for Best Flavor
Canning isn’t just about process—it’s also about timing. We don’t do everything in one go. Here’s our plan for juggling hot temps and fresh produce:
- Pick fresh in the early morning (or late evening) when fruits and greens are still cool.
- Soak, prep, and even chill produce in the fridge until we’re ready.
- Block out time—either just after sunrise or closer to sunset—to get preserves in jars.
Here’s a quick table that shows when we typically try to can certain favorites for less kitchen heat:
| Produce | Best Canning Time |
|---|---|
| Strawberries | Early morning |
| Blueberries | Evening |
| Asparagus | Early morning |
| Peas | Freeze, then can later |
Managing the heat keeps us happier, but oddly enough, it also keeps our jams and pickles tasting brighter and fresher. Getting the timing right gives us the best of both worlds—preserved harvests and a kitchen that doesn’t feel like a sauna.
Choosing the Right Preservation Method

Preserving early summer harvests can sometimes feel like an endless puzzle. Each fruit or vegetable has its own ideal method, and what works for strawberries might not suit snap peas or asparagus. Let’s break down the options so we can make the most of May’s bounty—without risking a kitchen meltdown or a freezer overload.
Water Bath vs. Pressure Canning
With canning, the type you use really depends on what you’re putting up. Water bath canning is great for high-acid foods (like strawberries and jams), but not for low-acid veggies like green beans or artichokes.
- Water Bath Canning: Use for jams, jellies, and most fruits
- Pressure Canning: Needed for most vegetables, stocks, and mixed preserves
- Both methods: Always follow safe, up-to-date guidelines to avoid spoilage
| Produce | Water Bath | Pressure |
|---|---|---|
| Strawberries | ✓ | |
| Rhubarb | ✓ | |
| Artichokes | ✓ | |
| Green beans | ✓ | |
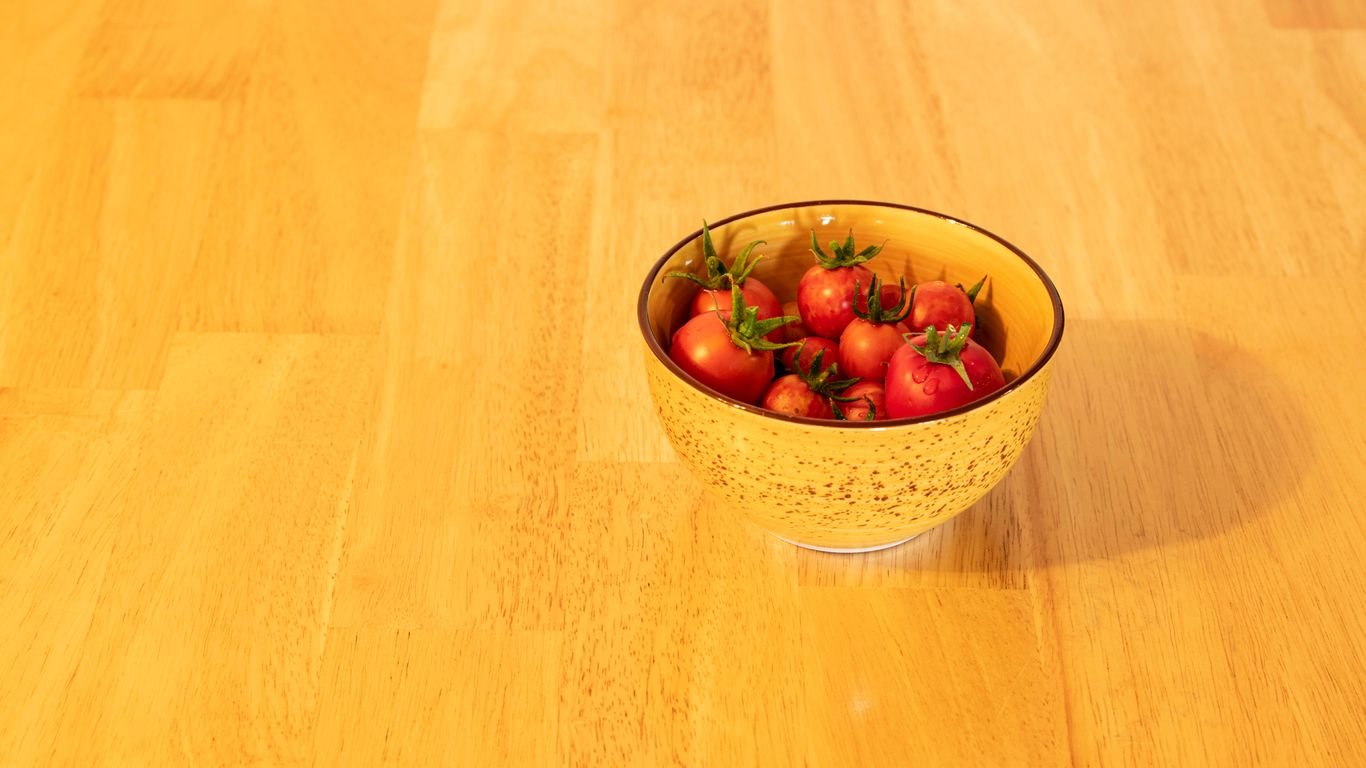
| Tomatoes | ✓* | ✓* |
*Tomatoes: Depends on acidity and if lemon juice is added
Freezing vs. Canning Early Produce
Sometimes, freezing makes more sense. If we want to save time or the kitchen is just too warm, freezing’s easy, especially for berries or peas. Some foods, like greens and certain vegetables, might actually keep their texture better this way. Remember, some ingredients—for instance, asparagus trimmings or peas—are great frozen for broth or soup bases down the line.
- Freezing preserves texture and flavor, especially for delicate items
- Some items need blanching or steaming before freezing for best results
- If we’re doing a lot, it might be time to think about investing in a chest freezer (more on freezing food)
Maximizing Pectin in Homemade Jams
Pectin makes jam set up nice and firm. Here’s the thing—not every fruit has enough of it! Sometimes, we combine fruit (like adding green apple to strawberry) to help our jams thicken without store-bought pectin.
- Underripe fruit often has more natural pectin
- Mixing high-pectin fruits with low-pectin helps save a batch
- Homemade jams can be softer or firmer depending on the blend
Picking produce at the right ripeness and pairing fruits for their natural pectin can save us money and headaches—no more runny jam disasters on toast!
Deciding which method to use really comes down to what our families like to eat, what tools we’ve got handy, and what the weather’s doing. If things get overwhelming, we can always stick to the basics and add new tricks each year. Experiment, take notes, and don’t be afraid to swap methods if last year’s results weren’t a hit.
Wrapping Up the May Canning Calendar
So that’s our look at what May brings to the canning table. Every year, we get a little better at figuring out what works for our family and what just ends up collecting dust on the shelf. If you’re like us, you’ve probably had a few jars that nobody wants to eat—don’t let them linger, just compost them or feed them to the chickens if you’ve got them. And hey, write down those recipes as a warning for next year!
As the garden starts to wake up and the first berries and greens roll in, it’s a good time to take stock of your supplies and get ready for the busy months ahead. Canning is a bit of work, but it’s also a way to stretch the taste of early summer all the way through winter. We’ll keep learning, keep experimenting, and hopefully keep filling those shelves with food we actually want to eat. Here’s to another season of sticky counters, full jars, and the satisfaction of putting up our own food. Let’s get canning!
Frequently Asked Questions
What are the best fruits and vegetables to can in May?
In May, we usually focus on strawberries, blueberries, cherries, rhubarb, asparagus, peas, and early greens like spinach and lettuce. These are all in season and taste great when preserved.
How do we decide what to can each year?
We look at what our family enjoys eating and what we have left from last year. If there are jars nobody likes, we get rid of them and make a note not to make that recipe again. We also plan based on what’s growing well in our garden or what’s available at local markets.
Should we freeze or can peas and greens?
For peas, we think freezing keeps them tasting fresher, but you can also can them if you prefer. Spinach and lettuce are best eaten fresh, but spinach can be canned if you want to save it for later. Lettuce doesn’t hold up well in jars.
What’s the safest way to can vegetables like asparagus and artichokes?
We always use a pressure canner for low-acid vegetables like asparagus and artichokes. This keeps them safe to eat. If you’re pickling them with vinegar, you can use a water bath canner instead.
How do we keep our kitchen cool while canning in warm weather?
We try canning outside on a gas burner or set up in the shade. If we have to can inside, we open windows, use fans, and try to work early in the morning or late in the evening when it’s cooler.
How do we keep track of what we’ve canned and what we need for next year?
We write down every recipe we try and keep a list of all the jars we put up. At the end of the season, we check what’s left, what we ran out of, and what we didn’t eat, so we can plan better for next year.