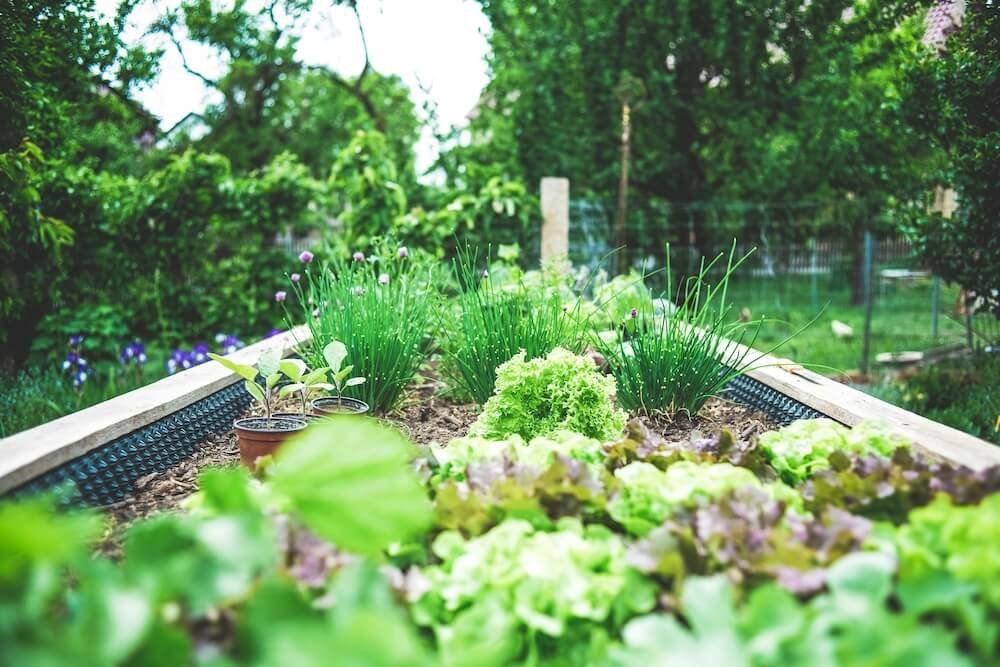
We’ve all been there, staring at those empty garden beds and wondering where to start. For us, a raised bed herb garden felt like the perfect entry point into growing our own food. It’s manageable, rewarding, and honestly, pretty simple once you get the hang of it. We’re excited to share what we’ve learned about making these little herb havens thrive, from picking the right spot to using all those fresh leaves.
Key Takeaways
- Pick a sunny spot that gets at least 6-8 hours of sun daily for your raised bed herb garden.
- Use a good soil mix – a blend of topsoil, compost, and peat moss works well for most herbs.
- Ensure your raised bed has proper drainage to keep herbs happy and prevent root rot.
- Mix and match herbs, considering their growth habits and needs, for a beautiful and productive garden.
- Regular watering, weeding, and occasional harvesting will keep your raised bed herb garden producing all season long.
Choosing Your Raised Bed Herb Garden Location
Finding the right spot for your raised bed herb garden is pretty important. We want our little herb friends to be happy and healthy, right? That means thinking about where they’ll get the best light and how much space we actually have.
Sunlight Requirements
Most herbs really love sunshine. We’re talking at least six to eight hours of direct sunlight each day. If you can position your raised bed where it gets morning sun and some afternoon sun, that’s usually a sweet spot. A south-facing location is often ideal, especially if you’re growing herbs that like it warm, like basil or rosemary. If your yard is a bit shady, don’t worry too much; some herbs, like mint or parsley, can tolerate a bit less sun, maybe four to six hours. Just pay attention to how much light different parts of your yard get throughout the day.
Bed Size and Placement
Think about how much space you have and how big you want your raised bed herb garden to be. Raised beds come in all sorts of sizes, from small, manageable ones to larger, more expansive setups. Consider the mature size of the herbs you want to grow. You don’t want them to be all squished together. Placing the bed where it’s easy to access for watering and harvesting is also a good idea. Maybe near the kitchen door? Or a spot where you can see it from your favorite window? We found that placing our raised beds against a fence worked well for support and also gave us a nice backdrop.
We learned that even a small raised bed can produce a surprising amount of herbs. It’s better to start with a manageable size and expand later if you find you have the space and the time.

Preparing Your Raised Bed for Herbs
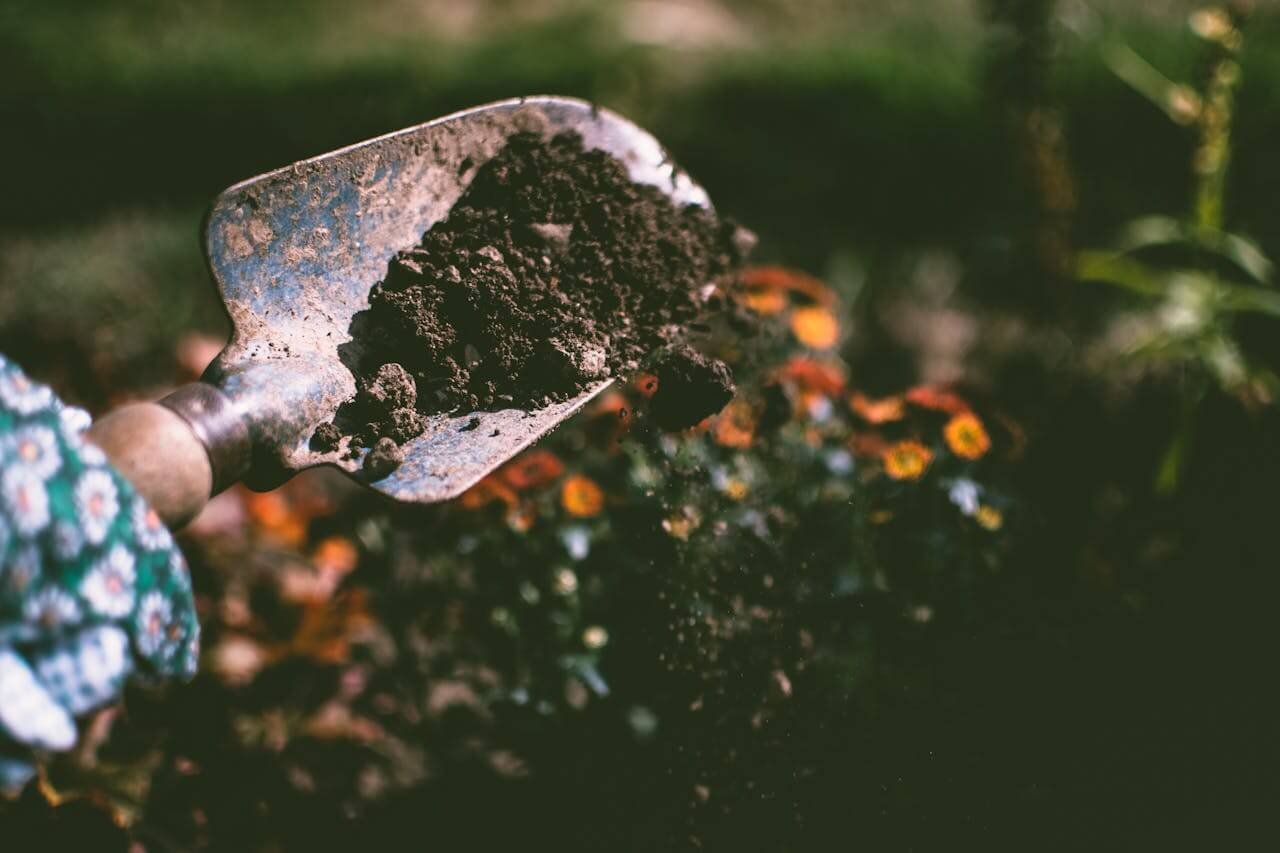
Once we’ve picked out the perfect spot and decided on the size of our raised bed, it’s time to get it ready for planting. Good soil is really the foundation for healthy herb growth, so we want to get this right. For most herbs, we’ll want a mix that’s rich but also drains well. A good starting point is a blend of topsoil, compost, and something to help with aeration and moisture retention, like peat moss or coco coir.
Ideal Soil Mix for Herbs
We’ve found that a mix of about 50% topsoil, 30% compost, and 20% peat moss or coco coir works wonders. The compost adds nutrients, the topsoil provides structure, and the peat moss or coco coir helps keep things moist without getting waterlogged. If you’re using a pre-made potting mix, just make sure it’s a good quality one designed for vegetables or containers, as these usually have the right balance.
Ensuring Proper Drainage
Herbs, especially those from Mediterranean climates like rosemary and thyme, really don’t like sitting in soggy soil. It can lead to root rot and other problems. So, drainage is super important. If your raised bed doesn’t have pre-drilled holes, or if you’re concerned about water pooling at the bottom, you can add a layer of gravel or small stones at the very base before adding your soil mix. Making sure the bed itself is level will also help water flow evenly throughout the soil, rather than collecting in one spot. This attention to drainage will really help your herbs thrive, and you can learn more about preparing containers for herbs.
We want to create a growing environment where our herbs can flourish, not just survive. The right soil and drainage are key to making that happen.
Selecting the Best Herbs for Your Raised Bed
Choosing the right herbs for your raised bed is a fun part of the process. We want to pick plants that will not only grow well together but also give us plenty of flavor and fragrance. Let’s look at some categories to help us decide.
Perennial Herb Favorites
Perennial herbs are fantastic because they come back year after year, saving us the trouble of replanting. They establish themselves and become reliable producers. Some top picks for raised beds include:
- Rosemary: This woody herb loves sun and well-draining soil, making it perfect for raised beds. It can get a bit large, so give it some space.
- Thyme: Low-growing and hardy, thyme varieties are great for edging beds or filling in gaps. They also prefer drier conditions.
- Mint: Be warned, mint can be quite vigorous! It’s best to plant mint in its own container within the raised bed or give it plenty of room to spread, as it can take over.
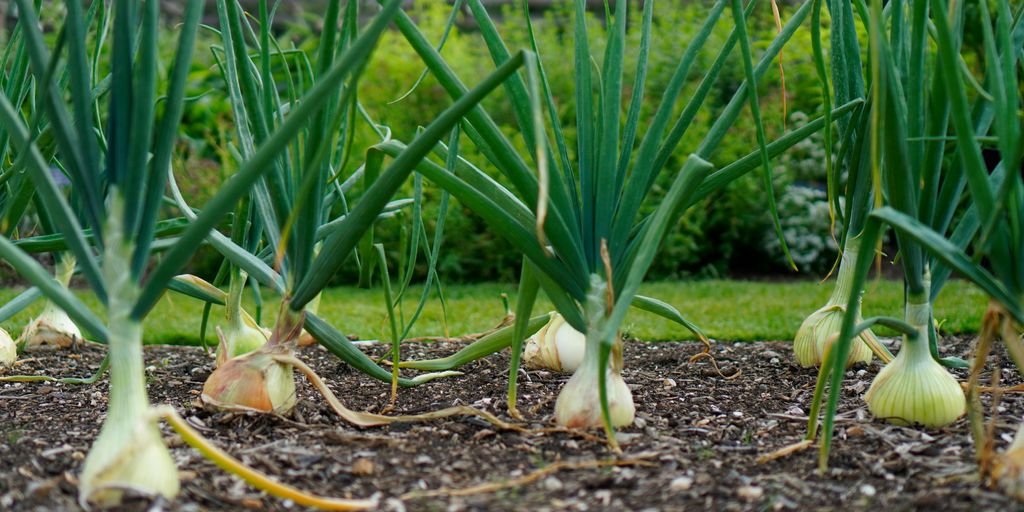
- Chives: These oniony delights are easy to grow and add a mild flavor to dishes. They form neat clumps.
- Lavender: Known for its beautiful blooms and calming scent, lavender also thrives in sunny, well-drained spots. It’s a favorite for attracting pollinators.
Annual Herb Choices
Annual herbs complete their life cycle in one growing season, meaning we’ll need to replant them each year, but they often provide a quicker, more abundant harvest. They are also great for filling in spaces or trying out new flavors.
- Basil: A summer favorite, basil loves warmth and sun. It’s sensitive to frost, so we’ll plant it after the last cold snap. There are many varieties, from sweet Italian to spicy Thai.
- Cilantro: This herb prefers cooler weather and can bolt (go to seed) quickly in the heat. Planting it in a spot that gets some afternoon shade can extend its harvest.
- Dill: With its feathery foliage, dill adds a delicate touch. It can get tall, so consider its placement. It also self-seeds readily.
- Parsley: Both curly and flat-leaf varieties are popular. Parsley is quite hardy and can often overwinter in milder climates, acting almost like a biennial.
Mediterranean Herb Selections
Many herbs we love come from the Mediterranean region, and they generally share a love for sun and excellent drainage, which raised beds provide perfectly. These herbs often have a more intense flavor.
- Oregano: This hardy herb spreads nicely and is a staple in many cuisines. It prefers to dry out a bit between waterings.
- Sage: Whether common sage or colorful varieties like purple or pineapple sage, they all appreciate good drainage and plenty of sun. Sage can become woody over time, so pruning helps.
- Marjoram: Similar to oregano but with a milder, sweeter flavor. It’s a bit less cold-hardy than oregano.
- Thyme: (Yes, it fits here too!) Many varieties of thyme originate from the Mediterranean and share those same preferences for sun and drier soil.
When selecting herbs, think about how you’ll use them most. If you cook a lot of Italian food, basil, oregano, and parsley are must-haves. For teas and aromatherapy, lavender and mint are excellent choices. We can also mix and match based on their growth habits and sunlight needs to create a beautiful and productive garden. Remember to check out aphid control options if any little pests decide to join the party!
Creative Raised Bed Layouts for Herbs

Now that we’ve got our beds prepped and our herbs picked out, it’s time for the fun part: arranging them! How we lay out our herbs can make a big difference in how well they grow and how nice the garden looks. It’s not just about sticking plants in the dirt; it’s about creating a little ecosystem that works for us and the plants.
Companion Planting Strategies
We can group herbs that like similar conditions together. Think of it like setting up roommates who get along! For instance, rosemary, thyme, and sage are all Mediterranean herbs that prefer well-draining soil and lots of sun. Planting them together means they’ll all be happy with the same watering schedule and soil type. This also helps with pest control, as some herbs can actually deter bugs that bother their neighbors. It’s a smart way to get more bang for our buck, plant-wise.
Incorporating Flowers for Pollinators
Let’s not forget about our buzzy friends! Adding some colorful flowers like marigolds or nasturtiums to the edges of our raised beds is a great idea. These flowers attract bees, butterflies, and other helpful insects that pollinate our herbs and keep bad bugs in check. Plus, they just make the whole garden look prettier. It’s a win-win: we get more pollinators, and our raised bed herb garden gets a splash of color.
Arranging Herbs by Height and Growth Habit
How we place our herbs matters, especially in relation to the sun and how they grow. For beds against a wall or fence, we can put taller herbs like rosemary or sage towards the back. Then, medium-sized ones like oregano or lavender go in the middle, and smaller, low-growing herbs such as thyme or chives can go at the front where they’re easy to reach for harvesting. If our bed is accessible from all sides, we can put the taller plants in the center and let the smaller ones spill over the edges. This arrangement helps everything get enough sunlight and makes sure we can easily tend to all our plants. Thinking about how each herb grows helps us create a balanced and productive space. We also need to make sure we leave enough room between plants so they don’t get too crowded, which can lead to disease. Good airflow is key!
Essential Care for a Thriving Raised Bed Herb Garden
Now that we’ve got our herbs planted, keeping them happy and healthy is the next big step. We want our raised bed herb garden to really thrive, right? It’s not super complicated, but a little attention goes a long way.
Watering Your Herbs
Watering is pretty straightforward. Most herbs like their soil to be consistently moist, but not soggy. We’ve found that checking the soil with our finger is the best way to tell. If the top inch or so feels dry, it’s time to water. Deep, infrequent watering is usually better than shallow, frequent sprinkles. This encourages the roots to grow deeper, making the plants stronger. For raised beds, especially in hot weather, the soil can dry out faster, so keep an eye on it. If you’re watering a new planting, make sure to water thoroughly after planting and prevent the soil from drying out. We like to use a watering can with a rose attachment to gently water the soil around the base of the plants, rather than spraying the leaves, which can sometimes encourage fungal issues.
Weeding and Mulching
Weeds are a raised bed’s worst enemy, stealing water and nutrients from our precious herbs. Regular weeding is a must. It’s easiest to pull them when the soil is slightly damp. After weeding, we like to add a layer of mulch. A good mulch, like straw or shredded bark, helps keep the soil moist, keeps weeds down, and regulates soil temperature. Just be sure to keep the mulch a little bit away from the stems of the plants to prevent rot.
Pest and Disease Management
Healthy plants are less susceptible to pests and diseases. That’s why good soil, proper watering, and good air circulation are so important. If we do spot any unwelcome visitors, like aphids, we try to deal with them quickly. Often, a strong blast of water from the hose or a gentle wipe with a damp cloth does the trick. For more stubborn issues, we might use an insecticidal soap, but we always try the gentlest methods first. Keeping the garden clean, removing any dead or diseased leaves promptly, also helps prevent problems from spreading. Remember, in winter, clear the bed and add compost to prepare for the next season.
Maximizing Your Raised Bed Herb Harvest

Now that we’ve got our herbs planted and growing, it’s time to talk about getting the most out of them. Harvesting your raised bed herbs isn’t just about picking leaves; it’s about timing and technique to keep your plants producing. We want to make sure we’re getting the best flavor and yield possible.
Harvesting Techniques
When we’re harvesting, it’s best to snip stems rather than just pulling leaves off. This encourages the plant to branch out, giving us more to harvest later. For herbs like basil and mint, pinching off the top sets of leaves will promote bushier growth. We should aim to harvest in the morning after the dew has dried, as this is when the essential oils are most concentrated, meaning the most flavor. Avoid harvesting more than a third of the plant at any one time; this gives the herb plenty of energy to recover and keep growing. For woody herbs like rosemary and thyme, we can snip off sprigs as needed. It’s a good idea to keep a clean pair of scissors or snips handy for this.
Using Your Fresh Herbs
Once we’ve harvested, the possibilities are endless! We can chop them up and toss them into salads, use them to season our cooking, or even dry them for later use. Many herbs, like parsley and cilantro, are fantastic when added fresh at the end of cooking to preserve their bright flavor. Others, like rosemary and thyme, can be added earlier to allow their flavors to meld into dishes. We can also make wonderful herbal teas or infuse oils and vinegars. If we find ourselves with an abundance, drying or freezing are great ways to preserve the harvest. For drying, we can hang bundles upside down in a cool, dark, well-ventilated place, or use a dehydrator. Freezing works well too; we can chop herbs and freeze them in ice cube trays with a little water or oil. This makes it super easy to grab a flavor cube for soups or stews. Don’t forget that herbs are a key ingredient for making your own salsa garden ingredients!
Happy Herb Gardening!
So there you have it! We’ve walked through why raised beds are awesome for herbs, how to pick the right spot and soil, and even some ideas for arranging your plants. It’s really not that complicated to get a fantastic herb garden going. We’ve found that having fresh herbs right outside our door makes cooking so much more fun, and honestly, it’s pretty satisfying to snip your own basil for pasta or mint for tea. Don’t be afraid to experiment with different herbs and layouts – that’s part of the fun! We hope this guide helps you grow a super productive and beautiful herb garden that you can enjoy all season long.
Frequently Asked Questions
Where’s the best place to put my raised herb garden?
We suggest picking a spot that gets at least 6 to 8 hours of direct sunlight each day. Most herbs really love soaking up the sun!
What kind of soil should we use for our raised herb beds?
A good mix for us usually includes about 50% topsoil, 30% compost, and 20% peat moss. This gives our herbs a great start with good nutrients and drainage.
What are some perennial herbs that do well in raised beds?
We find that perennial herbs like rosemary, thyme, mint, chives, and lavender are fantastic choices because they come back every year, saving us work and giving us harvests season after season.
How should we arrange our herbs in the raised bed?
We like to group herbs that have similar needs together. For example, planting rosemary, thyme, and sage in the same area often works well because they like similar conditions and can even help each other grow better.
What’s the best way to pick herbs from our raised bed?
We harvest herbs by snipping off what we need, usually the top parts of the stems. Doing this often encourages the plants to grow bushier and produce more leaves for us!
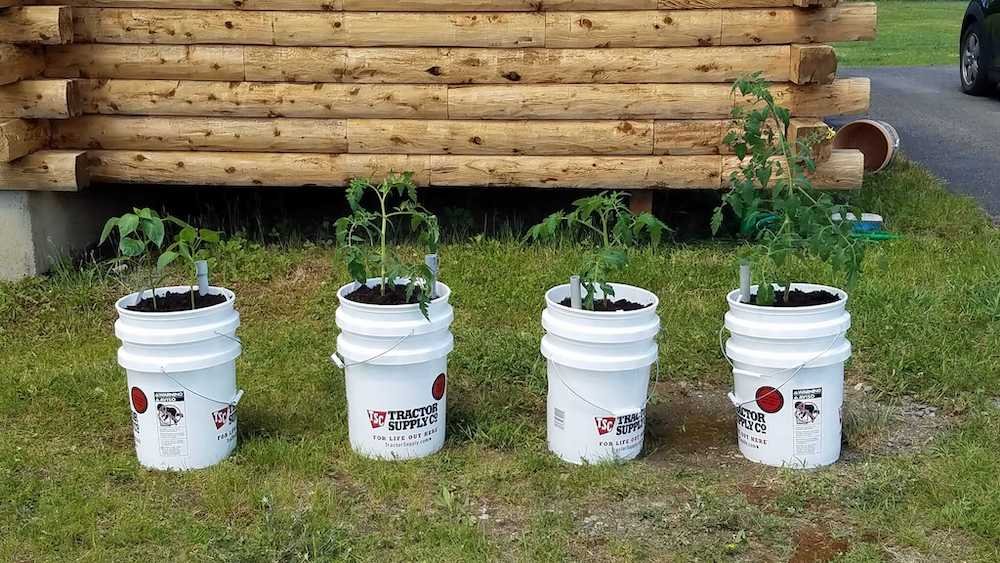
Can we grow herbs in containers if we don’t have a raised bed?
Yes, absolutely! If you don’t have a lot of space, herbs grow wonderfully in pots or even fabric grow bags. They’re perfect for adding greenery and flavor to a balcony or patio.